You turn the key and hear that dreaded clicking sound—or worse, nothing at all. A dead battery strands thousands of drivers daily, but you don’t need to be one of them. Learning how to change a car battery yourself saves $50-100 in labor costs and gets you back on the road in under 30 minutes. This guide walks you through every step, from choosing the right replacement battery to properly disposing of the old one. With basic tools and these safety-focused procedures, you’ll handle this essential automotive task confidently.
Identify Critical Safety Gear Before Starting
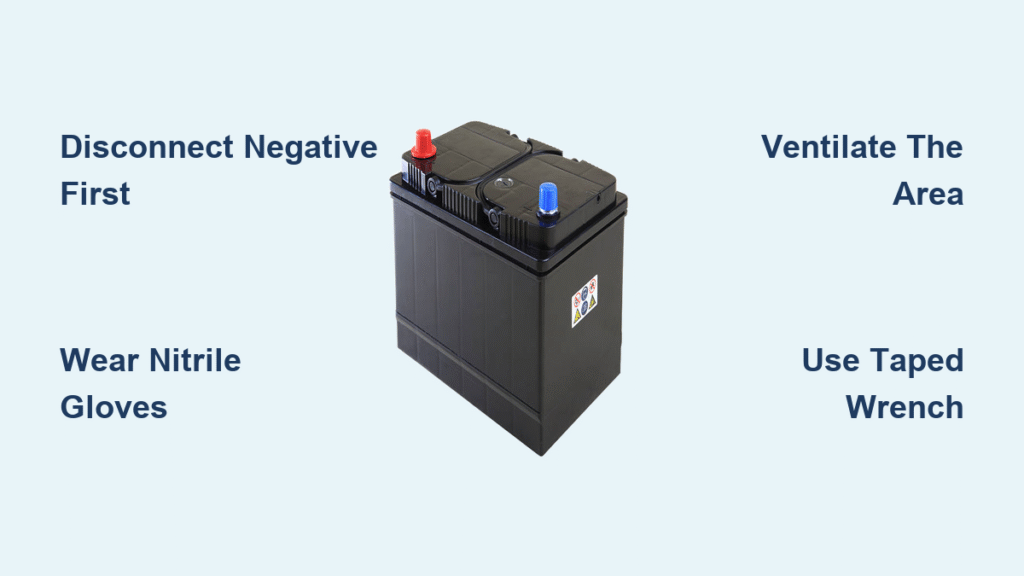
Skipping safety gear risks chemical burns and eye damage from battery acid. Never touch terminals bare-handed or work near sparks.
Must-have protection:
– Chemical-resistant nitrile gloves (not latex)
– Safety goggles that seal around eyes
– Long sleeves and pants to shield skin
– Closed-toe shoes with non-slip soles
Work area safety steps:
– Park on flat ground with parking brake engaged
– Turn off all electronics—radio, lights, phone chargers
– Wait 15 minutes after driving for components to cool
– Position vehicle outdoors or with garage doors fully open
– Keep a Class C fire extinguisher within arm’s reach
Gather Essential Tools for Quick Replacement

Most battery swaps require only three basic tools you likely own. Avoid cheap wrenches that slip and damage terminals.
Core toolkit:
– 10mm or 13mm combination wrench (check your terminals first)
– Battery terminal puller or pliers for stubborn clamps
– Wire brush for corrosion removal
– Shop rags for acid spills
Smart upgrades:
– Dielectric grease to prevent future corrosion
– Battery carrying strap for safe lifting (30-50 lb batteries are common)
– Memory saver device to retain radio presets (optional but helpful)
Battery selection checklist:
– Match exact group size (printed on old battery’s top)
– Verify terminal placement aligns with your cables
– Choose equal or higher Cold Cranking Amps (CCA) rating
– Confirm physical dimensions fit your tray
Locate and Inspect Your Battery Correctly
Most sit under the hood, but some hide in trunks or under seats—especially in luxury vehicles. Don’t skip this critical assessment.
Pre-removal inspection:
– Photograph radio presets and clock settings
– Identify negative terminal (black cable, “-” symbol)
– Check for white/blue corrosion on terminals
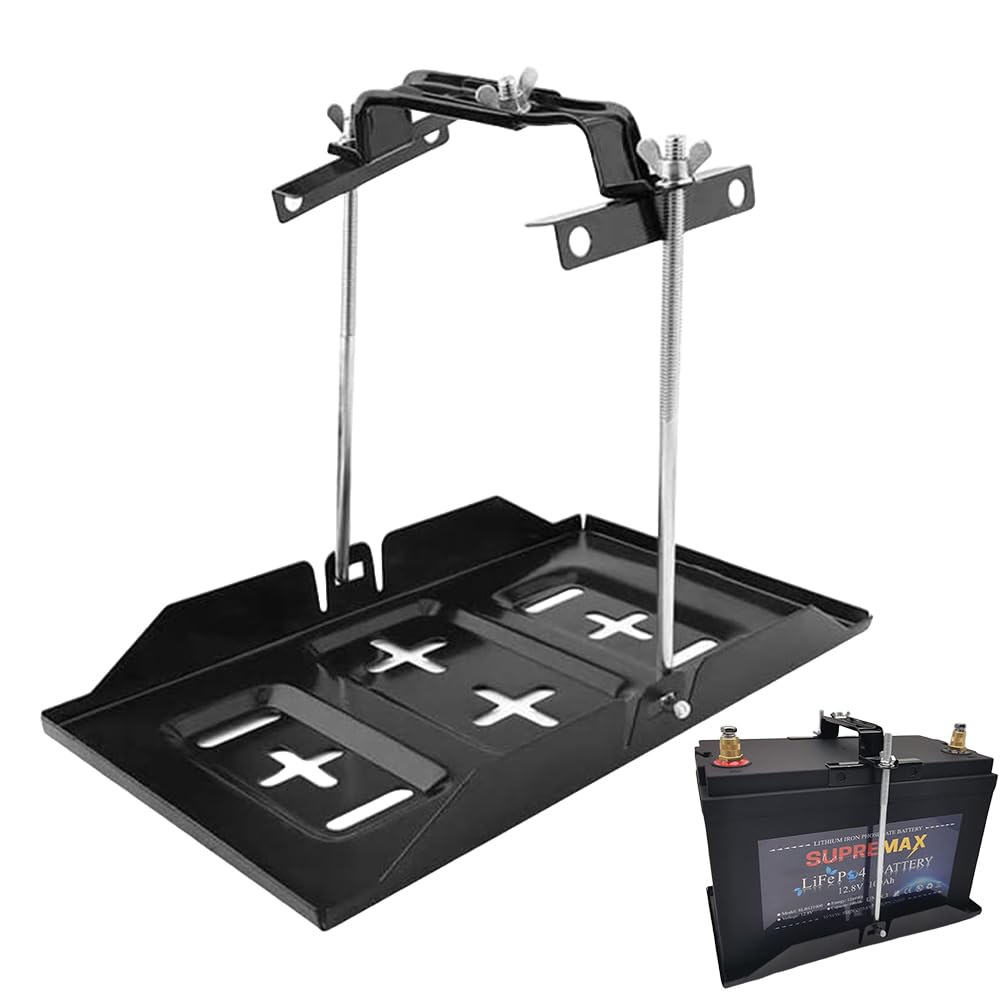
– Note hold-down bracket type (J-hook, top clamp, or side bracket)
– Confirm battery weight before lifting
Warning sign: If cables show green corrosion or cracks, replace them during battery service. Frayed wires cause dangerous shorts.
Remove Old Battery Without Sparking
Never disconnect positive first—that creates short-circuit risks. Follow this exact sequence.
Disconnect Negative Terminal First
- Locate black negative cable (usually marked “–” or “NEG”)
- Loosen clamp bolt counterclockwise with wrench—no need for full removal
- Twist terminal gently upward until free—never pry against plastic case
- Secure cable away from battery with a shop rag
Disconnect Positive Terminal Second
- Remove red protective cover if present
- Loosen positive (+) clamp bolt
- Lift terminal straight up
- Tuck cable safely aside
Extract Battery Safely
- Remove hold-down hardware completely
- Bend knees and lift straight up—keep back straight
- Place old battery on level ground away from vehicle
- Check tray for acid leaks before proceeding
Install New Battery to Prevent Damage
Rushing this step causes misalignment and terminal damage. Take 60 seconds to prepare properly.
Prepare Battery Tray
- Scrub tray with wire brush to remove corrosion
- Neutralize acid residue with baking soda/water paste (1 tbsp per cup)
- Rinse thoroughly with water and dry completely
- Apply rust inhibitor if metal shows pitting
Position and Secure New Battery
- Match terminal orientation to cable positions
- Ensure battery sits flat without rocking
- Install hold-down hardware in original configuration
- Tighten securely—battery shouldn’t shift more than 1 inch
- Critical: Never over-tighten brackets (cracks case)
Connect Terminals in Correct Order

Reversing this sequence risks electrical system damage. Positive first, negative last is non-negotiable.
Attach Positive Terminal First
- Remove protective caps from new battery posts
- Slide positive cable onto terminal
- Hand-tighten bolt before final wrench turn
- Torque to 50-70 inch-pounds (snug but not straining)
Attach Negative Terminal Last
- Position negative cable clamp
- Hand-tighten, then secure with wrench
- Double-check both terminals for tightness
- Apply dielectric grease to prevent corrosion
Pro tip: Spray terminals with anti-corrosion solution before reinstalling protective boots.
Test System Before Driving
Skipping tests risks being stranded later. Complete these checks in under 2 minutes.
Power-on verification:
– Turn key to “ON” (don’t start engine)
– Confirm all dashboard lights illuminate
– Reprogram clock and radio presets
– Test window operation
Engine start test:
– Crank should be strong with no hesitation
– Charging system light must extinguish within 5 seconds
– Check voltage: 12.4-12.6V off, 13.8-14.4V running
Reset electronic systems:
– Roll windows down/up fully (hold switch 2 sec after closing)
– Cycle sunroof through full open/close sequence
– Reset steering sensor if warning light appears (turn wheel lock-to-lock)
Troubleshoot Common Post-Installation Issues
Most “dead battery” repeats stem from simple oversights during installation.
No power after replacement?
– Recheck terminal tightness—loose connections are #1 cause
– Verify battery isn’t defective (test at auto parts store)
– Inspect main fuse box for blown fuses
– Ensure negative cable contacts clean metal ground point
Slow cranking?
– Confirm CCA rating meets vehicle requirements
– Double-check terminal cleaning—corrosion kills conductivity
– Test charging system (alternator may be failing)
Radio security code?
– Consult owner’s manual for procedure
– Most dealers provide codes free with proof of ownership
Dispose of Old Battery Legally and Safely
Illegal disposal risks $500+ fines and environmental harm. Follow these steps.
Proper disposal:
– Transport upright in plastic tray—never on its side
– Return to auto parts store (free core charge refund)
– Take to municipal hazardous waste facility
– Never throw in household trash
Core charge tip: Save your receipt—most stores refund $10-25 when returning old battery.
Extend New Battery Lifespan with Simple Habits
Most premature failures stem from preventable issues. Add these to your monthly routine.
Critical maintenance:
– Check terminals monthly for white/blue corrosion
– Clean with baking soda solution at first sign of buildup
– Ensure hold-down bracket stays tight
– Take 20-minute drives weekly to fully recharge
Extreme weather protection:
– In cold climates: Use battery blanket below 0°F
– In heat: Park in shade to reduce fluid evaporation
– After jump-starts: Drive 30+ minutes to recharge fully
Know When to Call a Professional
Some situations require expert help—don’t risk damage.
Seek professional assistance if:
– Battery is under seat or in wheel well (common in BMWs/Audis)
– You own a hybrid or electric vehicle
– Charging system light stays illuminated after install
– You’re uncomfortable with electrical systems
– Multiple electrical components fail after replacement
Calculate Your DIY Savings Accurately
Doing it yourself pays for tools after one replacement.
Real cost breakdown:
– Standard battery: $65 (with $15 core refund)
– AGM battery (for start/stop vehicles): $150
– Basic tools: $25 (wrench, puller, gloves)
– Professional installation: $45 labor + parts markup
Total savings: $30-50 per replacement. The knowledge gained also eliminates $100+ towing fees during roadside emergencies.
Changing your car battery ranks among the easiest DIY auto repairs. With proper safety gear and these steps, you’ll complete the job in 15-30 minutes while saving money and gaining valuable automotive knowledge. Remember the critical sequence: negative off first, positive on first, negative on last. By following these procedures, you ensure reliable starts for years—until the next time you need to change a car battery. Keep this guide in your glove box for roadside emergencies, and you’ll never pay for a simple battery swap again.