
Your Mercedes-Benz won’t crank, the door locks stutter like a skipping record, and the dashboard lights flicker weakly. These aren’t random glitches—they’re screaming that your battery is on its last legs. Ignoring this risks being stranded in a parking lot with a dead electrical system. The good news? Replacing your Mercedes-Benz battery takes under 45 minutes with basic tools, saving you $200+ in dealership fees. This guide cuts through the confusion with model-specific locations, critical safety sequences, and system resets most DIYers miss. You’ll learn exactly how to avoid expensive mistakes while restoring your luxury ride’s reliability.
Don’t waste money on unnecessary replacements or panic at warning lights. With Mercedes’ complex electrical architecture, one wrong move can fry control modules. We’ve distilled years of technician insights into this no-fluff roadmap. By the end, you’ll confidently handle trunk-mounted batteries, dual-system setups, and post-installation resets—even if you’ve never touched a wrench before.
Locate Your Mercedes Battery by Model
Finding your battery isn’t as simple as popping the hood. Mercedes tucks it in sneaky spots depending on your chassis code. Skip the guesswork with this model-specific cheat sheet.
Trunk-Mounted Batteries (Most Common):
– C-Class (W204/W205), E-Class (W212/W213), S-Class (W221/W222): Right trunk compartment behind the carpeted panel
– CL-Class, CLS-Class, GLS (X166): Same right-side trunk location as above
Seat-Mounted Exceptions:
– W210 E-Class (1996-2002): Under the rear seat cushion—lift the front edge to release clips
– ML/GL-Class (W164/W166/W151): Under front passenger seat (remove seat base screws)
– G-Class (W463): Behind center console floor cover (lift rear section near shifter)
Hood Alert: Only SLK/SL roadsters (R171/R230) have hood batteries. Check for the “battery in trunk” decal near your firewall—if it’s there, your battery’s hiding in the trunk. Pro tip: Shine a flashlight into trunk corners before removing panels. You’ll spot the black battery casing against gray carpet instantly.
Diagnose Battery Failure Before Replacing
Don’t swap batteries blindly—many “dead battery” symptoms stem from parasitic drains or alternator issues. Confirm failure with these Mercedes-specific checks.
Critical Failure Signs
- Door locks respond sluggishly or require multiple presses
- Engine cranks for 3+ seconds before starting (worse in cold weather)
- Radio presets reset after every drive
- Complete electrical shutdown when turning the key
Quick Voltage Test
Grab a $10 digital voltmeter from any auto store. With the engine off:
1. Touch red probe to positive (+) terminal, black to negative (-)
2. Healthy reading: 12.1–12.9 volts
3. Replace immediately: Below 11.4 volts (critical for control unit operation)
Schedule fall voltage checks yearly—extreme temperatures degrade batteries like your smartphone. If readings dip below 12.1V consistently, replacement is imminent.
Gather Tools and Verify Battery Specs
Using the wrong battery fries Mercedes’ sensitive electronics. Match these specs exactly before buying.
Essential Tools
- 10mm socket with 6″ extension (for trunk-mounted batteries)
- Terminal extractor tool (prevents cable damage)
- Electrical tape (to insulate positive terminal)
- Digital voltmeter (for pre/post-checks)
Non-Negotiable Battery Specs
| Parameter | Must-Have | Danger Zone |
|---|---|---|
| Group Size | Exact OEM fit | Even 1cm mismatch causes vibration damage |
| CCA Rating | Matches factory spec (e.g., 720 CCA for W213 E-Class) | Lower CCA = slow cranking |
| Terminal Orientation | Positive terminal on correct side (left/right) | Backward installation shorts the system |
Snap a photo of your old battery’s label—it shows critical codes like “555 47 050” that prevent mismatched replacements.
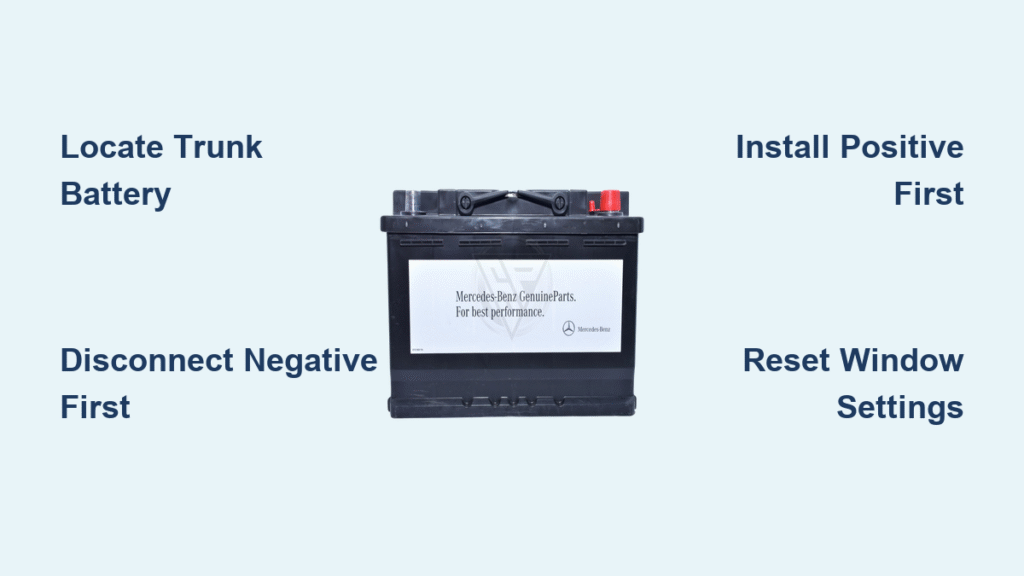
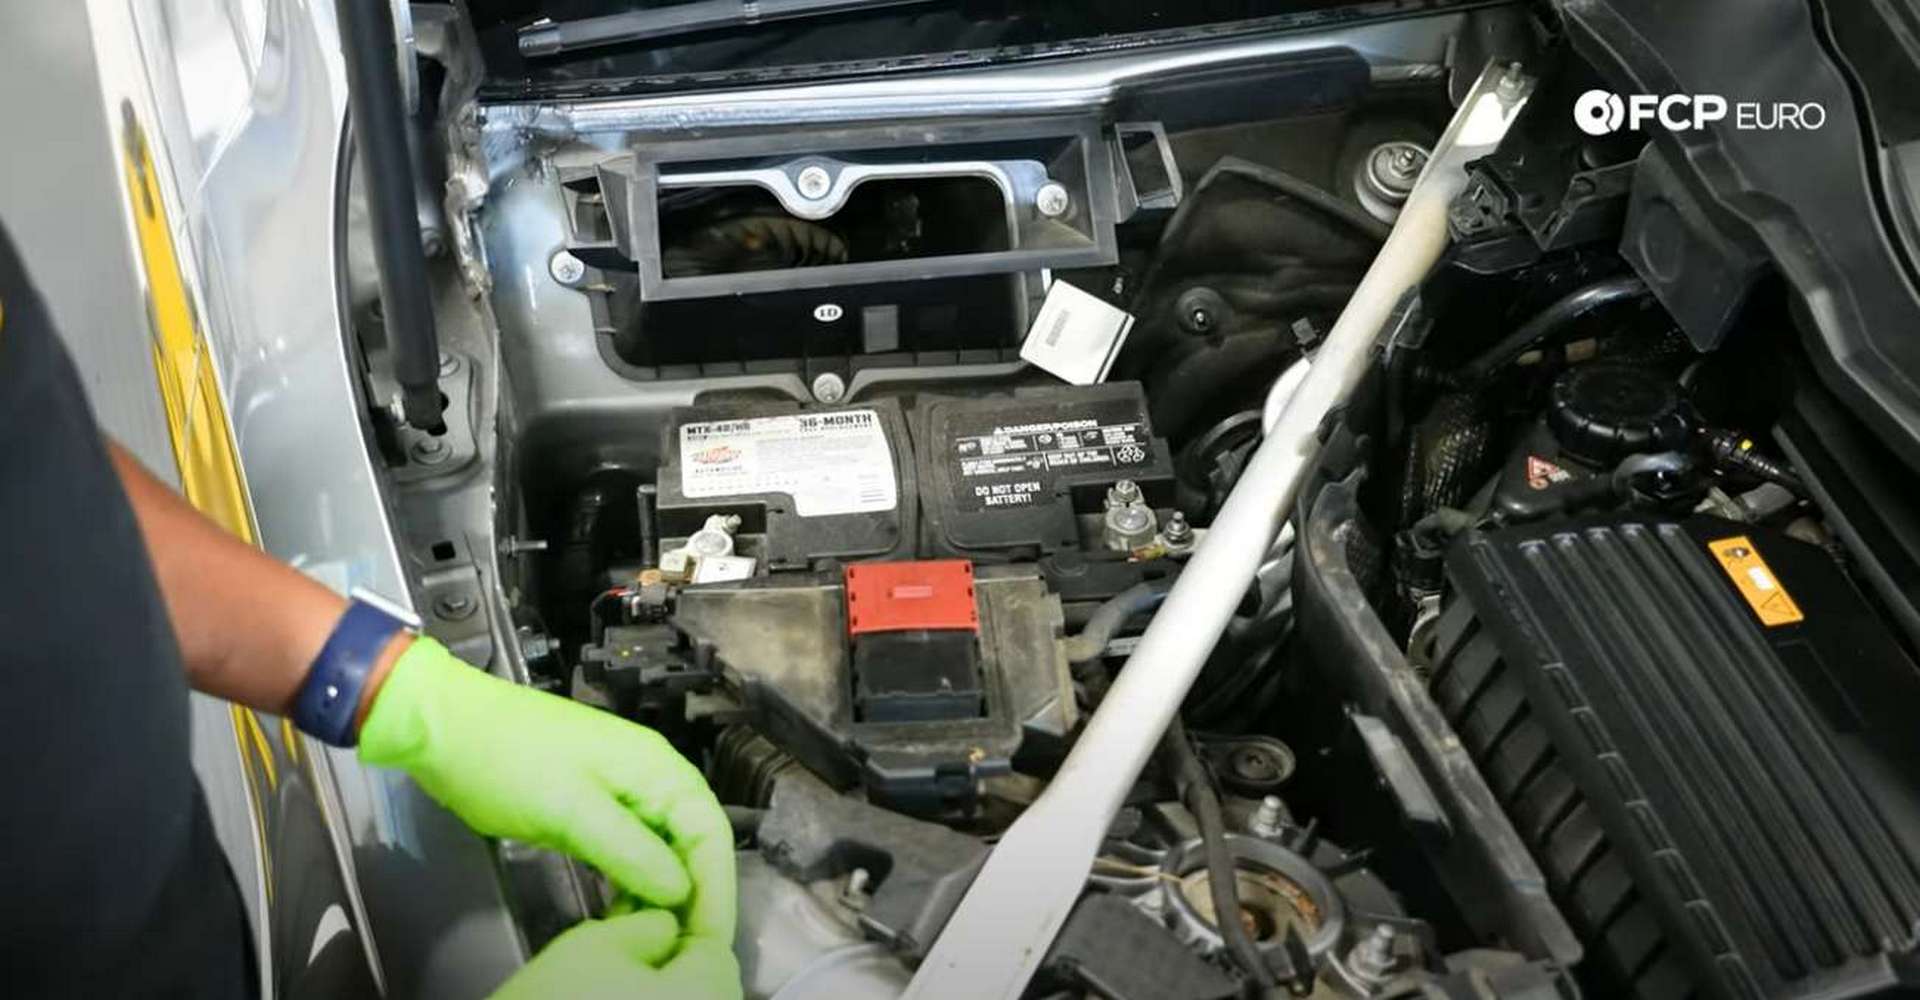
Execute Safe Battery Removal
Mercedes’ electrical system can zap control modules if you skip safety steps. Follow this sequence religiously.
Critical Disconnection Order
- Negative terminal first:
– Loosen 10mm nut on black (-) cable
– Twist terminal gently while lifting (use extractor if stuck)
– Never pry with screwdriver—scratches cause corrosion - Positive terminal second:
– Remove red (+) cable nut
– Immediately wrap terminal in electrical tape
– Prevents accidental grounding against metal
Extracting Heavy Batteries
Trunk batteries weigh 40–50 lbs. Protect your back and Mercedes’ interior:
– Slide out the bracket securing the battery (single 10mm bolt)
– Release the buckle strap holding the battery in place
– Lift straight up—tilting risks acid spills on trunk carpet
– Place old battery on a towel to avoid concrete damage
Install New Battery Without Damage

Connecting cables backward melts wiring harnesses. This sequence prevents catastrophic shorts.
Correct Installation Steps
- Position new battery with terminals matching original orientation
- Secure bracket with 10mm bolt (snug but don’t overtighten)
- Connect positive (+) cable FIRST—hand-tighten nut
- Connect negative (-) cable LAST—final torque with wrench
Warning: Reversing this order causes electrical arcing that can destroy the SAM (Signal Acquisition Module). After connecting, tug terminals firmly—they shouldn’t rotate on the posts.
Reset Mercedes Systems After Installation
Your Mercedes “forgets” settings when power drops. Skip these resets, and warning lights will haunt you.
Window Position Reset
Windows lose auto-up/down function:
1. Roll window completely up
2. Hold switch upward for 5 seconds after closure
3. Listen for a distinct click confirming reset
ESP and Steering Angle Reset
The yellow ESP triangle stays lit until recalibrated:
1. Start the engine
2. Turn steering wheel fully left, then fully right
3. Repeat lock-to-lock 3 times
4. Triangle disappears within 30 seconds
Newer models (2015+) auto-reset time via GPS—no manual adjustment needed unless traveling across time zones.
Avoid Costly DIY Mistakes
These errors trigger $1,000+ control module repairs. Never:
– Connect negative terminal first—causes voltage spikes
– Use mismatched CCA ratings—overloads the charging system
– Overtighten terminal nuts—strips lead posts (8–10 ft-lbs max)
– Skip terminal cleaning—corrosion causes voltage drops
Watch for cable pinching during installation. If wires rub against sharp metal edges, wrap them in electrical tape immediately.
Extend Battery Life With Pro Maintenance
Make your replacement battery last 30% longer with these Mercedes-specific habits:
– Test voltage every fall—replace at 12.0V or below
– Clean terminals quarterly with baking soda/water mix and wire brush
– Take 20+ minute drives weekly—short trips prevent full recharging
– Park in garage during extremes—heat above 90°F or cold below 10°F accelerates degradation
Monitor for slow cranking or dimming lights—they signal impending failure.
When to Call a Professional
DIY isn’t worth the risk for these complex scenarios:
– Dual-battery systems (common on 2018+ models): Requires disconnecting the hood-mounted starter battery first
– Battery registration (2016+ models): Needs STAR diagnostic tool to sync with control modules
– Warranty concerns: Dealerships void coverage if improper installation damages electronics
Service centers handle registration for free with battery purchases and scan for parasitic drains—a $150 value.
Key Takeaway: Changing your Mercedes-Benz battery takes 30 minutes with a 10mm socket and terminal extractor. Always remove negative first, install positive first, and complete window/ESP resets. Your luxury sedan rewards this effort with silent starts and glitch-free electronics for years.
Next Steps: Test your battery voltage this weekend using the 12.1V threshold. Bookmark this guide—when morning starts turn sluggish, you’ll fix it before coffee cools. For dual-battery models, scan for “battery registration required” in your owner’s manual before starting.


