Your car won’t start. You turn the key and hear nothing but silence, or maybe just a weak clicking sound. This frustrating scenario strands millions of drivers each year, but most battery failures aren’t permanent—they’re fixable problems you can solve yourself. Learning how to fix a car battery properly means you’ll never have to wait hours for roadside assistance again. This complete guide shows you exactly what to do when your battery fails, from quick jump-starts to advanced revival techniques that can extend your battery’s life.
Recognize Battery Failure Signs Before You’re Stranded
Immediate Warning Indicators That Need Action
When your car battery is failing, it sends unmistakable distress signals. No engine cranking when you turn the key is the most obvious red flag—you get complete silence instead of the usual startup sound. Dashboard warning lights provide critical information: a battery-shaped symbol illuminated means your charging system has failed, while a flashing check engine light often indicates alternator problems. Electrical malfunctions manifest as dim headlights that won’t brighten, windshield wipers moving at half-speed, or a radio that cuts out unexpectedly. Most dangerously, a sulfur smell (like rotten eggs) means battery acid is leaking—stop driving immediately and address this hazard before continuing.
Subtle Performance Decline That Precedes Total Failure
Before your battery completely dies, it often shows partial failure symptoms that most drivers ignore. Slow engine cranking—where the engine turns over sluggishly before starting—is your first warning sign. Intermittent electrical issues that come and go, like power windows working sometimes but not others, indicate an unstable power supply. A battery that won’t hold charge despite successful jump-starts or charging attempts reveals internal degradation that requires immediate attention. Recognizing these early symptoms gives you time to address the problem before you’re completely stranded.
Safety First: Critical Precautions When Working with Car Batteries
Battery work carries real risks that can cause serious injury if ignored. Full-face eye protection is mandatory—battery acid can cause permanent blindness in seconds during accidental splashes. Never settle for basic safety glasses; proper face shields provide essential coverage. Always connect to the engine block, not the battery terminal, when jump-starting to prevent sparks from igniting flammable hydrogen gas that batteries emit. Before touching any terminals, visually inspect for cracks, leaks, or swelling—a damaged battery requires replacement, not repair. These safety steps aren’t optional; they’re what separate successful DIY repairs from dangerous accidents.
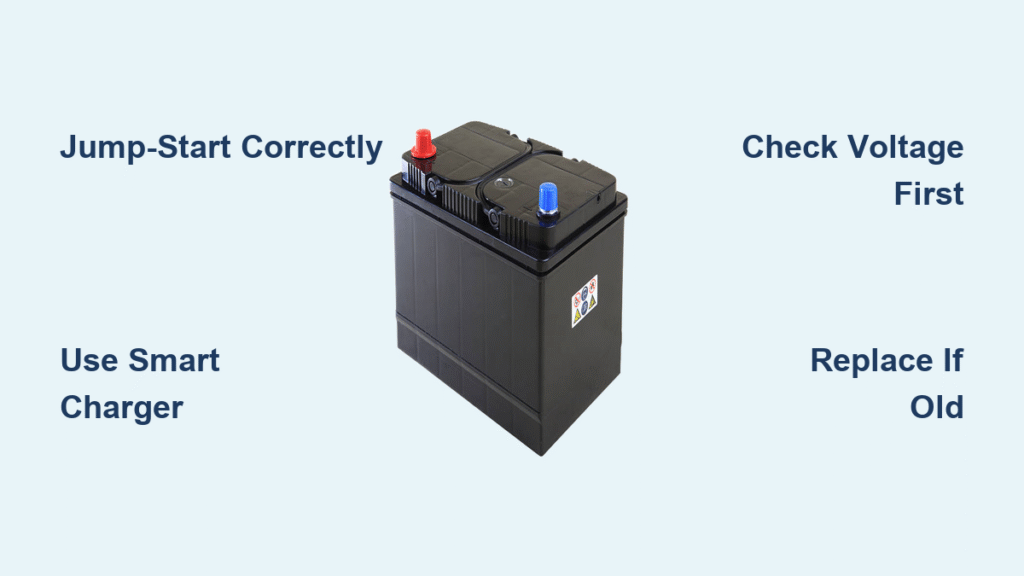
Jump-Start Your Car Correctly in Under 5 Minutes
Portable Jump Starter Method (Safest Option)
Modern lithium jump starters make battery recovery simple and safe. With your vehicle completely off, locate the positive (+) and negative (-) battery terminals—they’re usually marked in red and black. Connect the jump starter’s red clamp to positive first, then black to negative. Power on the jump starter, wait 15 seconds, then attempt to start your car. Once running, remove clamps in reverse order. This method eliminates risks from another vehicle’s electrical system and works even in remote locations.
Traditional Jumper Cable Method
When using another vehicle, follow this precise connection sequence to avoid dangerous sparks:
1. Red clamp to dead battery’s positive terminal
2. Red clamp to good battery’s positive terminal
3. Black clamp to good battery’s negative terminal
4. Black clamp to dead vehicle’s engine block (never the battery)
Start the donor vehicle, let it run for 30 seconds, then try starting your car. Crucially, never jump-start a frozen battery—thaw it completely first to prevent explosion risks. After successful starting, drive for at least 30 minutes to allow the alternator to recharge your battery properly.
Revive a Dead Battery Using Household Chemicals
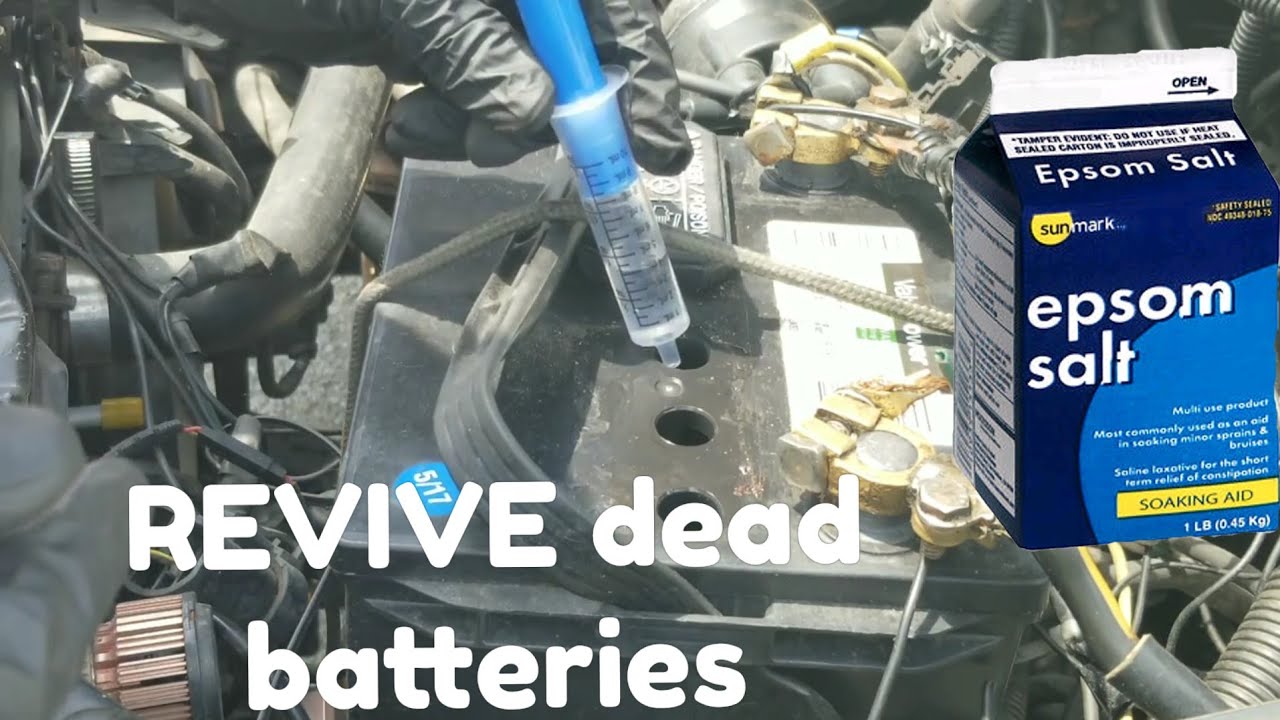
Epsom Salt Solution Restoration Technique
When batteries fail from low electrolyte levels, Epsom salt (magnesium sulfate) can restore chemical balance. After safely removing your battery from the vehicle, dissolve one part Epsom salt in three parts warm distilled water. Carefully pour this solution through a funnel until battery plates are covered. Let it sit for several hours before connecting to a slow charger for 12-24 hours. This method works best on standard flooded-cell batteries under three years old that have simply lost electrolyte over time.
Distilled Water Emergency Fill
For minor electrolyte loss, simply add distilled water to submerge exposed battery plates using a funnel. This increases the electrolyte reaction without chemical additives. It’s safer than Epsom salt for beginners but less effective for severely depleted batteries. Never use tap water—minerals in regular water damage internal battery components and accelerate failure.
Aspirin Temporary Fix for Immediate Mobility
In emergencies, crush 12 aspirin tablets into fine powder and mix with 180ml warm water. Pour this solution over battery terminals to temporarily alter electrolyte composition. This creates enough chemical reaction for one or two starts but requires immediate professional attention afterward. Consider this strictly a get-you-home solution, not a permanent fix.
Diagnose Battery Problems Before Wasting Time

Parasitic Drain Test That Finds Hidden Power Leaks
Identify what’s draining your battery overnight with a multimeter set to milliamperes. First, check for obvious issues like dome lights staying on. Then disconnect fuses one at a time while monitoring the meter—when the drain stops, you’ve found the problematic circuit. If drain persists with all fuses removed, check alternator and starter wiring. This test prevents replacing good batteries when the real problem lies elsewhere in your electrical system.
Load Testing That Reveals True Battery Health
A proper load test determines if your battery can handle real-world demands. Apply a load equal to half your battery’s Cold Cranking Amps (CCA) rating for 15 seconds. Your battery must maintain above 9.6V during this test—anything lower means replacement time. Repeat the test for accuracy, as inconsistent readings indicate internal damage. This simple test prevents unnecessary reconditioning attempts on batteries beyond saving.
Prevent Future Battery Failures With Smart Maintenance
The Four-Year Battery Replacement Rule
Replace your battery every four years regardless of apparent condition. After this point, internal degradation accelerates rapidly, making unexpected failures almost inevitable. This simple schedule prevents most roadside emergencies and costs less than a single towing fee. Mark your calendar for replacement before problems start.
Monthly Battery Health Checklist
- Clean terminals with a wire brush to prevent corrosion buildup
- Check acid levels through the built-in indicator every six months
- Secure cables to prevent vibration damage (the #1 cause of early failure)
- Test voltage with a multimeter (12.6V = fully charged, 12.0V or below needs attention)
- Inspect for leaks or physical damage during routine maintenance
Repair vs. Replace: Make the Right Decision

Replace immediately when:
– Load test shows below 9.6V consistently
– Battery won’t hold charge after reconditioning attempts
– Visible cracks, leaks, or swelling present
– Battery exceeds four years old with declining performance
Attempt repair when:
– Battery is weak but not completely dead
– Failure due to low electrolyte levels (common in older batteries)
– Temporary discharge from leaving lights on overnight
– Minor terminal corrosion is the only visible issue
Essential Tools for Every Garage
Keep these battery service essentials readily available:
– Quality copper jumper cables (avoid aluminum—they conduct poorly)
– Lithium portable jump starter (works even when completely dead)
– Digital multimeter for accurate voltage readings
– Wire brush specifically for terminal cleaning
– Distilled water for electrolyte replenishment
– Safety gear: chemical-resistant gloves and full-face protection
When to Call a Professional Instead
Some modern vehicles have sensitive electronics that can be damaged by improper jump-starting procedures—always consult your owner’s manual first. Gel batteries and sealed AGM types cannot be opened for reconditioning methods like Epsom salt or aspirin solutions. If your battery fails repeatedly within days of replacement, the problem likely lies with your alternator or charging system rather than the battery itself.
Final Steps After Successful Battery Repair
After fixing your car battery, drive continuously for at least 30 minutes to allow proper recharging. For vehicles driven infrequently, invest in a battery tender that maintains optimal charge during storage. Test your alternator output while running—it should read between 13.8-14.4V. Remember: consistent maintenance prevents 90% of battery failures. By following these steps for how to fix a car battery properly and implementing regular care, you’ll transform from a stranded driver to someone who confidently handles electrical emergencies. Most importantly, you’ll never pay for unnecessary battery replacements when simple fixes could get you back on the road.