
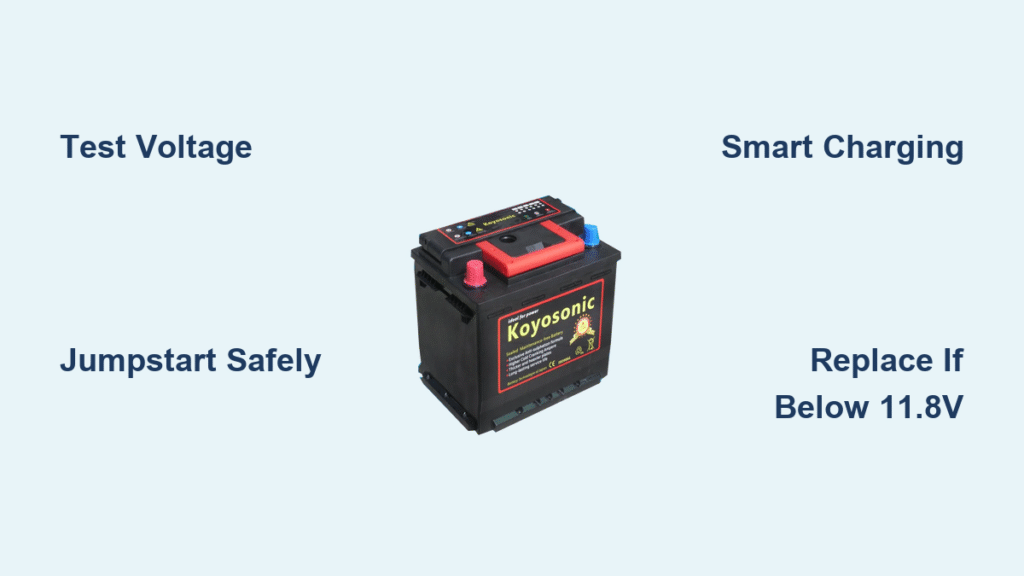
That dreaded clicking sound when you turn the key. Dim headlights that barely illuminate the road. The complete failure to start your engine despite repeated attempts. When your car exhibits these symptoms, a low voltage car battery is almost always the culprit. Before you shell out for a replacement, understand that most low voltage car battery issues can be resolved with proper diagnosis and intervention. This guide delivers actionable steps to revive your battery, from emergency jumpstarts to professional-grade troubleshooting—saving you time, money, and roadside stress.
Diagnose Critical Low Voltage Symptoms
Recognize Immediate Warning Signs
Your vehicle communicates battery distress through unmistakable signals. Complete failure to crank accompanied by rapid clicking noises indicates severe voltage depletion. Dashboard lights dimming during startup attempts reveal insufficient power for ignition systems. Sluggish electrical components—like power windows moving at half-speed or headlights losing intensity—signal voltage drops below operational thresholds. Ignoring these symptoms risks stranding you miles from help.
Decode Voltage Thresholds Accurately
Grab a multimeter to cut through guesswork. Below 11.80 volts means chemical damage has likely occurred, requiring replacement rather than repair. Between 11.80–12.39 volts indicates a salvageable battery needing immediate charging. 12.40–12.60 volts shows partial discharge where jumpstarting will suffice. 12.65+ volts confirms full charge—pointing to alternator or wiring issues instead. This precise measurement prevents wasted effort on unrecoverable batteries.
Spot Hidden Physical Clues
Inspect under the hood for silent killers. Sulfur or rotten egg odors indicate electrolyte leakage and imminent battery failure. Corrosion buildup—blue-green crust on terminals—creates resistance that blocks charging current. Cracked or swollen cases mean internal damage has compromised structural integrity. These visible warnings often precede total failure, giving you a critical window for intervention.
Execute Precision Voltage Testing
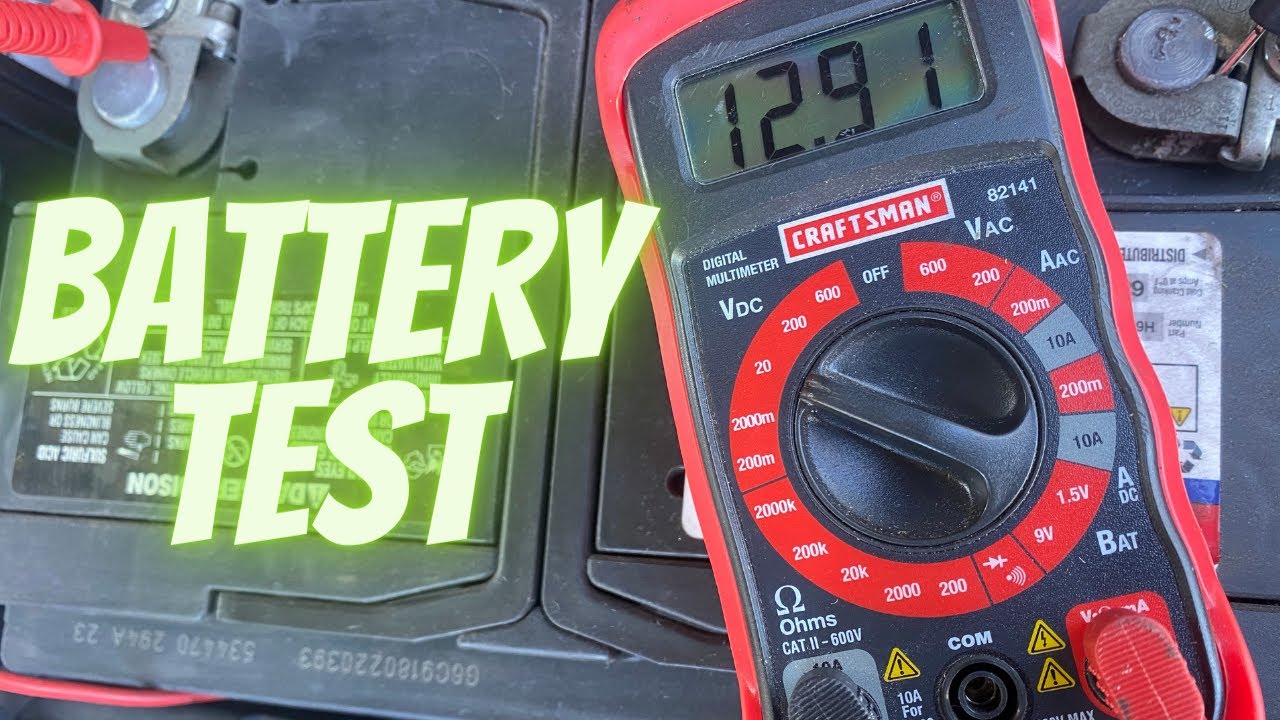
Perform Multimeter Diagnosis
Set your multimeter to DC 20V mode. With the car off, touch red probe to positive (+) terminal and black to negative (-). Wait 30 seconds for an accurate reading—surface charge distorts initial results. Note: 12.0–12.3V requires immediate charging, while below 11.8V suggests replacement is unavoidable. Always test after the vehicle has sat overnight for true resting voltage.
Conduct Free Load Testing
Visit auto parts stores like Advance Auto or O’Reilly—they provide complimentary battery diagnostics. Their load testers simulate starting demands by applying 50% of your battery’s CCA (Cold Cranking Amps) for 15 seconds. Voltage holding above 9.6V means your battery passes. Dropping below 9.6V confirms it can’t deliver sufficient cranking power, even if surface voltage seems acceptable.
Identify Parasitic Drain Culprits
If your battery dies overnight repeatedly, perform a parasitic draw test. Disconnect the negative terminal, set multimeter to 10A mode, and connect between cable and terminal. Normal draw should be under 50mA. Higher readings indicate problems like:
– Stuck interior lights
– Aftermarket electronics (dash cams, trackers)
– Faulty control modules
Leave the multimeter connected while removing fuses one by one—when the draw drops, you’ve found the circuit causing the drain.
Master Emergency Jumpstarting Protocols
Safely Use Portable Jump Starters
Modern lithium units eliminate dependency on other vehicles. Ensure both cars are OFF before connecting. Clip red clamp to dead battery’s positive terminal, black clamp to exposed metal (not the negative terminal). Power on the jump starter, then crank your engine within 30 seconds—prolonged connection risks voltage spikes. After starting, disconnect in reverse order: black first, then red.
Avoid Catastrophic Jumpstart Errors
Never jump a frozen battery—thaw it completely first to prevent explosive gas ignition. Never connect negative clamp directly to dead battery’s negative terminal if corrosion is present; sparks could ignite hydrogen gas. Never attempt jumps with visibly damaged batteries—cracks or leaks mandate immediate replacement. These precautions prevent acid burns, fires, or battery explosions.
Apply Smart Charging Strategies

Select Optimal Charger Types
Smart chargers (like NOCO Genius) automatically adjust amperage and stop charging at 100%, ideal for depleted batteries. Trickle chargers (1–2 amps) require 24–48 hours but prevent overcharging during storage. Battery maintainers sustain 12.8V during long inactivity—critical for seasonal vehicles. Avoid cheap “float chargers” that degrade batteries through inconsistent voltage.
Follow Critical Charging Sequence
- Work outdoors—batteries emit explosive hydrogen gas
- Remove rings/watches to prevent short-circuit burns
- Connect red clamp to positive terminal, black to negative
- Set charger to 2–10 amps for deep discharges (higher amps for quick boosts)
- Monitor every 2 hours—bubbling electrolyte indicates overcharging
- Disconnect black clamp first after charging completes
Estimate Realistic Charging Time
A battery reading 11.8V requires 8–12 hours on a 2-amp trickle charger. Smart chargers typically complete revival in 4–6 hours through multi-stage charging. Never exceed 24 hours—prolonged charging warps lead plates. Verify completion when voltage stabilizes at 12.6V+ for 30 minutes.
Deploy Advanced Revival Techniques

Restore Sulfated Batteries with Epsom Salt
For batteries that won’t hold charge due to crystallized sulfate:
1. Remove battery and place on non-conductive surface
2. Dissolve 1 tbsp Epsom salt in 3 tbsp warm distilled water per cell
3. Pry open cell caps and fill until lead plates are submerged
4. Let sit 12 hours, then charge at 2 amps for 24 hours
Pro Tip: Wear acid-resistant gloves—Epsom salt solutions can leak during refilling.
Rehydrate Dry Cells with Distilled Water
When electrolyte levels drop below plate tops:
– Use a turkey baster to add distilled water only (tap water minerals kill batteries)
– Fill until plates are covered by 1/8 inch—overfilling causes acid spillage
– Charge for 8 hours afterward to redistribute electrolytes
Warning: Never add acid—only water replaces evaporated liquid.
Emergency Boost with 18V Drill Batteries
As a last resort for jumpstart-capable vehicles:
1. Connect fully charged 18V lithium drill battery via jumper cables
2. Positive-to-positive, negative-to-negative (no engine running)
3. Crank immediately—this provides just enough voltage to engage starter
Critical: Disconnect within 10 seconds to prevent alternator damage.
Implement Preventive Maintenance Systems
Establish Monthly Battery Care Routine
- Clean terminals with baking soda paste and wire brush
- Apply anti-corrosion grease (not petroleum jelly) to terminals
- Check hold-down clamp tightness—vibration accelerates failure
- Test voltage before long trips—12.4V+ is minimum safe threshold
Optimize Seasonal Performance
In freezing weather: Install a battery blanket ($25) to maintain 70°F core temperature—cold reduces capacity by 50% at 0°F. During summer: Check fluid levels monthly—heat accelerates evaporation. Park in shaded areas to keep under-hood temps below 140°F, which doubles failure rates.
Replace Proactively Before Failure
Most batteries fail between 30–48 months. Replace at 36 months if you experience:
– Slow cranking in cold weather
– Voltage consistently below 12.4V after charging
– Swollen case or terminal corrosion recurrence
Premium AGM batteries last 5+ years but cost 30% more—worthwhile for frequent short-trip drivers.
Reviving a low voltage car battery starts with accurate diagnosis—never assume replacement is needed without voltage testing. Jumpstart only when voltage exceeds 11.8V, then apply smart charging for full recovery. For sulfated batteries, Epsom salt restoration often delivers a second life. Crucially, implement monthly terminal checks and seasonal adjustments to prevent 80% of failures. When batteries consistently read below 11.8V or show physical damage, replacement becomes the only safe solution. Keep a portable jump starter in your trunk, and you’ll transform battery emergencies from crisis moments into minor inconveniences. Remember: proper maintenance doubles battery lifespan, turning what seems like a recurring problem into a rare exception.


