
Your car won’t crank, the headlights are dim, and the battery reads below 12 volts. Before you waste money on a jump-start that only buys temporary relief, learning how to hook up a car battery charger properly could save you from repeated breakdowns. Unlike roadside assistance that merely gets you moving, a full charge restores your battery to peak performance—preventing tomorrow’s morning from becoming another stranded nightmare. This guide delivers precise, actionable steps to safely connect any 12-volt automotive charger, whether you’re reviving a dead daily driver or maintaining a classic in winter storage. You’ll master terminal cleaning, connection sequences, and troubleshooting to avoid dangerous sparks or costly damage to your vehicle’s electronics.
Essential Safety Steps Before Connecting
Protective Gear You Must Wear
Skip safety glasses? Acid spray during charging can cause permanent eye damage. Always wear:
– Chemical-resistant nitrile gloves (latex won’t stop sulfuric acid)
– Face shield or safety goggles—hydrogen gas ignites easily from sparks
– Long sleeves and closed-toe shoes—battery acid eats through cotton
Critical Battery Damage Checks
Never connect a charger to a compromised battery. Before proceeding:
– Look for cracks or bulges—replace immediately if case is swollen
– Check for white crust around terminals (corrosion)—clean with baking soda solution first
– Feel for wet spots—leaking acid means the battery is unsafe to charge
Warning: Never charge a frozen battery. Thaw it to 60°F (15°C) indoors first—charging frozen electrolyte causes explosive pressure buildup.
Required Tools and Vehicle Preparation

Gather These 5 Critical Items
- 12V automotive battery charger (match to your battery type: flooded, AGM, or gel)
- Wire brush terminal cleaner (cone-shaped for tight spaces)
- Baking soda/water mix (1 tbsp per cup) for corrosion neutralization
- 14-gauge extension cord (if needed—never use thinner wires)
- Multimeter to verify voltage before/after charging
Power-Down Sequence for Modern Vehicles
- Turn ignition OFF and remove physical key
- Disable all accessories—dash lights, phone chargers, and entertainment systems
- For keyless cars: Store fob 10+ feet away (in your house) to prevent module wake-ups
- Prop hood securely open—never work under a floating hood
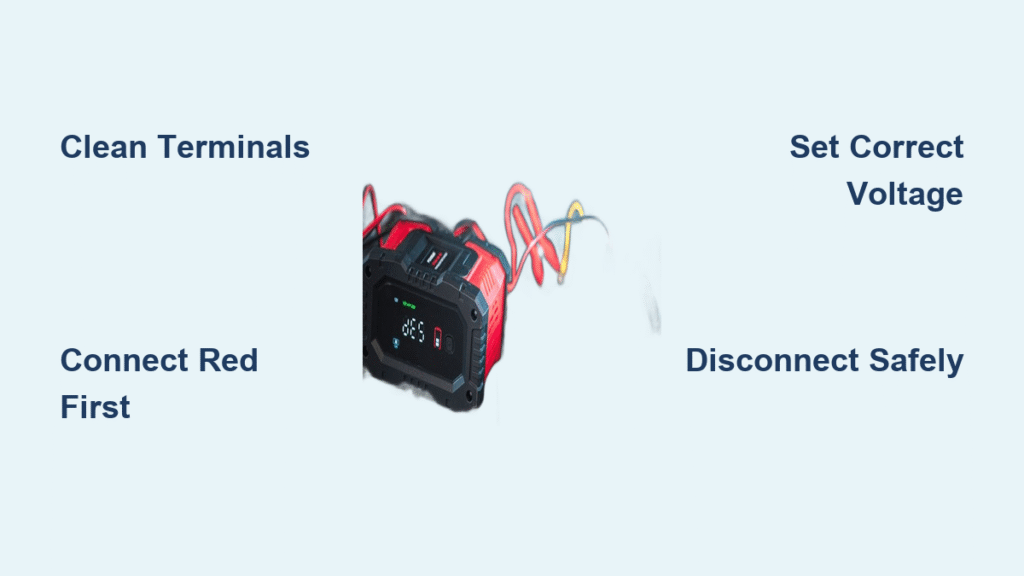
Clean Battery Terminals for Solid Connection
Corrosion Removal That Works
Dip a wire-brush cleaner into baking soda solution and scrub until shiny lead appears on both posts. For stubborn buildup:
– Twist the cleaner clockwise while pressing down
– Rinse residue with water (avoid dripping into vents)
– Dry thoroughly with microfiber cloth—moisture causes dangerous arcing
Pro tip: Heavy corrosion? Apply vinegar first to dissolve sulfates, then use baking soda to neutralize acid. Never touch corroded terminals bare-handed—wash immediately with soap if contact occurs.
Positive vs. Negative Terminal Identification
- Positive (+): Red cable, marked “POS” or “+”—always connect red clamp here first
- Negative (–): Black cable, marked “NEG” or “–”—connect black clamp second
- Never guess—reversed polarity fries onboard computers instantly
Set Charger Parameters to Match Your Battery
Critical Voltage and Amperage Settings
- Voltage: Select 12V (6V only for vintage cars pre-1950s)
- Amperage: Start at 2-5A for overnight charging; 10A max for faster top-ups
- Battery type: Toggle AGM/gel setting if applicable—wrong mode overcharges sealed batteries
Smart Charger Positioning Rules
Place the charger on dry, non-conductive surface (like wood pallet) at least 3 feet from the battery. Never set it directly on the engine bay—it inhales corrosive acid vapors that destroy internal circuits within weeks.
Step-by-Step Connection Sequence

Positive Terminal Connection (Do This First)
- Clip red clamp firmly onto clean positive post until it bites metal
- Test grip: Gently tug—shouldn’t slide off even when wiggled
- Verify contact: No corrosion visible between clamp jaws and post
Negative Terminal Connection (Avoid Sparks Here)
For batteries IN vehicle:
– Attach black clamp to unpainted engine bolt or chassis bracket (not negative post)
– This routes sparks away from battery hydrogen gas
For REMOVED batteries:
– Connect black clamp directly to negative post
– Place battery on rubber mat (never concrete—it discharges slowly)
Power-Up Order That Prevents Arcing
- Double-check red clamp on positive, black on ground/negative
- Plug charger into GFCI-protected outlet FIRST
- Flip charger switch ON
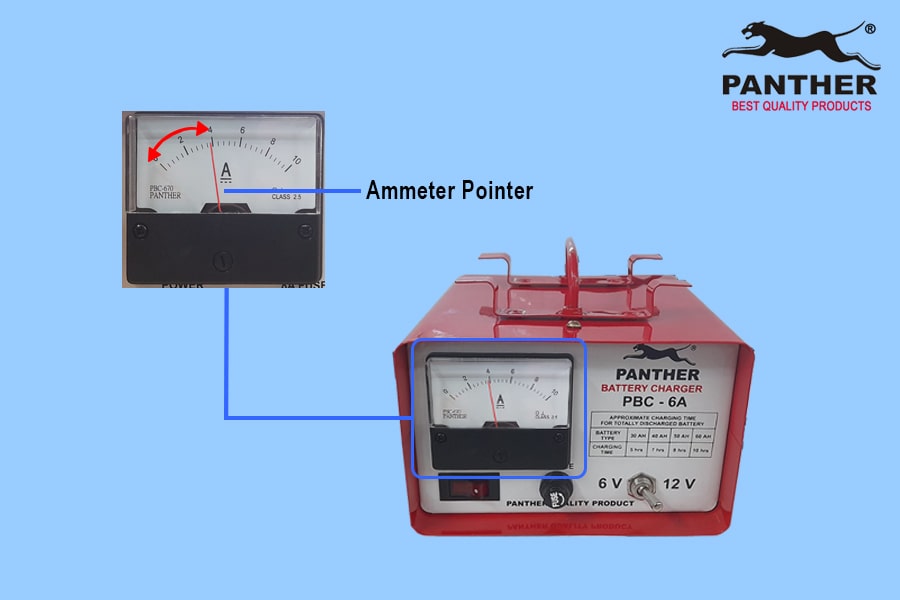
- Watch ammeter—initial high current is normal for dead batteries
Monitor Charging and Know When to Stop
Reading Your Charger’s Signals
- Healthy charge: Amperage gradually drops from 5A → 1A over 6-12 hours
- Problem sign: Zero amps after 10 minutes = bad connection or dead battery
- Full charge: Green light OR multimeter reading 12.6V+ at terminals
Time estimate: A 50% depleted battery takes ~12 hours at 5A. Never exceed 24 hours—even “smart” chargers can fail.
Disconnect Without Dangerous Sparks
Safe Removal Sequence (Reverse Order)
- Turn charger OFF at the unit (don’t unplug first!)
- Remove black (negative) clamp
- Remove red (positive) clamp
- Replace terminal covers if equipped
Post-Charge Function Test
Start the engine immediately. With it running, measure voltage at terminals—13.8-14.4V confirms alternator health. Below 13.5V? Your charging system needs diagnosis.
Troubleshooting Common Charger Failures
“Charger Shows Zero Amps” Fixes
- Re-clean terminals—corrosion creates invisible barriers
- Check clamp teeth—bent jaws won’t grip posts securely
- Test outlet with lamp—GFCI trips often in damp garages
Overheating Battery During Charge?
- Reduce amperage to 2A immediately
- Stop charging if battery exceeds 125°F (52°C)
- Check electrolyte levels in non-sealed batteries (top up with distilled water if low)
Extension Cord Safety for Garage Use
Gauge Length Rules Prevent Fires
| Cord Length | Minimum Wire Gauge | Max Charger Amps |
|---|---|---|
| Under 25 ft | 14 AWG | 10A |
| 25-50 ft | 12 AWG | 15A |
| 50-100 ft | 10 AWG | 20A |
Never use indoor cords—garage outlets require outdoor-rated, grounded 3-prong extension cables.
Prevent Future Battery Failures
Monthly Maintenance That Works
- Check terminal tightness—posts shouldn’t rotate when clamped
- Clean corrosion monthly with baking soda paste (even if minor)
- Test voltage—below 12.4V after driving means recharge needed
Winter Storage Protocol
- For vehicles unused >30 days: Connect smart trickle charger to ring terminals
- OR install battery disconnect switch on negative cable
- Recharge every 6 weeks if no charger available—dead batteries sulfate permanently
Pro tip: Route ring-terminal cables behind grille for instant access. No more struggling with corroded posts in freezing weather.
Your battery should now hold a strong charge for reliable starts. If voltage drops below 12.2V within 48 hours of a full charge, the battery is failing—especially if over 4 years old. Replace it before you’re stranded, and always keep your how to hook up a car battery charger skills sharp for the next emergency. Remember: Proper charging today prevents costly tows tomorrow.


