
Your car won’t start, the lights are dim, and you’re stranded in the driveway. Before you call for a tow truck, know this: replacing your car battery is one of the simplest automotive repairs you can tackle yourself. With basic tools and 30 minutes of your time, you’ll bypass $50-$150 in mechanic fees and get back on the road immediately. This guide walks you through the exact process mechanics use—without the shop markup. You’ll learn why disconnecting the negative terminal first prevents dangerous sparks, how to spot hidden battery locations in luxury vehicles, and what to do if warning lights stay on after installation.
Most modern batteries last 3-5 years, but extreme temperatures and short trips accelerate failure. When your engine cranks slowly or you hear rapid clicking sounds, it’s time for a replacement. The good news? How to install a car battery properly takes less time than waiting for roadside assistance. Follow these steps to avoid common pitfalls like reversed connections or acid spills, and you’ll save money while gaining confidence in your DIY skills.
Essential Safety Gear You Must Wear
Skipping safety gear risks chemical burns or dangerous sparks. Car batteries contain sulfuric acid and emit explosive hydrogen gas—treat them like handled explosives.
Non-Negotiable Protective Equipment
- Chemical-resistant gloves – Prevents acid burns during handling (nitrile or rubber preferred)
- Safety goggles – Shields eyes from corrosive spray during terminal cleaning
- Remove all metal jewelry – Rings or watches can cause short circuits if they touch terminals
- Tie back loose clothing/hair – Prevents snagging on engine components
Critical Safety Protocols
- Never smoke near batteries – Hydrogen gas ignites instantly from sparks or flames
- Work outdoors or in a ventilated garage – Prevents gas accumulation (open garage doors!)
- Keep baking soda solution nearby – Mix 1 tbsp baking soda per cup of water to neutralize acid spills
- Avoid touching both terminals simultaneously – Creates a short circuit that welds tools to metal
Tools That Guarantee a Smooth Installation

Gather these before starting—mid-installation tool runs risk loose connections. Most items are already in your toolbox.
Core Tool Kit
- Socket wrench set – 8mm, 10mm, and 13mm sockets handle 90% of vehicles
- 6-inch socket extension – Reaches buried hold-down clamps under airboxes
- Wire brush – Scrubs corrosion from terminals (dedicate one to battery use only)
- Magnetic parts tray – Prevents bolt loss in engine bay crevices
Pro Cleaning Supplies
- Baking soda/water mix – Neutralizes acid residue (1:10 ratio)
- Anti-corrosion washers – Copper-alloy pads that block future terminal buildup
- Dielectric grease – Thin coat on terminals prevents oxidation (never on contact surfaces)
- Battery terminal cleaner – Twisted-wire brush for stubborn corrosion
Locate Your Battery in Under 60 Seconds

Don’t waste time searching—know these hidden spots before popping the hood.
Common Locations by Vehicle Type
- Standard sedans/trucks: Front engine bay (driver’s side in US models)
- European imports: Trunk (BMW, Mercedes) or under rear seats (Audi, Lexus hybrids)
- Performance cars: Behind passenger seat (Corvette C7) or trunk floor (Porsche 911)
- Uncertain? Check your owner’s manual—search “battery location” in the index
Terminal Identification Cheat Sheet
- Positive terminal: Red cable, “+” symbol, slightly thicker post (connects to starter)
- Negative terminal: Black cable, “-” symbol, thinner post (attaches to chassis ground)
Remove Old Battery Without Sparking
This sequence prevents electrical damage—90% of DIY failures happen here.
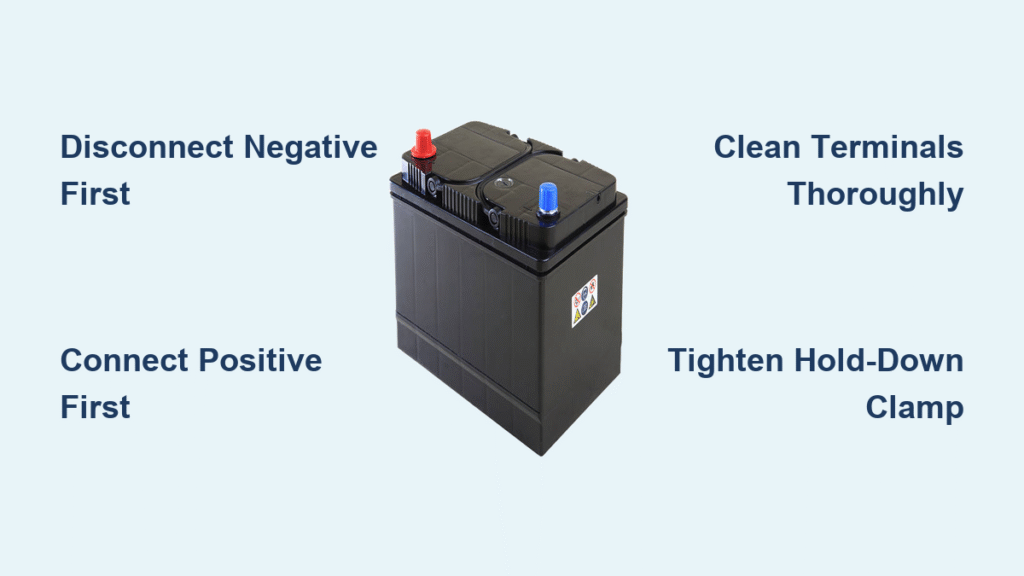
Disconnect Negative Terminal First (Critical!)
Why this matters: Removing negative first breaks the circuit to the chassis, eliminating short-circuit risks.
- Locate negative terminal – Identify black cable with “-” marking
- Loosen terminal nut – Use correct socket (usually 10mm), turn counterclockwise
- Wiggle cable free – Gently rock side-to-side if corroded (never pry with screwdriver)
- Secure cable away – Tuck behind engine block using zip tie
Disconnect Positive Terminal
- Repeat for red cable – Same loosening technique
- Double-check both cables – Ensure they can’t swing back into contact
Remove Hold-Down Hardware
- Photograph clamp positions – Avoid reassembly confusion
- Remove all bolts – Typically 2-3 fasteners (watch for spring washers)
- Lift battery straight up – Use leg muscles (40-60 lb weight), keep upright to prevent acid spill
Clean Corrosion That Kills New Batteries

This 5-minute step extends battery life by 2+ years—most skip it at their peril.
Corrosion Removal Protocol
- Identify buildup – White/green crust indicates sulfuric acid leakage
- Apply baking soda mix – Fizzing confirms neutralization
- Scrub terminals – Use wire brush until metal shines (replace if pitted)
- Clean tray thoroughly – Acid residue here contaminates new batteries
- Dry completely – Compressed air or lint-free cloth (no moisture!)
Prep New Battery
- Peel protective caps off posts (if present)
- Install anti-corrosion washers – Place copper pads between post and cable
- Apply dielectric grease – Thin coat on terminal sides (not contact surfaces)
Install New Battery With Zero Mistakes
Reversing the removal sequence prevents electrical system damage.
Position and Secure Battery
- Align posts correctly – Match “+” and “-” positions to cables
- Seat flat in tray – No rocking or tilting
- Reinstall hold-down – Use original hardware in photographed positions
- Tighten bolts firmly – Battery shouldn’t move when shaken
Connect Terminals in Correct Order
Positive first! Connecting positive before negative completes the circuit safely.
- Attach red cable to “+” post – Slide on fully before tightening
- Snug terminal nut – Finger-tight plus 1/4 turn (overtightening cracks terminals)
- Connect black cable to “-” post – Verify no contact with metal surfaces
- Wiggle test – Cables shouldn’t rotate or slip
Test Installation Before Closing Hood
Verify everything works before you assume success—saves rework.
Immediate Function Checks
- Turn ignition – Engine should crank within 1 second
- Check dashboard – All warning lights extinguish after startup
- Test critical systems – Headlights (no dimming), power windows, radio
- If no start: Wait 2 minutes, recheck connections, retry (max 3 attempts)
Diagnose Common Failures
- Clicking sound: Loose terminal or reversed cable connection
- Complete power loss: Blown main fuse (check under-hood fuse box)
- Dim lights: New battery may need charging (drive 30+ minutes)
Dispose of Old Battery Legally (It’s Free!)
Never trash batteries—they contain lead and acid requiring special handling.
Instant Recycling Options
- Auto parts stores – Advance Auto, O’Reilly’s, AutoZone accept for free
- Claim core credit – Get $10-$20 refund at purchase (keep receipt!)
- Municipal centers – Many cities offer hazardous waste drop-off
- Retailer exchange – Some shops install new battery when you return old one
Troubleshoot Post-Installation Issues
New battery + no start = connection errors 80% of the time.
Quick Fix Checklist
- Recheck terminal tightness – Shouldn’t budge when wiggled
- Verify cable routing – Positive to positive, negative to chassis ground
- Inspect main fuse – 80-150A fuse near battery often blows during install
- Reset vehicle computers – Drive 10+ minutes to clear false warnings
When to Seek Help
- Persistent warning lights after driving
- Burning smell from connections
- Battery won’t hold charge after 48 hours
Extend Battery Life With 2-Minute Habits
Maximize your $150 investment with these maintenance hacks.
Monthly Quick Checks
- Inspect terminals – Wipe minor corrosion with baking soda mix
- Test voltage – 12.6V when off indicates full charge (multimeter required)
- Clean cable ends – Prevents voltage drop during cold starts
Seasonal Upgrades
- Apply fresh dielectric grease every 6 months
- Replace at 3 years – Even if working (failure risk spikes after 36 months)
- Use battery tender for infrequently driven vehicles
Installing your own car battery saves significant money while eliminating tow truck wait times. Remember the golden rules: disconnect negative first, connect positive first, and always wear eye protection. Most installations take under 30 minutes once you’ve done it once—future replacements will take 15 minutes. If your car still won’t start after following these steps, double-check terminal tightness before assuming a defective battery; loose connections cause 9 of 10 “new battery failures.” Keep this guide in your glovebox—you’ll need it again in 3-5 years when your next battery dies. With professional installation costing $50-$150, every DIY replacement puts real savings back in your pocket.


