
Your engine won’t turn over, and you’re staring at corroded battery terminals while traffic whizzes past on the shoulder. One misplaced cable clamp could send sparks flying, melt wiring, or even trigger an explosion from hydrogen gas buildup. The terrifying truth? 9 out of 10 roadside battery failures happen because people connect the cables backward—destroying expensive electronics like the ECU or alternator. But here’s the good news: Plugging in a car battery correctly takes under 10 minutes when you follow the exact sequence professionals use. This guide cuts through the confusion with step-by-step visuals, critical safety checks, and modern vehicle quirks most tutorials ignore.
You’ll learn why positive must always connect first (and what happens if you skip this), how to neutralize corrosive acid safely, and why your BMW or Mercedes might need special handling. Most importantly, you’ll avoid the #1 mistake that turns a simple fix into a $1,200 repair bill. Let’s get your engine roaring again—safely.
Park and Prepare Your Workspace Like a Pro
Pull completely off the road onto dry, level ground—never on gravel that could shift. Engage the parking brake firmly and shift into Park (automatic) or first gear (manual). Remove the ignition key entirely or carry your key fob 20+ feet away; modern keyless systems can accidentally activate the starter during connection. Turn off all accessories: headlights, radio, climate control—anything drawing power risks electrical surges when cables snap onto terminals.
Crucially, roll down both front windows before touching cables. If your battery dies mid-process, power locks could trap you inside a stalled vehicle. Never skip this step—it’s saved countless drivers from being stranded in dangerous locations.
Essential Safety Gear Checklist You Can’t Skip
- Safety glasses with side shields – battery acid can spray 3+ feet if shorted
- Dielectric rubber gloves (rated for 1,000V) – blocks shocks from accidental contact
- Steel-toe boots – a dropped 40+ lb battery crushes toes instantly
- Remove ALL metal – rings, watches, or necklaces cause catastrophic arcs
- Zero ignition sources – no phones, lighters, or sparks within 10 feet (hydrogen gas ignites explosively)
Locate Your Battery and Terminals in 60 Seconds

Pop the hood and scan for the rectangular black case (typically 9”x7”x9”). While 80% of vehicles stash batteries in the engine bay, check these hidden spots if you don’t see it:
– Behind plastic panels near the driver’s or passenger’s feet
– Under the rear seat (common in Cadillacs and Jaguars)
– Inside the trunk (Volvo, Audi, and some BMWs)
Identify terminals instantly:
– Positive (+) = Red cable marked “POS,” “P,” or “+” (often larger diameter)
– Negative (-) = Black cable marked “NEG,” “N,” or “–” (connects to chassis metal)
Pro Tip: If plastic terminal covers are stuck, pry them open sideways with a flathead screwdriver—never force upward, which cracks the housing.
Gather These 5 Tools Before Touching Cables

You’ll move faster with these essentials prepped:
1. Correct wrench size (8mm, 10mm, or 13mm—check your owner’s manual)
2. Stiff wire brush (dedicated for battery use only—never reuse household brushes)
3. Baking soda paste (1 cup baking soda + ⅓ cup water in a disposable container)
4. Non-conductive microfiber rag (cotton frays and conducts electricity)
5. Dielectric grease (prevents future corrosion—not petroleum jelly)
Critical Warning: Never use pliers to force loose clamps—they crush terminals and cause permanent damage.
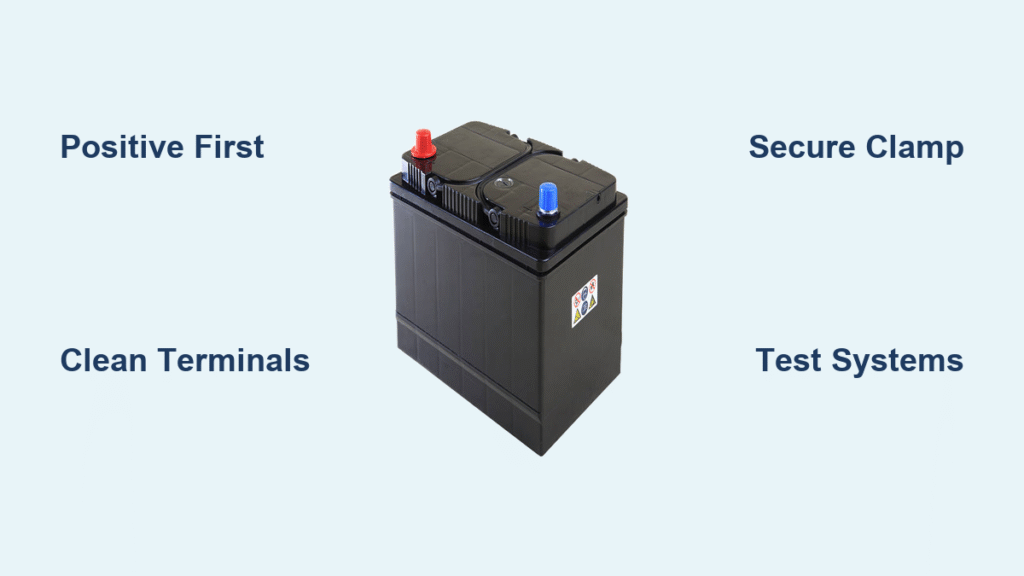
Clean Battery Terminals Before Connecting (Skip This = Slow Starts)
Corrosion (that greenish-white crust) insulates terminals, starving your starter of power. Cleaning takes 3 minutes but prevents 70% of “bad battery” misdiagnoses:
Terminal Cleaning Process That Actually Works
- Dip wire brush into baking soda paste—this neutralizes sulfuric acid safely
- Scrub ONLY the metal contact surfaces inside cable clamps and battery posts (ignore painted exteriors)
- Rinse thoroughly with water—acid residue causes rapid re-corrosion
- Dry completely with rag—moisture = short-circuit risk
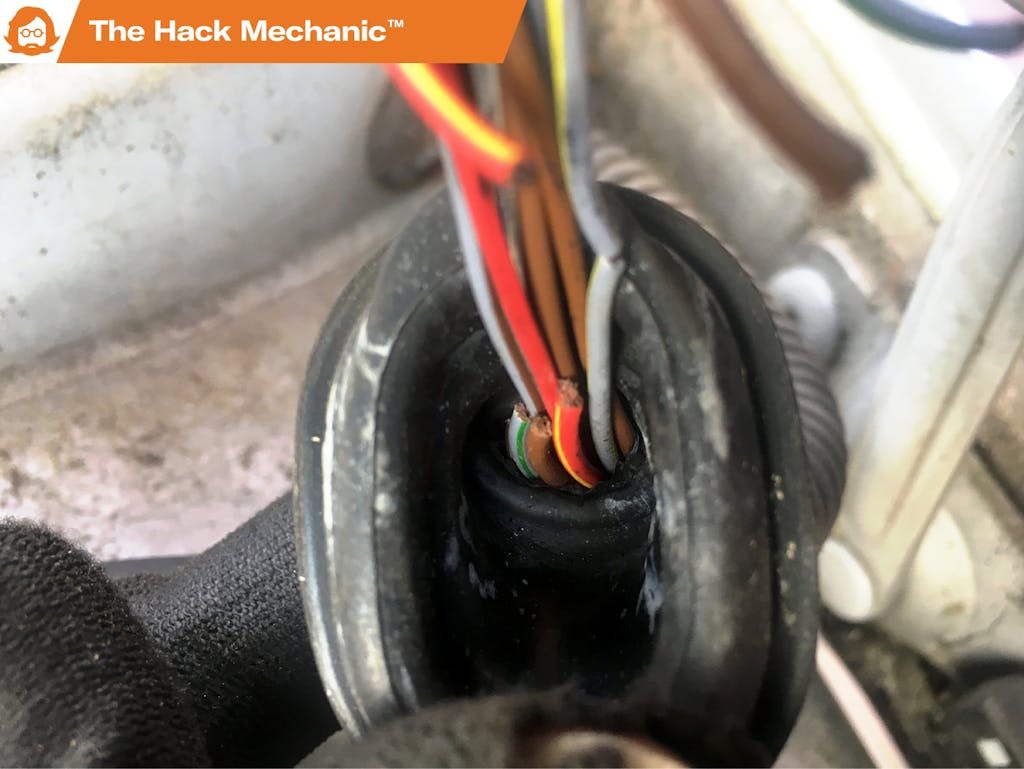
- Inspect cables: Replace any with cracked insulation or exposed copper
Expert Note: If terminals feel “spongy” when tightening, replace bolts immediately—softened metal causes intermittent failures.
Position the Battery Correctly to Avoid Vibration Damage
Set the battery in its tray exactly as the old one sat—terminals must align with cables without straining. Tighten the hold-down clamp until it doesn’t budge when shaken. Loose batteries shift during driving, cracking cases and spilling acid.
Pro Tip: Place felt washers (included in most terminal kits) between posts and clamps—they absorb vibration and block corrosion creep.
Connect Battery Cables in the Exact Right Order (Life-or-Death Step)
This sequence prevents sparks that fry electronics:
1. Positive (+) cable FIRST – slide red clamp onto positive post until it clicks
2. Tighten snugly (finger-tight + ¼ turn—never gorilla-tight; cracks posts)
3. Negative (-) cable LAST – attach black clamp to negative post or clean chassis bolt
Post-Connection Safety Checks That Save Thousands
- Wiggle test: Terminals shouldn’t rotate or lift vertically
- Gap check: Positive clamp must be ½”+ from any metal bracket
- Routing check: Cables shouldn’t hang near belts or exhaust
Apply dielectric grease to exposed metal now—it blocks moisture and extends connection life by 3x.
Test Your Work Immediately (Don’t Drive Until You Do)
Insert the key and crank the engine. Normal startup = smooth turnover within 2 seconds. If it’s sluggish:
– Recheck negative cable tightness (loose grounds cause 60% of slow cranks)
– Wait 3 minutes before retrying—over-cranking burns out starters
Test these systems before driving:
– Headlights (dim = weak connection)
– Power windows (hesitation = voltage drop)
– Radio (error codes = ECU reset needed)
If the car won’t start: Disconnect negative first, re-clean terminals, and retry. Never force multiple cranks—this overheats the starter.
Common Connection Mistakes That Destroy Modern Vehicles
Reversing cables (positive to negative) melts wiring harnesses instantly—replacements cost $800+. Overtightening strips lead posts ($200+ battery replacement). Connecting to painted chassis bolts creates “phantom drain” that kills batteries overnight.
Critical for post-2010 cars: European models (BMW, Mercedes) often require a “memory saver” plugged into the OBD-II port before disconnecting. Skipping this resets seat/mirror presets and triggers sunroof errors.
Charging Without Disconnecting: When It’s Safe (and When It’s Not)
Never plug a battery into a wall outlet—120V AC destroys 12V DC systems. Use only automotive chargers:
– For older cars (pre-1990s): Connect red to (+), black to (-) while battery stays connected
– For modern vehicles: Disconnect negative cable first, then attach charger clamps
– Smart charger setting: 2A for overnight top-ups (higher amps risk ECU damage)
Warning signs: Battery too hot to touch = unplug immediately. Gentle warmth is normal; boiling electrolyte means catastrophic overcharge.
Maintenance Tips That Prevent 90% of Battery Failures
- Clean terminals every 3 months with baking soda paste—prevents voltage drops
- Check hold-down tightness during oil changes—vibration cracks cases
- Replace corroded bolts with stainless steel—standard steel rusts in 6 months
- Photograph cable positions before removal—complex European layouts confuse reassembly
Pro Tip: Keep a $5 terminal cleaning kit (brush + baking soda) in your trunk. It’s saved more stranded drivers than jumper cables.
Quick Reference Checklist: Connect in 7 Steps
- Park safely – flat ground, parking brake, windows down
- Gear up – safety glasses, rubber gloves, zero metal jewelry
- Clean terminals – baking soda paste, brush, dry thoroughly
- Position battery – original orientation, clamp secured tight
- Connect POSITIVE cable first – snug but not overtightened
- Connect NEGATIVE cable last – test for accidental contact
- Test systems – engine start, lights, windows before driving
Following this exact sequence ensures your car battery connects safely while protecting $1,500+ in sensitive electronics. Remember: Positive first when connecting, negative first when disconnecting—that’s the golden rule that keeps you and your vehicle intact. The next time your engine won’t turn over, you’ll know exactly how to plug in a car battery without gambling your safety or your wallet. Keep this guide in your glovebox—it might just save your day.


