
Dead battery killing your morning commute? Corrosion eating through your terminals? Learning how to remove a car battery properly is a critical DIY skill that saves $50-100 per service visit. Most automotive batteries weigh 30-60 pounds and contain highly corrosive sulfuric acid—improper handling risks electrical shocks, acid burns, or permanent vehicle damage. This guide delivers battle-tested steps for safe removal, whether you’re replacing a failing unit or performing routine maintenance. You’ll complete the job confidently in under 30 minutes with standard tools.
Before touching a single terminal, understand this: Car batteries store enough energy to deliver lethal shocks and cause explosive sparks if mishandled. Never skip safety prep—this isn’t just about protecting your vehicle but preventing life-altering injuries. Follow these exact procedures to avoid common pitfalls that turn a simple task into an emergency room trip.
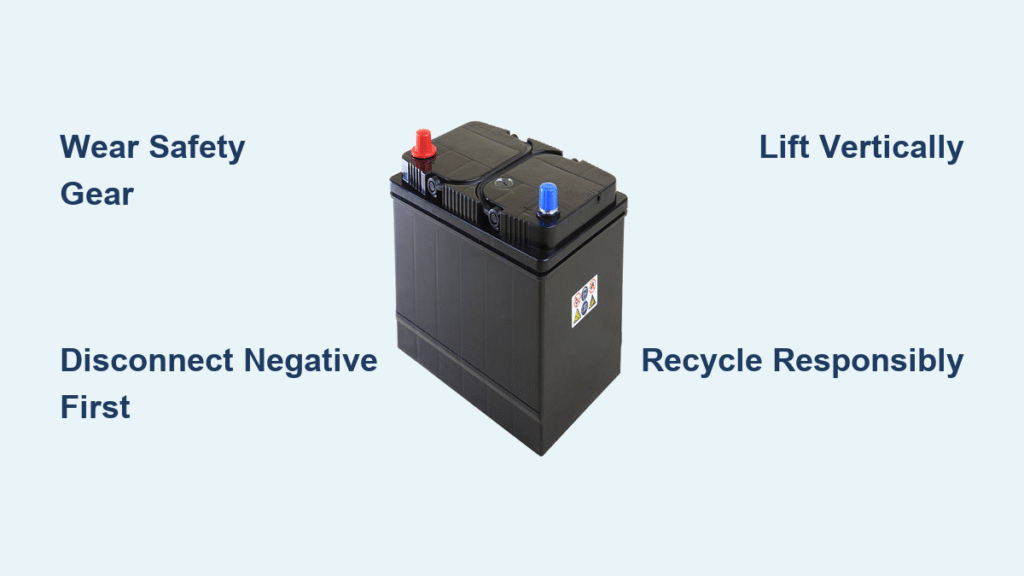
Essential Safety Gear You Must Wear
Skipping protective equipment risks blindness or chemical burns—acid spills can permanently damage eyes and skin. Gear up before opening the hood, not after you spot corrosion.
Non-Negotiable Safety Items
- Heavy-duty rubber gloves: Acid-resistant material (minimum 15 mil thickness) shields against sulfuric acid splashes
- ANSI-approved safety goggles: Must seal completely—regular glasses won’t prevent acid runoff into eyes
- Zero-metal policy: Remove all rings, watches, and bracelets; metal contact between terminals causes instant short circuits
- Outdoor workspace: Batteries emit hydrogen gas—never work in enclosed garages without cross-ventilation
Critical warning: Never attempt removal with a hot engine. Wait 15 minutes after shutdown for electrical systems to discharge and components to cool below 120°F (50°C). Test hood temperature with the back of your hand—if uncomfortable to touch, wait longer.
Tools Required for Safe Battery Extraction

Gathering tools mid-process creates dangerous distractions. Organize everything within arm’s reach before starting.
Core Tool Kit (95% of Vehicles)
- 8mm, 10mm, and 13mm socket wrenches: Most terminals use these sizes (have extensions ready)
- Stiff wire brush: Dedicated only to battery work (never use toothbrushes—acid residue contaminates)
- Baking soda neutralizer: Mix 1 tbsp per cup of water in a plastic container
- Insulated zip ties: Secures cables away from metal surfaces (metal clips cause shorts)
- Magnetized parts tray: Prevents bolts from rolling into engine bay
Specialized Tools for Stubborn Connections
- Battery terminal puller: $8 tool that safely breaks corrosion bonds (prying with screwdrivers cracks terminals)
- Corrosion-resistant terminal cleaner: Removes lead sulfate buildup without damaging cable ends
- Anti-corrosion felt washers: Installs under terminals to prevent future acid damage
Locate Your Vehicle’s Battery Position

Don’t assume it’s under the hood—manufacturers hide batteries in increasingly creative spots.
Common (and Uncommon) Battery Locations
- Engine compartment: 80% of vehicles—check near firewall or fender wells
- Trunk: Common in BMWs, Audis, and luxury sedans (lift spare tire cover)
- Under rear seats: Required in some EVs/hybrids (e.g., Toyota Prius)
- Front wheel well: Used in compact cars like Mini Coopers (protected by plastic shield)
Pro tip: If you can’t find it, consult your owner’s manual’s “jump starting” section—manufacturers always diagram battery location there.
Correctly Identify Positive and Negative Terminals
Mixing up terminals causes catastrophic sparks that melt tools and fry electronics. Verify twice before touching anything.
Terminal Identification Checklist
- Negative (-): Black cable always connected to chassis/engine block (marked with “NEG” or “–”)
- Positive (+): Red cable always leading to starter motor (marked “POS” or “+”)
- Plastic covers: Peel back only after confirming polarity—many modern cars hide markings
Critical verification step: Trace cables with your eyes. Positive connects to the starter solenoid; negative bolts directly to metal. If unsure, take a photo before disconnection—your phone camera becomes a foolproof reference.
Disconnect Terminals Using the Correct Sequence
Removing positive first risks a 500-amp short circuit—your wrench becomes a molten projectile if it touches metal. Follow this exact sequence.
Remove Negative Terminal First (Step-by-Step)
- Uncover terminal: Peel back black plastic cap with needle-nose pliers
- Loosen clamp: Place correct socket on nut and turn counterclockwise (no hammering—stripped nuts require extraction kits)
- Break corrosion bond: Gently wiggle cable side-to-side while lifting (never pry vertically)
- Secure cable: Clip negative wire to radiator support with zip tie—3 inches minimum from battery
- Cover terminal: Slide plastic cap back on or wrap in microfiber cloth
Remove Positive Terminal Second (With Extra Caution)
- Repeat process: Use identical technique as negative terminal
- Isolate cable: Secure positive wire separately from negative—never let them touch metal simultaneously
- Double-check clearance: Ensure both cables hang freely with zero chance of swinging back
Stuck terminal fix: Spray penetrating oil on the clamp base (not terminals), wait 5 minutes, then use a terminal puller. If corrosion fuses cable to post, apply baking soda paste to neutralize acid before forcing removal.
Remove Battery Hold-Down Brackets
A bouncing battery cracks cases and causes acid leaks—this bracket prevents catastrophic failure.
Bracket Removal Protocol
- Locate all fasteners: Most vehicles use 10mm bolts (check under battery tray—some have hidden clamps)
- Loosen completely: Turn bolts counterclockwise until fully disengaged—never remove one bolt completely before starting others
- Inspect tray: Remove debris and corrosion with wire brush before extraction
- Handle with care: Set bracket aside on clean rag—paint chips cause rust spots
Critical check: Some German vehicles (e.g., Mercedes W204) use dual brackets—one top, one side. Miss one and the battery won’t lift.
Safely Lift Out the Battery
Tilting causes acid spills that eat through concrete and ruin clothing. Lift like hazardous material.
Proper Extraction Technique
- Grip securely: Place palms flat on battery sides—never lift by terminals (they break off)
- Lift vertically: Keep battery perfectly level (even 15° tilt risks leakage)
- Use leg power: Bend knees deeply—batteries average 40 lbs (18 kg), straining backs
- Place immediately: Set on cardboard or plastic sheet 6+ feet from work area
Battery won’t budge? Rock gently side-to-side while lifting—never use screwdrivers as levers. If fused, recheck hold-down brackets and terminal connections.
Clean Corrosion Before New Installation
Old corrosion transfers to new batteries, killing them in weeks. Neutralize all residue.
Professional-Grade Cleaning Process
- Neutralize acid: Pour baking soda solution over terminals until fizzing stops
- Scrub thoroughly: Use wire brush on cable ends, terminal posts, and tray surfaces
- Rinse with water: Spray clean water to flush residue (avoid electrical components)
- Dry completely: Air-dry 10 minutes or wipe with lint-free cloth—no moisture before reinstallation
Pro tip: Apply anti-corrosion gel (like NOCO NCP2) to terminals—creates barrier against future sulfate buildup.
Prevent Modern Vehicle Lockouts
Disconnecting power triggers security modes in 2010+ cars—your radio or doors may lock you out.
Avoiding Electronic Nightmares
- Use OBD2 memory saver: $15 device plugged into diagnostic port maintains ECU memory
- For keyless systems: Keep physical key fob in left pocket during removal (right pocket sensors may deactivate)
- German luxury cars: BMW/Mercedes require dealer tools to reset modules—consider professional help
- Test immediately: After reconnection, verify windows, radio presets, and auto-start function
Critical note: Tesla Model S/3 batteries require HV system shutdown—never attempt DIY removal.
Recycle Your Old Battery Responsibly
Dumping batteries releases lead into soil—illegal in all 50 states with fines up to $500.
Guaranteed Recycling Options
- AutoZone/O’Reilly: Accept cores for $5-$20 credit (no purchase required)
- Walmart/Tire shops: Most have recycling bins near entrances
- Municipal programs: Call 311 for hazardous waste collection days
- Retailer take-back: Advance Auto Parts gives instant core refund
Core credit hack: Call stores before driving—some limit daily battery intake.
Critical Mistakes That Cause $500 Repairs
Never do these:
– ❌ Disconnect positive terminal first—triggers sparks that fry alternators
– ❌ Work on hot engines—causes thermal shock to battery cases
– ❌ Use metal tools near terminals—creates instant short circuits
– ❌ Skip safety goggles—acid blindness is irreversible
– ❌ Drop battery—sulfuric acid stains concrete permanently
Final Removal Checklist
Before starting:
– [ ] Engine cooled 15+ minutes
– [ ] Safety goggles secured and gloves on
– [ ] Memory saver installed (for 2015+ vehicles)
– [ ] Zip ties pre-cut and tools organized
– [ ] Recycling facility confirmed open
With your battery safely removed, you’re ready for replacement. Remember: Installation reverses the process—always connect positive first, then negative. Store the old battery upright in a garage corner until recycling. Most shops accept cores within 30 days. First-timers complete removal in 25 minutes; with practice, you’ll finish in under 10. This skill pays for itself on the first emergency—no more stranded weekends or mechanic markups.


