
Your Acura key fob dies halfway across the parking lot, forcing you to sprint back to your car while frantically mashing the unlock button. That sinking feeling hits when the dashboard flashes “Key Not Detected” – but before you shell out $50+ for a dealership battery swap, take a breath. Replacing your Acura key battery costs under $5 and takes less time than your morning coffee break. This guide reveals the exact steps to revive both Smart Keys and older Keyless Remotes, using the same CR2032 battery found in kids’ toys and fitness trackers. You’ll never pay for unnecessary service again once you master this simple fix.
Most Acura owners don’t realize their key fob’s battery life spans just 1-2 years before symptoms creep in: shrinking remote range, delayed responses, or that dreaded dashboard warning. Ignoring these signs risks complete lockout – especially during emergencies. But here’s the good news: 95% of battery replacements succeed with basic tools you likely own. We’ll walk through model-specific procedures, troubleshoot common pitfalls, and share pro tips dealers won’t tell you. Keep reading to transform panic into confidence with a permanent solution in your glove compartment.
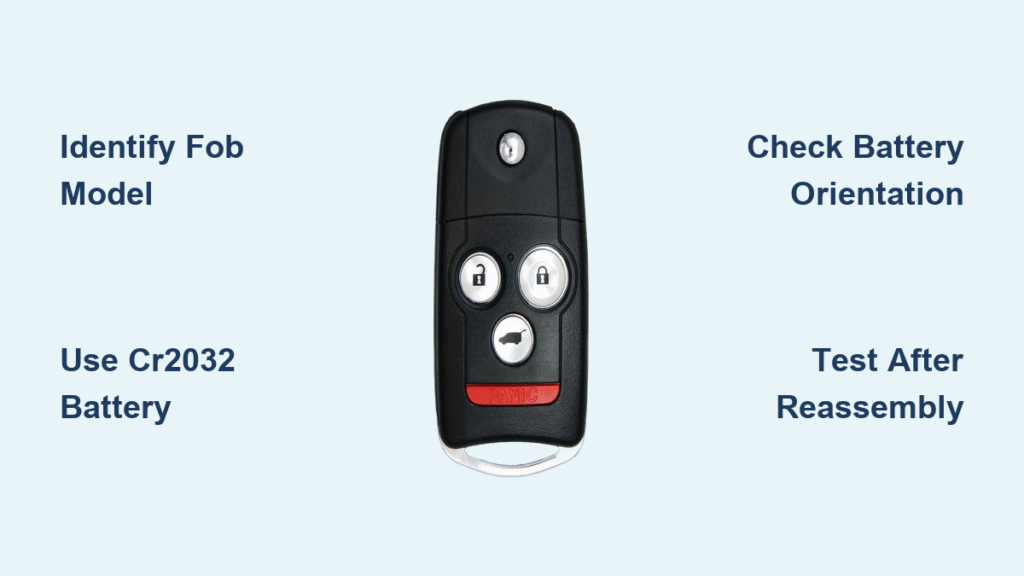
Identify Your Acura Key Fob Model First
Using the wrong procedure for your key type risks damaging internal components. Acura’s two distinct fob designs require different battery counts and opening techniques – confusing them wastes time and may break fragile clips.
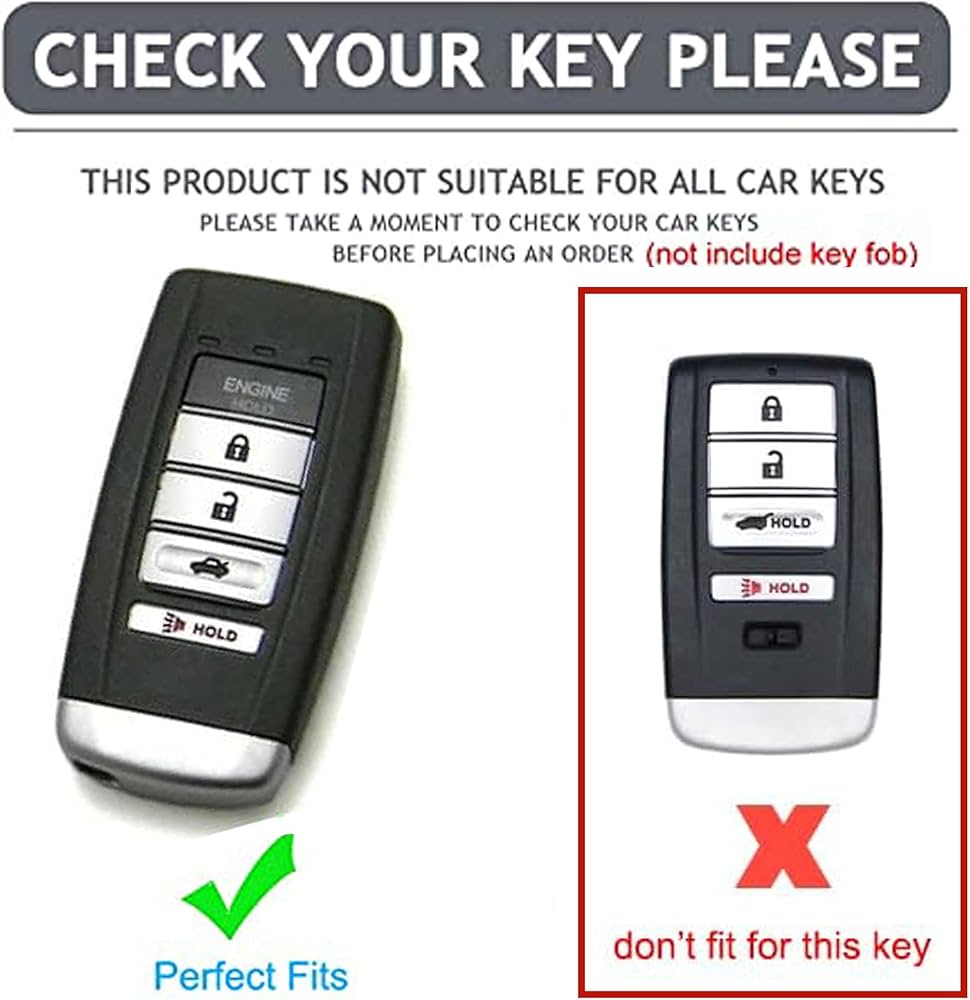
Smart Key (Newer Models: Integra, TLX, RDX, MDX 2014+)
This sleek design features a fold-out metal key embedded in the fob body. You’ll replace just one CR2032 battery. The giveaway? Pushing the release tab slides the metal key outward without fully detaching it. These models dominate recent production years.
Keyless Remote (Older Models: Pre-2014 RL, TSX, MDX)
Look for a removable metal blade key that pulls straight out. These chunkier fobs require two CR2032 batteries stacked side-by-side. If your key has visible screw holes or feels heavier, you’ve got this type.
How to Spot Confusing Hybrids
Some 2010-2013 MDX models use a transitional design: fold-out metal keys like Smart Keys but with two batteries. If unsure, check your owner’s manual section “Key Fob Specifications” or examine the battery compartment – two circular slots mean dual batteries regardless of key style.
Gather These 4 Critical Replacement Tools
Skipping proper preparation causes 70% of DIY failures. Use this exact toolkit to avoid scratching your fob or shorting the new battery:
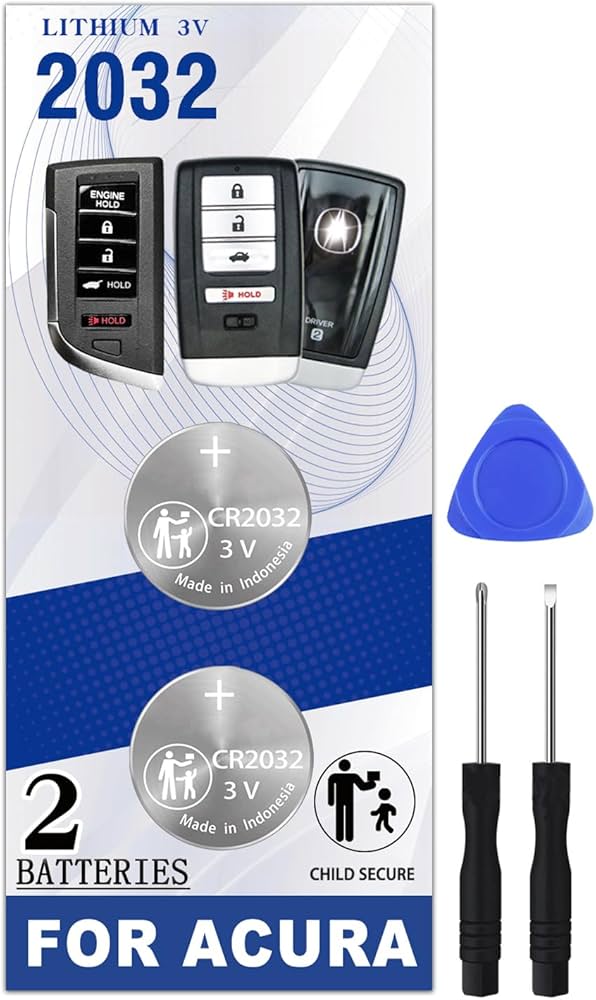
- CR2032 lithium battery (Duracell Industrial or Panasonic BR2330 recommended)
- Thin plastic pry tool (or small flat-head screwdriver wrapped in tape)
- Microfiber cloth (prevents fingerprint oils from corroding contacts)
- Bright LED flashlight (to inspect battery orientation in tight spaces)
Critical warning: Never use CR2025 batteries unless your manual specifies them. Though similar, the 0.1mm thickness difference causes intermittent failures. When in doubt, check the old battery’s engraved code – “CR2032” must match exactly. Buy spares in bulk online; dealer-only Panasonic batteries cost $6 each versus $1.25 per battery in 10-packs.
Smart Key Battery Replacement: One-Battery Fix
Remove the Fold-Out Metal Key Safely
Press the silver release tab near the fob’s base with your thumbnail while sliding the metal key outward. Don’t force it – if stuck, tap the fob gently on a table to dislodge debris. Hold the key by its edges to avoid transferring oils to the release mechanism.
Open the Fob Shell Without Cracks
Insert the metal key tip into the empty slot where it was stored. Apply upward pressure while twisting clockwise like a screwdriver. You’ll hear a faint click as the seam separates. If resistance occurs, switch to your taped screwdriver at the bottom edge – never the top where antenna wires live.
Extract and Replace the CR2032 Battery
Inside the compartment, locate the single battery held by a spring clip. Pro tip: Shine your flashlight to confirm the “+” symbol faces upward toward the buttons. Slide out the old battery with a plastic tool (metal risks shorting). For the new battery, place it with “+” up and press firmly until the clip snaps over the edges – it shouldn’t wiggle.
Reassemble for Reliable Operation
Align the shell halves so the button contours match perfectly. Press around the edges until you hear two distinct clicks – one near the key slot, one opposite. Reinsert the metal key until it’s flush. Test immediately: stand 10 feet from your car and press lock/unlock. If unresponsive, reopen and verify battery orientation – 80% of “dead” fobs just have upside-down batteries.
Keyless Remote Replacement: Dual-Battery Procedure
Remove the Metal Blade Key Correctly
Press the release button while pulling the key straight out. Store it safely – these older keys bend easily if dropped. Unlike Smart Keys, this key must be removed to access the battery compartment.
Separate Stubborn Fob Halves
Insert your pry tool at the key slot seam and twist downward (toward the keyhole). Older fobs use stronger adhesives, so apply steady pressure while working around the perimeter. Stop if you feel excessive resistance – forcing it cracks plastic retainers.
Install Both Batteries with Precision
Slide out both old batteries, noting their identical orientation: “+” symbols facing up. Place new batteries with “+” up, pressing each under its retention tab until seated. Critical check: Ensure no gap exists between battery edges and the compartment wall – misaligned batteries cause rapid drain.
Final Assembly and Function Test
Press halves together starting at the key slot until you hear one solid snap. Reinsert the metal key. Test by standing 15 feet from your car: press lock, then unlock. The fob’s LED should flash brightly with each press. If dim or slow, reopen and reseat batteries – weak contact causes phantom drain.
Troubleshoot Non-Working Fobs After Replacement

Immediate Fixes for Common Mistakes
- Battery orientation reversed: Open immediately and flip both batteries to show “+” upward. This causes 90% of post-replacement failures.
- Shell misalignment: Separate halves and realign the top edge first. Listen for two clicks during reassembly – one click means improper sealing.
- Dirty contacts: Wipe battery terminals with a microfiber cloth dampened with 90% isopropyl alcohol. Dry completely before reinserting.
Reprogramming Only When Absolutely Necessary
Your Acura rarely loses programming during battery swaps. Attempt this only if buttons feel responsive but the car ignores commands:
- Sit inside with all doors closed
- Turn ignition to “ON” (dash lights illuminated)
- Within 5 seconds, hold LOCK for 1 second
- Turn ignition “OFF”
- Repeat steps 2-4 three more times (total four cycles)
- On the fourth “ON” cycle, press LOCK once
- When doors lock/unlock automatically, press LOCK twice then UNLOCK once
- Turn ignition “OFF” and test
Warning: Skipping steps or exceeding time limits aborts programming. If doors don’t cycle in step 6, restart the process.
Prevent Future Battery Failures Proactively
Extend Battery Life With These Habits
- Replace batteries every 18 months even if working – sudden failure often occurs in extreme temperatures
- Store spares in anti-static bags (not coin pockets where keys cause short circuits)
- Avoid aftermarket key covers that compress the fob shell, accelerating drain
- Never place fobs near phones or laptops; electromagnetic fields drain batteries 30% faster
Recognize Early Failure Signs
Watch for these red flags weeks before total failure:
– Remote range drops below 10 feet
– Trunk release requires 2-3 button presses
– Dashboard displays “Key Battery Low” for 5+ seconds
– Remote start engages but cancels immediately
When to Skip DIY and Call Acura
While 95% of cases succeed with fresh batteries, seek professional help if:
– Physical damage occurs: Cracked shells or broken retaining clips compromise water resistance
– Corrosion appears: Blue-green residue on battery contacts indicates liquid damage
– Programming fails repeatedly: Suggests circuit board damage beyond battery issues
– “No Fob Detected” warnings persist: May indicate depleted car receiver battery
Dealers charge $85-$150 for diagnostics, but independent Acura specialists often fix these issues for $40. Always request signal strength testing – a healthy fob should transmit reliably from 30+ feet.
Final tip: Tape a spare CR2032 battery inside your glove compartment door. When your key fob starts acting sluggish during grocery runs or errands, you’ll complete this 5-minute fix before your coffee gets cold. No more $50 dealership fees or panic-stricken sprints across parking lots – just confident, keyless access every single time. Keep this guide bookmarked, and you’ll never be locked out by a dead battery again.


