
Your car won’t start despite installing a new battery? The culprit is likely your corroded or damaged battery terminals. These small connectors between your battery and electrical system often fail long before the battery itself, causing frustrating breakdowns and expensive tow bills. Learning how to replace car battery terminal components properly saves you $100+ in mechanic fees and prevents unexpected roadside emergencies.
This step-by-step guide walks you through the entire process of replacing car battery terminals safely and effectively. You’ll complete this essential repair in under 45 minutes using basic tools you probably already own. By the end, you’ll have secure, corrosion-free connections that deliver maximum power to your starter motor and electrical components.
Why Your Car Won’t Start Despite a New Battery: Terminal Failure Signs
Visible Terminal Damage That Needs Replacement
Look for green or white crusty buildup that won’t clean off with a wire brush—that’s corrosion compromising your electrical connection. Cracked terminals, flaking metal surfaces, or posts that feel loose despite proper tightening all signal immediate replacement is needed. These damaged terminals create resistance that prevents sufficient current from reaching your starter motor, even with a brand-new battery.
Connection Problems That Cause Intermittent Starting
If your battery cables wiggle or rotate on the posts after tightening, or if you’ve repeatedly cleaned corrosion only to have it return within weeks, your terminals have failed structurally. Damaged terminals cannot maintain the firm 360-degree contact your vehicle’s electrical system requires. This intermittent connection causes frustrating no-start situations, especially in cold weather when your starter demands maximum power.
Performance Issues Directly Linked to Terminal Failure
Slow engine cranking, dim headlights at idle, or dashboard warning lights that come and go often trace back to poor terminal connections. After confirming your battery tests good with a multimeter, inspect your terminals next. A voltage drop test showing more than 0.2 volts between the battery post and cable end confirms terminal replacement is necessary before further electrical damage occurs.
Essential Tools for How to Replace Car Battery Terminal Properly

Must-Have Equipment for Terminal Replacement
- Tinned copper replacement terminals with 360-degree compression design (avoid stamped steel)
- Wire cutters or hacksaw for clean cable severing
- ½ inch capacity wire strippers for precise insulation removal
- 8mm-13mm wrench set for terminal nuts
- Stiff wire brush for post cleaning
Critical Safety Gear You Can’t Skip
- Acid-resistant gloves (battery acid eats through standard nitrile)
- Safety goggles (corrosion particles can cause eye injury)
- Baking soda solution (1 tablespoon per cup water for neutralizing acid)
- Clean microfiber rags (avoid paper towels that leave lint)
Professional-Grade Enhancements
- Heat-shrink tubing (¼ inch diameter for moisture protection)
- Heat gun (lighter works in a pinch)
- Terminal grease or anti-corrosion spray (zinc-based for best results)
- Torque wrench (prevents over-tightening damage)
Critical Safety Steps Before Disconnecting Your Battery
Pre-Work Setup for Accident Prevention
Park on level ground with parking brake engaged and engine completely off. Remove ignition keys and wait 5 minutes for electrical systems to power down. Work in a well-ventilated area—battery gases are explosive—and keep all ignition sources far away. Lay down cardboard to protect yourself from underhood debris.
Battery Disconnection Sequence That Prevents Damage
Always disconnect negative first—this breaks the circuit and prevents dangerous shorts. Locate the negative terminal (marked with “-” and typically black cable), then loosen its nut with your wrench. Lift the cable straight off and secure it away from the battery. Only then should you disconnect the positive terminal (marked with “+” and red cable). Never let the wrench touch both terminals simultaneously—this causes sparks and potential battery explosion.
Battery Health Check Before Terminal Replacement
Examine your battery case for cracks, leaks, or bulging sides. If present, replace the battery first—damaged batteries will quickly ruin new terminals. Check electrolyte levels in non-sealed batteries (top up with distilled water if low). A healthy battery is essential for successful terminal replacement, as weak batteries accelerate corrosion on new connections.
How to Safely Remove Corroded Battery Terminals Without Damage
Post Cleaning for Accurate Assessment
Use your wire brush to thoroughly clean both battery posts. Remove all corrosion until the lead appears shiny and silver. This reveals the true condition of your posts and ensures you’re not mistaking post damage for terminal failure. Rinse with baking soda solution and dry completely before proceeding.
Cutting Old Terminals Without Cable Damage
Factory terminals are permanently attached to cables. Position your wire cutters close to the terminal base but ensure at least 1 inch of cable remains for new terminal attachment. Measure twice before cutting—too little cable prevents proper installation. If corrosion extends into the cable, cut until you reach bright copper strands, then strip ½ inch of insulation with your wire strippers.
Cable End Inspection and Preparation
Examine exposed wire strands for hidden corrosion (green discoloration). Clean affected strands with baking soda solution and an old toothbrush until copper shines. Trim any brittle or damaged strands with wire cutters. Properly prepared cable ends ensure maximum conductivity with your new terminals—don’t skip this critical step.
Proper Installation of New Battery Terminals for Maximum Conductivity
Heat-Shrink Tubing Placement Strategy
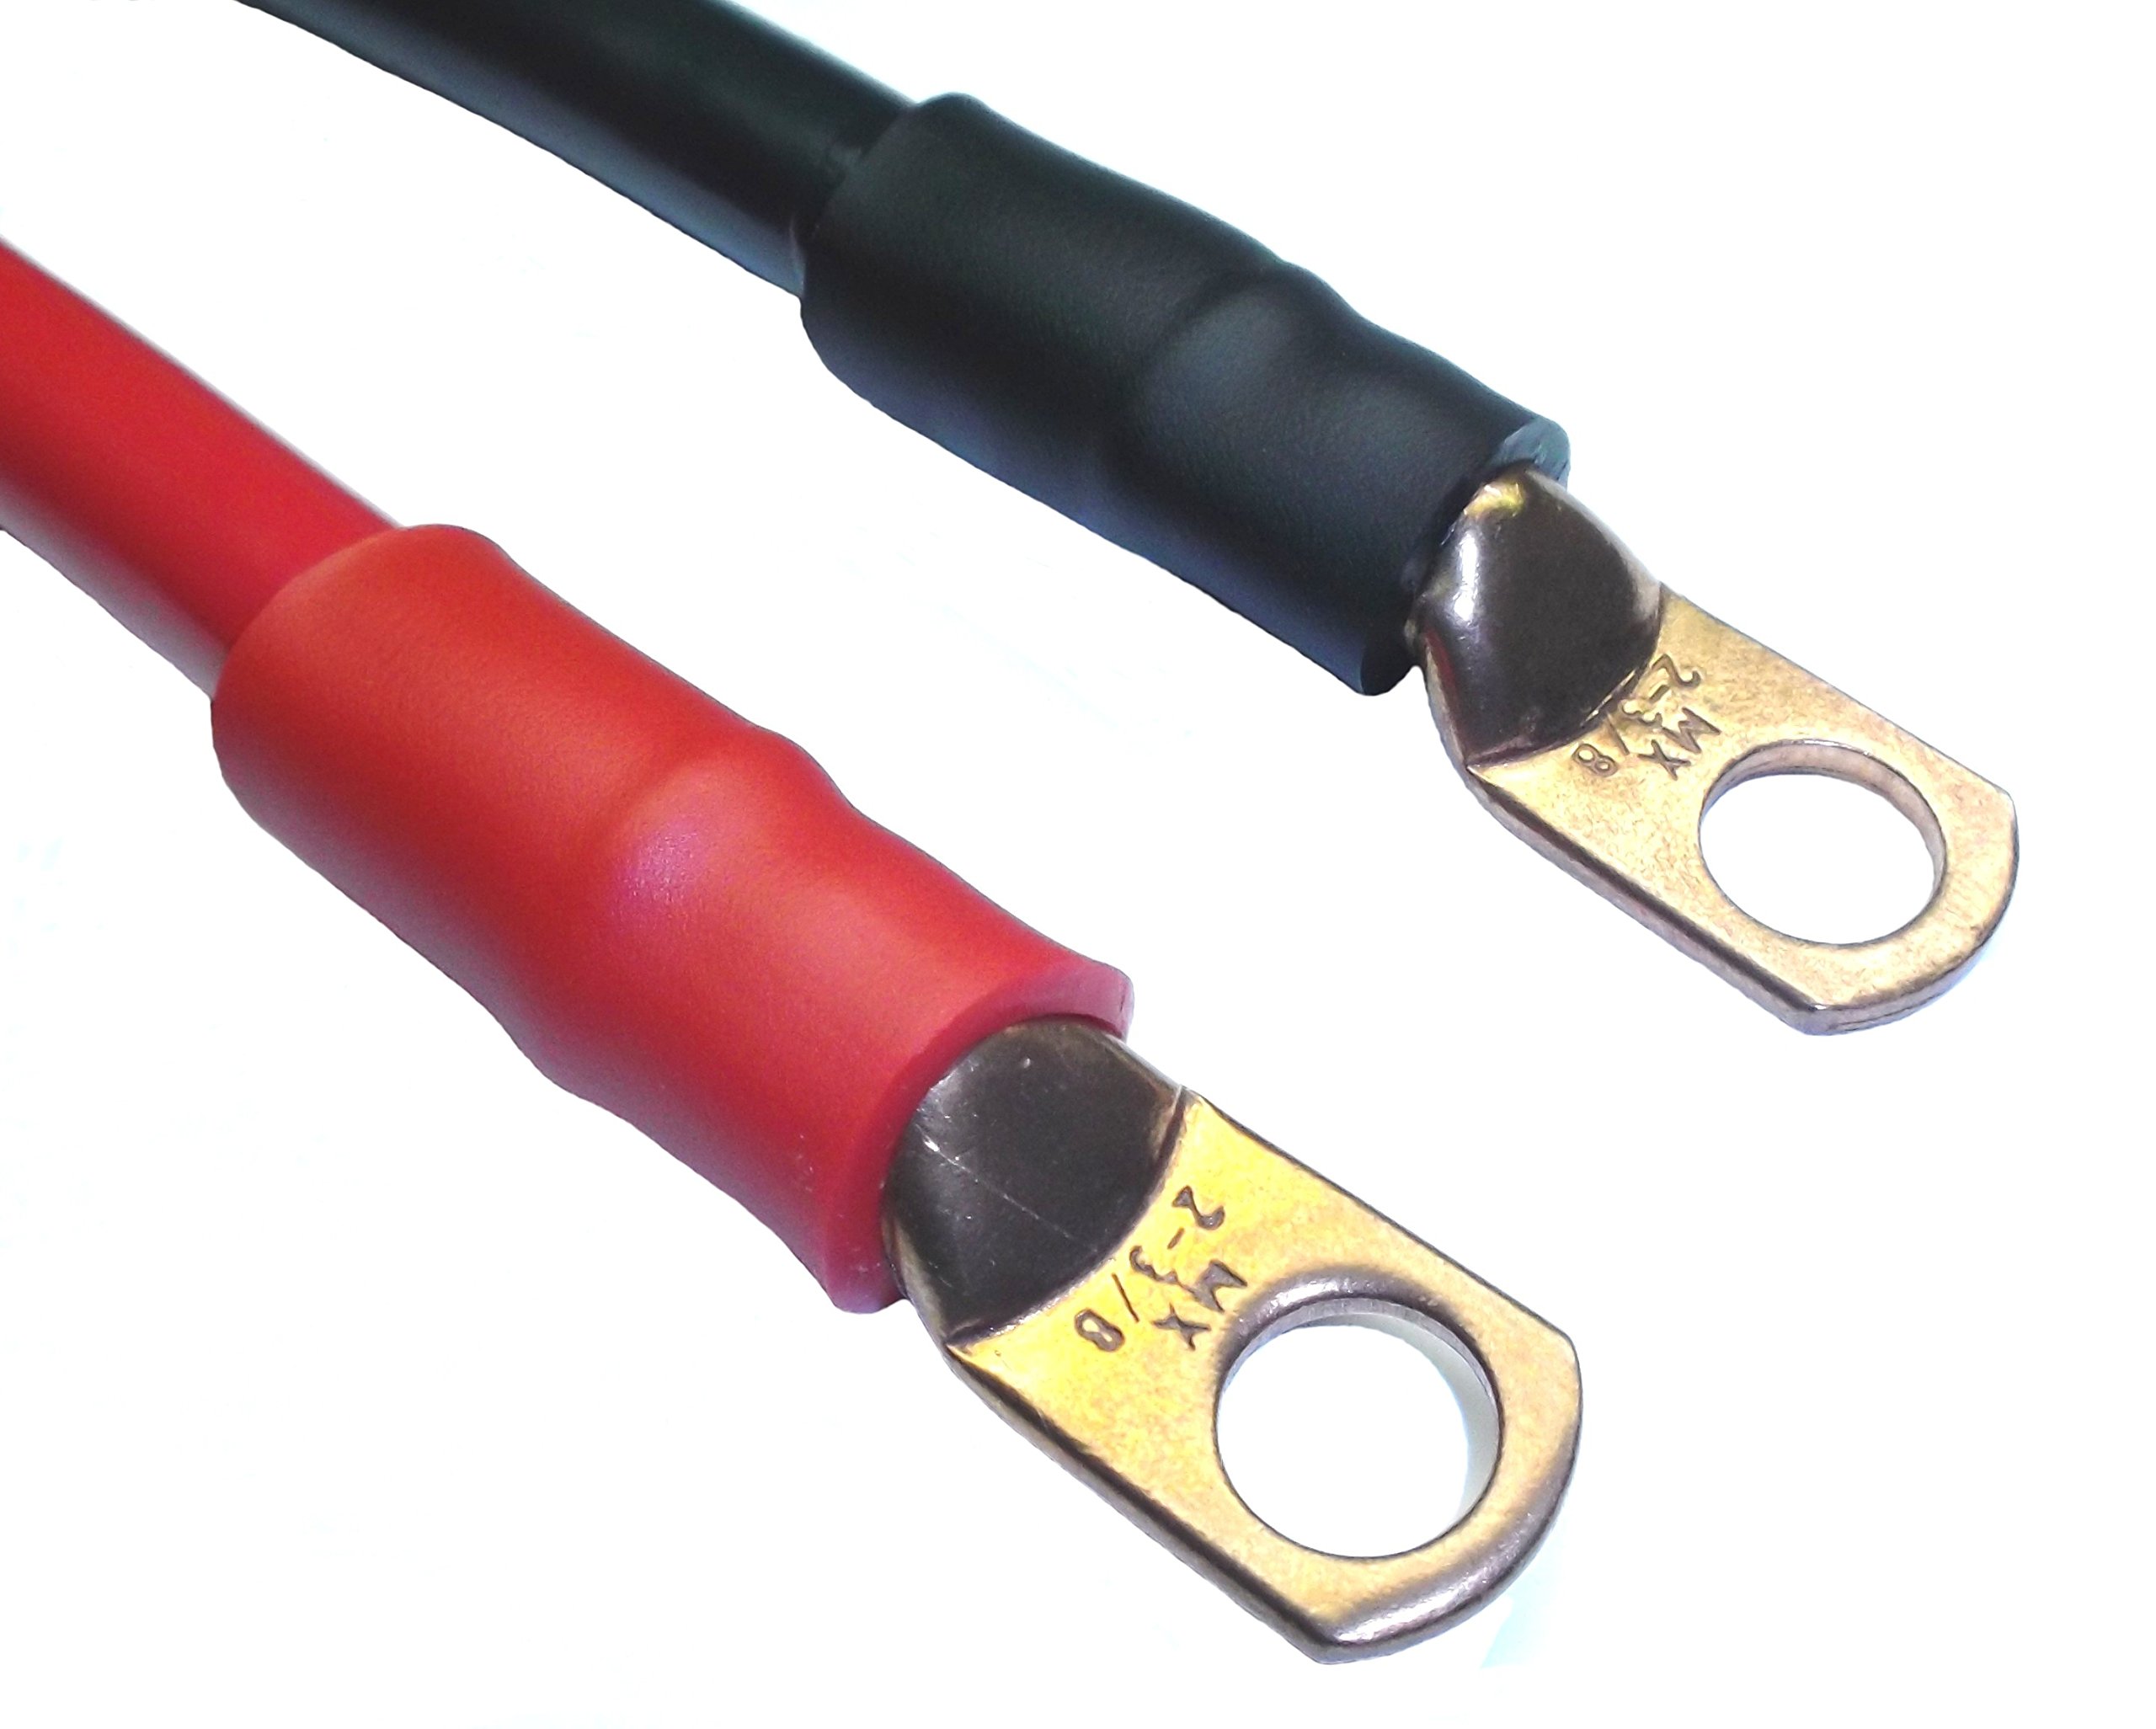
Slide 3-inch lengths of heat-shrink tubing onto cables before attaching terminals—you cannot add it later. Position tubing so it covers the future connection point plus 1 inch of cable insulation. This creates a complete moisture barrier that prevents corrosion at the wire-terminal junction, the most common failure point.
Terminal Attachment Technique for Secure Connection
Insert stripped cable into new terminal until 1/8 inch of wire shows beyond the clamp. This confirms proper insertion without insulation interference. Tighten terminal screws firmly but do not over-torque—snug is sufficient. Over-tightening cracks terminals and damages wire strands, creating future connection problems.
Sealing Connections Against Future Corrosion
Slide heat-shrink tubing over the terminal-wire junction and apply even heat with your heat gun. Rotate the cable as you heat to ensure uniform shrinking. Properly sealed connections repel moisture and road salt, extending terminal life by 2-3 years. Finish by applying a thin coat of terminal grease to the battery post-contact area.
How to Test Your Battery Terminal Replacement Successfully
Reconnection Sequence That Prevents Electrical Damage
Connect positive terminal first, then negative—reverse of removal. Ensure each terminal seats fully on the post before tightening. Apply firm pressure while tightening to create metal-to-metal contact. Properly installed terminals shouldn’t rotate when tightened to manufacturer specifications (typically 5-8 ft-lbs).
Connection Verification Before Starting Engine
Perform the “wiggle test”—grab each terminal and try to rotate it on the post. Zero movement indicates proper installation. Check cable routing to ensure no contact with moving parts or sharp edges. Verify terminal-to-post contact by shining a flashlight at the junction—you should see no gaps between surfaces.
System Performance Test That Confirms Success
Turn the ignition key. Immediate strong cranking indicates successful installation. If problems persist, immediately shut off and check for: reversed polarity (positive to negative), heat-shrink interfering with terminal seating, or loose wire-terminal connections. A voltage test showing less than 0.1V drop confirms optimal conductivity.
Preventing Future Corrosion After How to Replace Car Battery Terminal
Monthly Maintenance Routine for Longevity
Check terminal tightness monthly—loose connections accelerate corrosion. In humid climates, inspect every 2 weeks. Look for early white powder formation, which you can remove with a baking soda solution before it hardens. Reapply terminal grease after each cleaning for continuous protection.
Professional Anti-Corrosion Techniques
Apply terminal grease to the entire contact surface between terminal and post—not just the top. Use felt corrosion pads soaked in inhibitor solution for extra protection in coastal areas. Consider upgrading to brass or copper terminals with protective coatings—they resist corrosion 3x longer than standard steel.
Service Tracking for Early Problem Detection
Document your terminal replacement date and note any electrical issues that reappear. Persistent problems after replacement may indicate alternator overcharging (causing excessive corrosion) or voltage regulator failure. Keep this record for future reference when diagnosing electrical problems.
Troubleshooting Common Post-Replacement Issues
No-Crank Failures After Terminal Replacement
Immediately check polarity—reversed connections can fry your ECU. Verify terminals seat fully on posts (heat-shrink can prevent proper seating if oversized). Confirm cable length—cut too short during replacement prevents full contact. If still no crank, test battery voltage—you may have drained it during the repair process.
Intermittent Electrical Problems Resolution
Inspect terminal tightness at both battery post and wire connection points. Check for damaged wire strands from over-zealous stripping—these create resistance points. Ensure cables don’t contact hot engine components during operation. Intermittent issues often trace to poor wire-terminal contact rather than the battery connection itself.
Cable Length Problems and Solutions
If cables were cut too short, try repositioning the battery slightly in its tray (if space allows). For severe cases, you’ll need new cables—measure twice before cutting replacements. Pro tip: When installing new terminals, leave 1/4 inch extra cable length—it’s easier to trim later than extend. Always test fit before final tightening.
Remember: Properly installed battery terminals should last 3-5 years with basic maintenance. Your vehicle’s entire electrical system depends on these small but critical connections—take the extra 10 minutes to ensure perfect installation. Clean, tight terminals deliver maximum cranking power when you need it most, preventing those frustrating “why won’t my car start” moments in parking lots and driveways.


