
Your Honda Civic won’t start, the headlights are dim, and you’re pretty sure the battery’s toast. Before you panic about expensive repairs, know this: replacing a Honda Civic battery is one of the most straightforward car maintenance tasks you can do at home. With just one wrench and 30 minutes, you’ll have your Civic purring like new—and save $100+ in labor costs. This guide walks you through the complete process for any model year from 2012-2025, covering everything from confirming battery failure to proper disposal of the old unit.
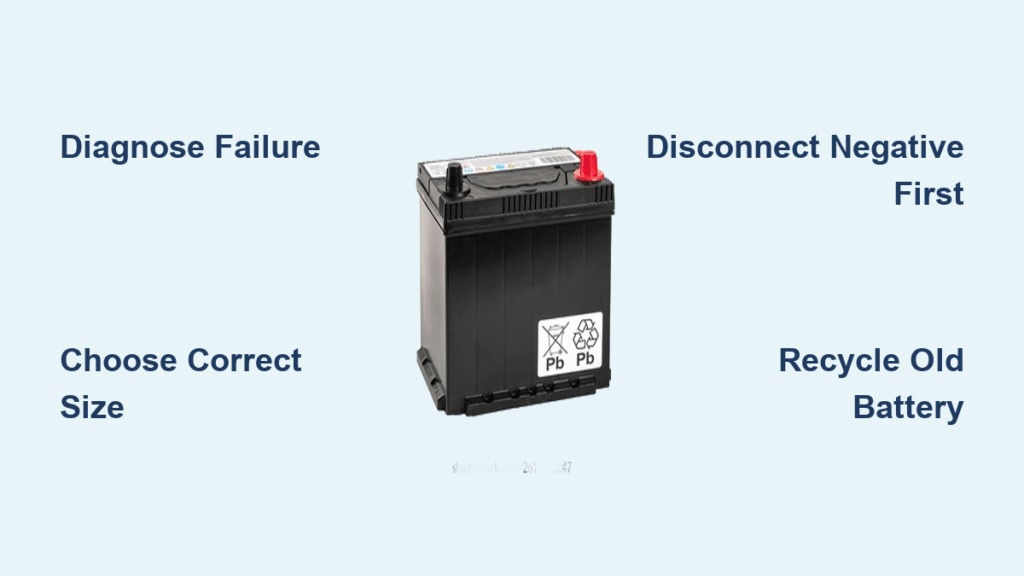
Diagnose Battery Failure Before Replacing
Spot Corrosion and Physical Damage First
Check for blue-white crust around the terminals before assuming battery failure. Never touch this residue bare-handed—it contains dried sulfuric acid that burns skin. A swollen battery case resembling a “pregnant” shape or visible cracks means immediate replacement is necessary. If you detect a rotten-egg smell (sulfur), stop working immediately and ventilate the area—this indicates dangerous internal damage requiring prompt battery replacement.
Verify Voltage with Simple Tests
Grab a multimeter for a 60-second confirmation. With your Civic running normally, voltage must read 13.8-14.2 volts at the terminals. Turn off the engine and retest—you need 12.4-12.8 volts with all accessories off. Anything below 12 volts means the battery can’t hold a charge. No multimeter? Take a continuous 30-minute drive with AC, radio, and phone chargers turned off. If your Civic struggles to restart afterward, battery replacement becomes unavoidable.
Select the Correct Honda Civic Battery
Match Group Size to Your Model Year
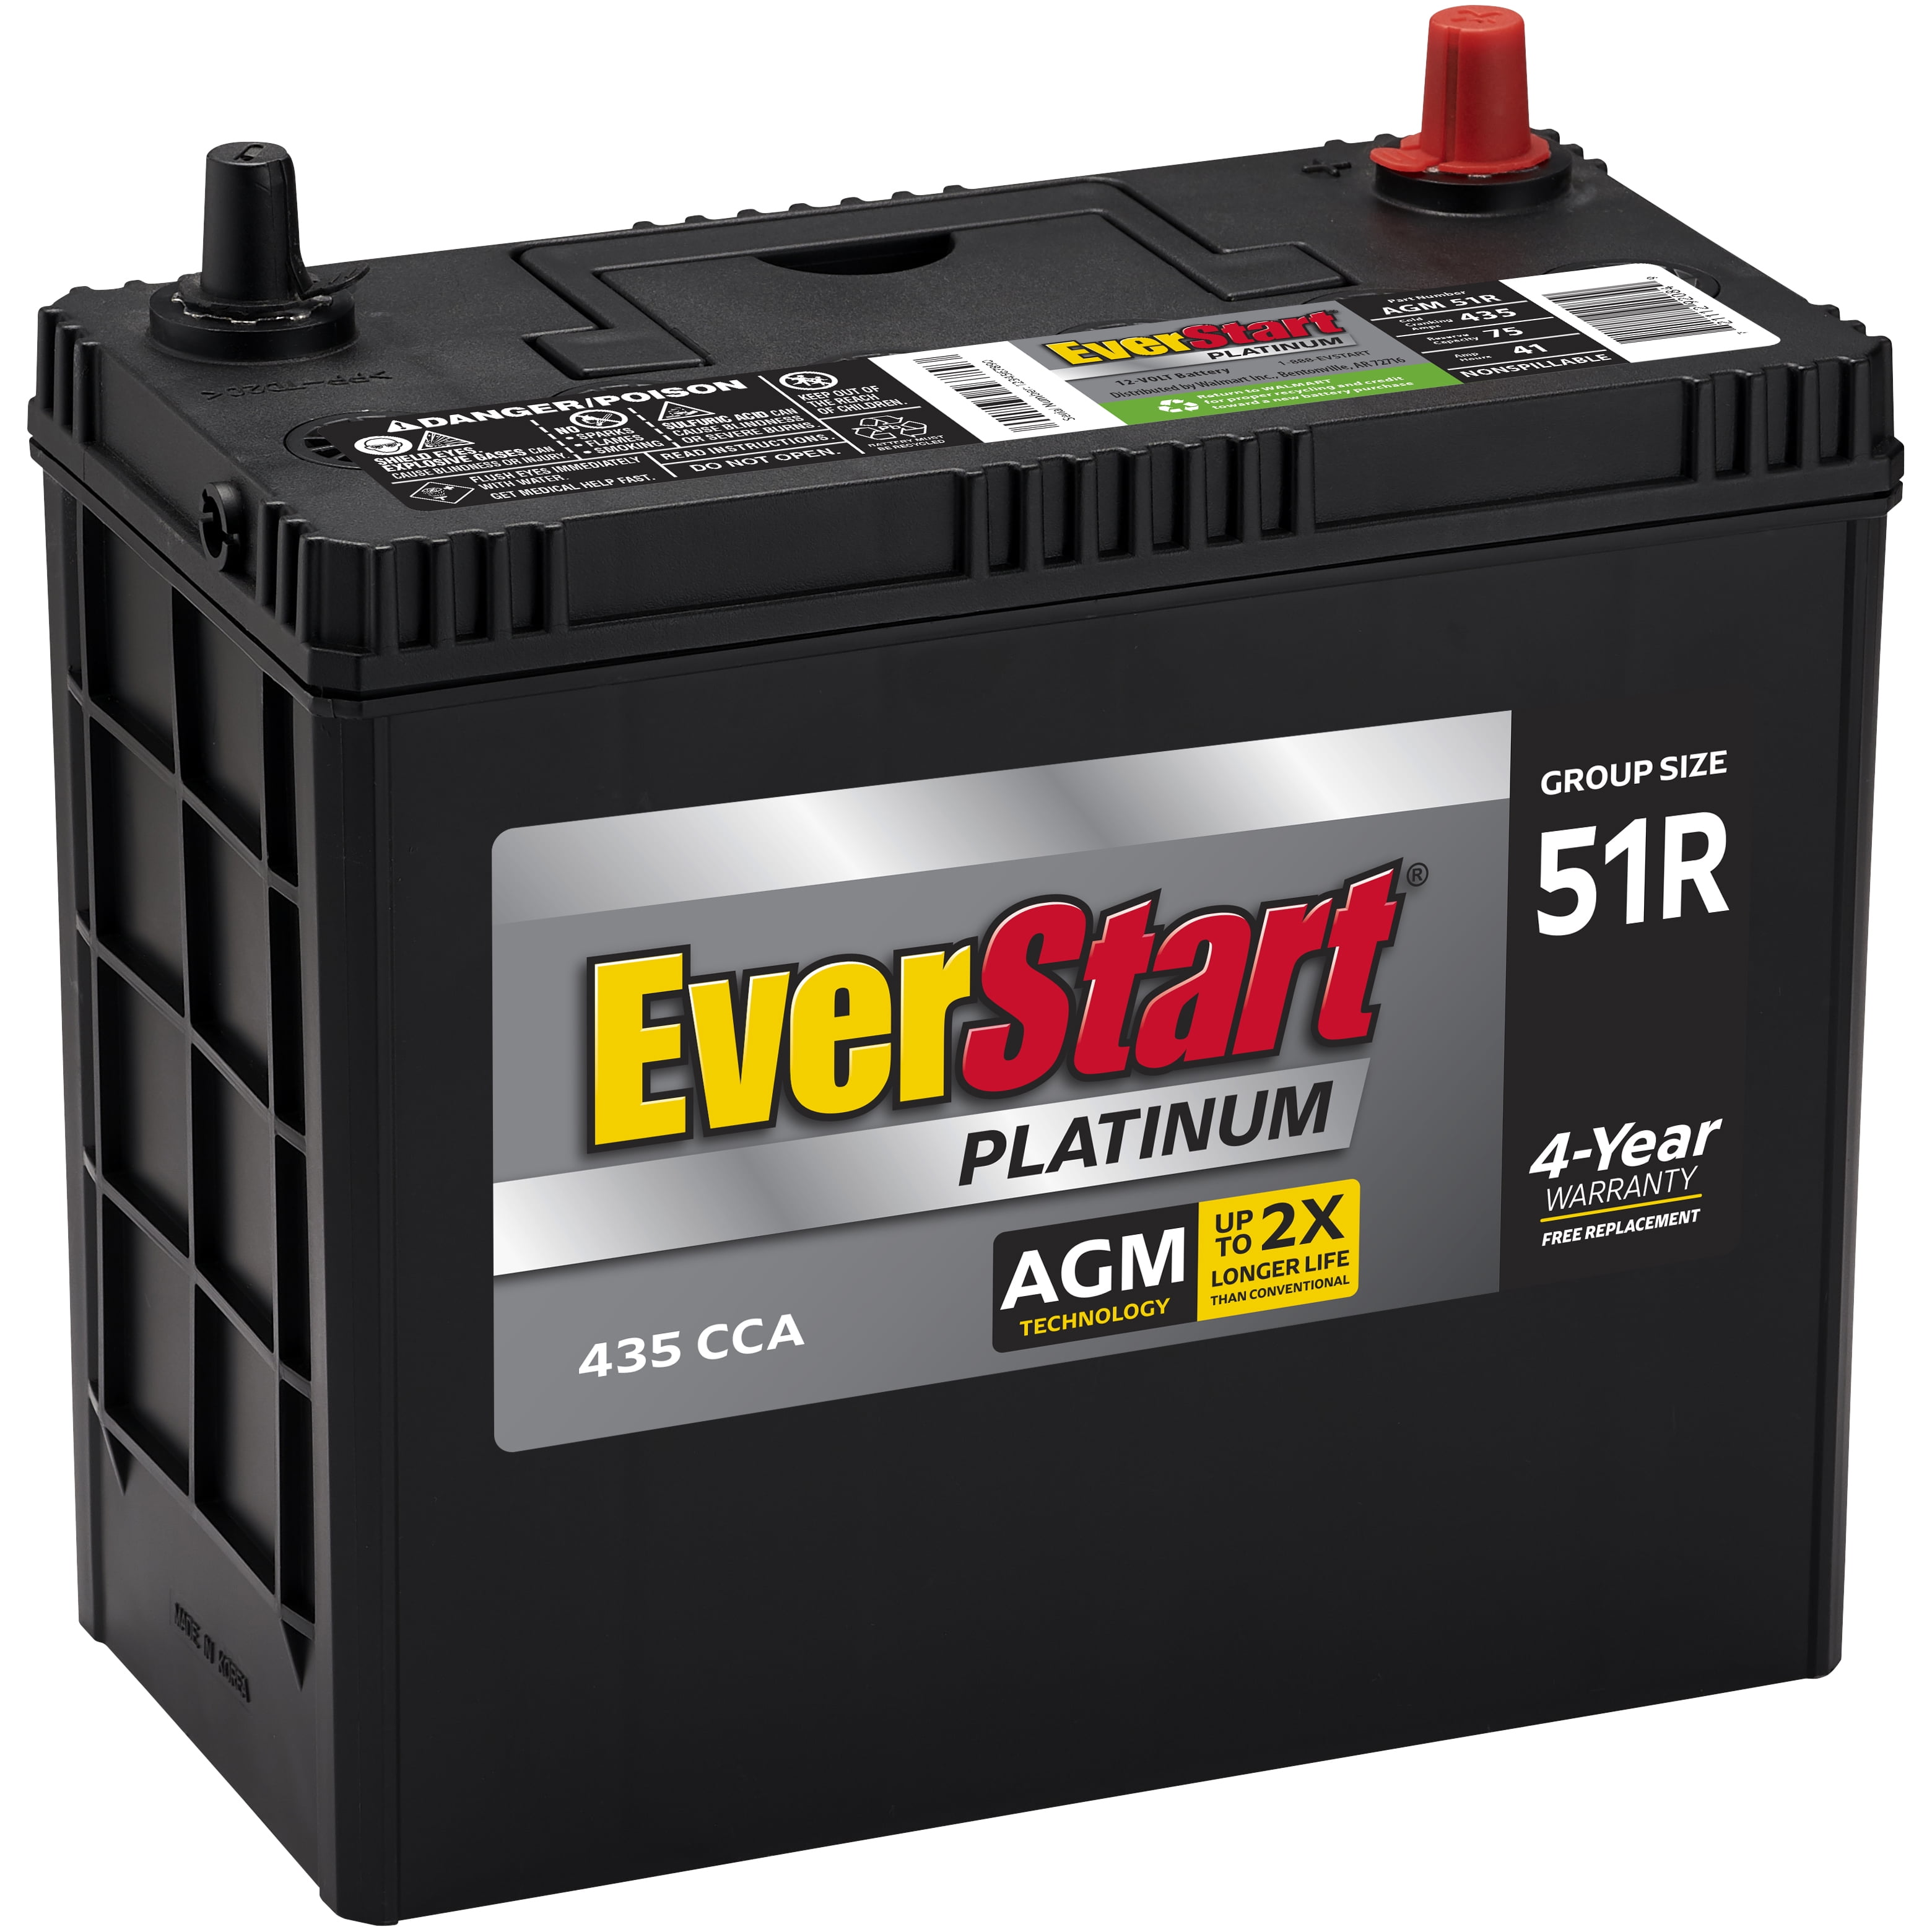
Honda Civics universally use 12-volt systems, but physical dimensions vary. Check your owner’s manual for the exact group size—Group 51R fits most 2012-2025 models. A battery too small bounces around during driving, risking terminal damage, while an oversized unit prevents hood closure. The positive terminal must align with the red cable side (driver’s side on most Civics). Never force-fit a battery; incorrect sizing causes electrical shorts within weeks.
Choose Climate-Appropriate Battery Quality
Aftermarket brands like Duralast, Odyssey, and Optima often outperform OEM batteries at half the price ($120-$200 range). Factor in the $10-$20 core charge refund when returning your old battery. For extreme temperatures:
– Cold climates: Select batteries rated to -30°F with enhanced cold-cranking amps (CCA)
– Hot climates: Choose units with heat-resistant cases rated to 110°F
Avoid bargain batteries—they typically fail within 18 months due to thin lead plates.
Essential Safety Setup and Gear
Mandatory Protective Equipment
Gather these items before starting:
– Safety goggles (acid splash protection)
– Nitrile gloves (chemical and electrical safety)
– 10mm wrench (only tool required for connections)
– Memory saver (optional but prevents radio reset)
Park on level ground with parking brake engaged. Remove all devices from the 12V outlet—phone chargers create electrical spikes during disconnection. Ensure you’re working away from sparks, flames, or smoking areas due to hydrogen gas emission from batteries.
Remove Your Honda Civic Battery Safely
Access Battery Location Correctly
Pull the hood release lever under the driver’s footwell, then push the secondary latch at the hood’s center to fully open it. Secure with the prop rod. The battery sits on the driver’s side of the engine bay, clearly marked with red (positive) and black (negative) terminals. Read all warning labels before proceeding.
Remove Hold-Down Clamp Properly
Use your 10mm wrench to remove the metal bracket securing the battery. This clamp prevents movement during driving—remove it completely to access terminals. Set the clamp aside where it won’t roll away. Never skip this step; attempting terminal removal with the clamp in place risks damaging cables.
Disconnect Terminals in Critical Order
Always disconnect negative first to prevent electrical shorts. Loosen the 10mm nut on the black cable (marked “–”), twist gently, then pull straight off. Tuck the cable behind the battery away from metal surfaces. Never let tools touch both terminals simultaneously—this causes dangerous sparks. Only then lift the red cover and disconnect the positive terminal. Reversing this order risks frying your Civic’s computer system.
Lift Out Old Battery Safely
Batteries weigh 30-40 pounds—bend knees and lift with legs, not back. Remove the plastic cover first, then grip the built-in handles. Lift straight up without tilting to prevent acid spills. Place the old battery on concrete or cardboard—never on grass (acid leaks kill vegetation within hours).
Install Your New Honda Civic Battery

Clean Tray and Terminals Thoroughly
Mix 1 tablespoon baking soda with 1 cup water. Dip a plastic brush into the solution and scrub the battery tray and cable ends. This neutralizes acid residue and ensures optimal electrical contact. Wear gloves throughout cleaning—residual acid remains active. Rinse with clean water and dry completely with a microfiber cloth before installing the new battery.
Position New Battery Correctly
Place the new unit in the tray with the positive terminal (marked “+”) facing the red cable side. Replace the plastic cover first, then secure with the hold-down clamp using your 10mm wrench. The battery should not move when pushed firmly—loose installation causes premature terminal damage.
Reconnect Terminals in Reverse Order
Connect positive first, then negative—the opposite of removal. Slide the red cable onto the positive post, tighten the nut snugly (hand-tight plus 1/4 turn), then repeat for the black cable. Warning: Overtightening cracks battery posts—stop when resistance increases. Wipe any smudges with a clean cloth to prevent future corrosion.
Reset Civic’s Electronic Systems

Reprogram Essential Settings
Your Civic’s computer loses memory during battery replacement. Reset these immediately:
– Radio presets (have your security code ready—check glove box)
– Clock time and date
– Power window auto-up/down positions (hold window switch up 5 seconds after closing)
– Climate control settings
Without the radio security code, your stereo remains locked. Most dealers provide this for free with proof of ownership.
Verify Full System Functionality
Start your Civic—the engine should crank within 1 second. Check for persistent dashboard warning lights (oil pressure light should turn off within 5 seconds). Test headlights (shouldn’t dim at idle), power windows, and AC blower. If electrical accessories malfunction, disconnect the battery for 30 seconds to reset the computer.
Recycle Your Old Battery Responsibly
Never Dispose in Regular Trash
Car batteries contain toxic lead and sulfuric acid—illegal to trash in all 50 states and Canadian provinces. Return your old battery to any auto parts store (AutoZone, O’Reilly, NAPA) to reclaim your core deposit. Most retailers accept batteries regardless of purchase location. In Ontario, Canada, use certified recycling centers or municipal hazardous waste collection events.
When to Skip DIY and Call a Pro
Critical Warning Signs
Avoid DIY replacement if you notice:
– Severely corroded or damaged battery cables (requires professional wiring repair)
– Burning smells or melted components (indicates electrical fire risk)
– Complex systems like Honda Sensing safety features needing recalibration
– Active warranty on vehicles under 3 years old
Professional Service Options
Richmond Hill Honda in Ontario offers OEM-spec battery service with computer diagnostics. Expect $50-$100 labor plus parts. AutoZone provides free battery testing and installation with purchase—ideal if you’re uncertain about the process. For Civics with advanced keyless entry systems, professional installation prevents security system lockouts.
Maximize Your New Battery’s Lifespan
Climate-Specific Maintenance
- Test voltage twice yearly (free at AutoZone)
- Clean terminals quarterly with baking soda solution
- Take 20+ minute drives regularly—short trips prevent full charging
- Extreme cold: Install a battery blanket ($25) if temperatures drop below -20°F
- Extreme heat: Park in shade or garage to reduce thermal stress
Recognize Early Failure Signs
Address these immediately to avoid being stranded:
– Slow cranking only in cold weather (indicates weak charge)
– Headlights dimming at idle that brighten when revving
– Battery warning light on dashboard
– Electrical accessories (radio, windows) working intermittently
Your Honda Civic now starts reliably with a fresh battery that should last 3-5 years with proper care. This simple DIY job saved you significant money while giving you valuable maintenance confidence. Remember to test voltage twice yearly and watch for early failure signs—your new battery will reward you with thousands of trouble-free starts. Always recycle your old unit responsibly to protect the environment and reclaim your core deposit.


