
Your Mercedes key fob suddenly stops working from across the parking lot, forcing you to shuffle awkwardly close to your vehicle just to unlock it. Or worse—you’re stranded when the engine won’t recognize your key at all. These frustrating moments almost always signal one simple solution: how to replace Mercedes-Benz key battery. The best part? You can fix this yourself in under five minutes with just a fresh battery and your emergency key blade. No dealership fees, no waiting, and no special tools required for most models.
This guide cuts through the confusion by giving you exact instructions for every Mercedes key style—whether you drive a 2023 S-Class with its sleek chrome fob or a vintage 2005 E-Class with the classic plastic remote. You’ll discover precisely which battery your key needs, avoid common installation mistakes that ruin functionality, and learn pro storage tricks to make your new battery last twice as long. Stop paying $50+ for a five-minute fix you can do yourself.
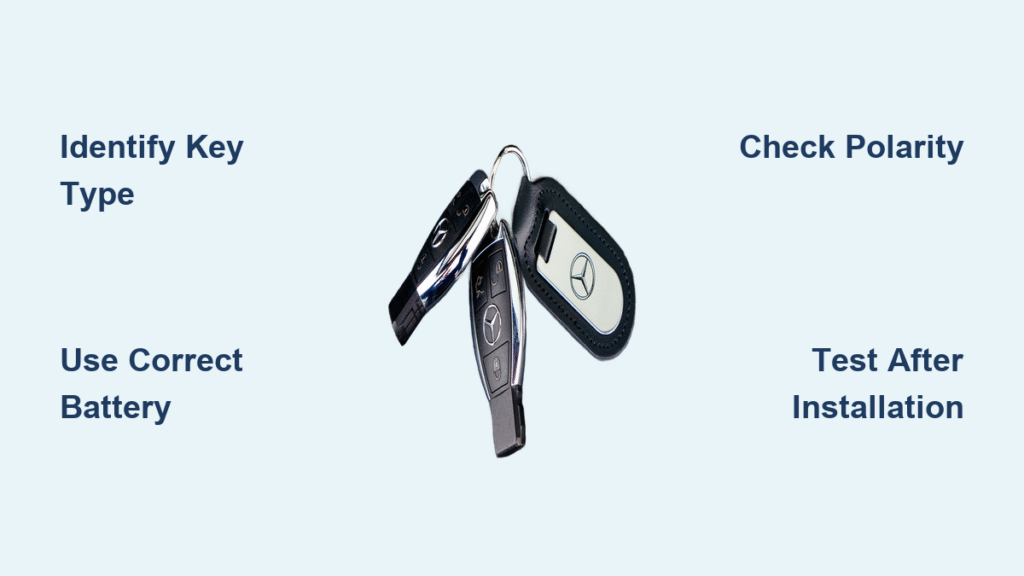
Identify Your Mercedes Key Type Before Opening
Chrome SmartKey Post-2017: Single Battery Design
Check for the sleek silver chrome casing with a distinctive triangular panic button at the bottom. These newer keys (found in 2018+ models like GLE, GLC, and S-Class) use just one CR2032 battery. Don’t confuse them with older chrome keys—post-2017 versions lack the square red panic button section at the top. If your key slides smoothly from your pocket with no protruding buttons, it’s this type. Critical visual cue: The emergency key release button is silver and recessed on the back.
Chrome SmartKey Pre-2017: Dual Battery Variations
Examine the panic button shape carefully. Triangular panic buttons (2013-2017 models) require one CR2025 battery, while circular panic buttons (pre-2013) need two stacked CR2025s. Both share the same chrome metal casing but differ internally. To confirm, check your vehicle’s production date—keys made before 2013 often have slightly bulkier casings. Common mistake: Assuming all chrome keys use the same battery. If your key feels heavier than newer models, it likely houses two batteries.
Original Plastic SmartKey: Consistent Dual-Battery System
Spot the black plastic housing with a prominent red panic button (standard on 1999-2017 models like C-Class and E-Class). Unlike chrome variants, every plastic SmartKey uses two CR2025 batteries regardless of year. The emergency key slot has a distinct sliding latch rather than a button. Pro tip: If your key survived a coffee spill or toddler’s chewing phase, it’s almost certainly this rugged plastic version.
Gather Correct Tools and Batteries (Avoid Costly Errors)
Essential Toolkit Checklist:
– Battery type: CR2032 for post-2017 chrome keys; CR2025 for all others (quantity varies)
– Emergency key blade: Already built into your fob—no extra tools needed for 90% of models
– Optional helper: A fingernail or credit card edge (screwdrivers often scratch chrome surfaces)
Battery Selection Critical Details:
– Never use alkaline batteries: They leak and destroy fob circuitry. Only lithium CR2025/CR2032 (Panasonic or Energizer recommended)
– Cost comparison: $8 for quality batteries online vs. $50+ dealer markups for the same service
– S-Class exception: These require positive-side-up installation—note this before opening
Time-saving tip: Buy two batteries at once. Keep a spare in your glove compartment to avoid repeat failures during emergencies. Most dealers charge $75 just to install what costs you $4.
Replace Newer Chrome Key Battery (Post-2017 Models)
Extract Emergency Key Without Damage
Press the silver release button firmly on the back while sliding the key blade completely out. Warning: Forcing it halfway can jam the mechanism. If resistance occurs, wiggle gently side-to-side. This takes 10 seconds and exposes the battery access point.
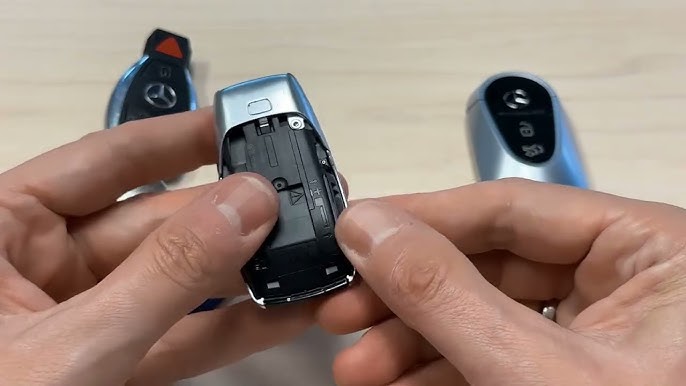
Open Casing Using Proper Technique
Hold the fob with the Mercedes star facing you. Place your thumb on the emergency key slot and slide the back cover downward (not upward) until it clicks free. For S-Class models, insert the key blade into the empty cavity and push inward to release hidden latches. Critical mistake to avoid: Prying with metal tools leaves permanent scratches on chrome surfaces.
Install CR2032 With Correct Polarity
Remove the old battery and insert the new CR2032 with writing facing down (positive side toward the circuit board). S-Class exceptions require positive-side-up installation—verify your model first. Ensure the battery sits completely flat; a tilted battery causes intermittent failures. Visual confirmation: The battery should be level with the compartment edges.
Reassemble and Test Immediately
Slide the cover upward until you hear a distinct click. Reinsert the emergency key fully. Walk 15 feet from your vehicle and test all buttons—if range is still poor, reopen and check battery seating. Properly installed batteries restore full 30+ foot range instantly.
Replace Older Chrome Key Battery (Pre-2017 Models)

Remove Emergency Key Safely
Slide the small tab at the key’s base to release the metal blade. If stuck, tap the fob gently on a hard surface with the tab facing down. Never yank—this bends the internal spring mechanism. The exposed slot now serves as your battery access point.
Access Batteries Without Breaking Clips
Insert the emergency key horizontally into the slot and push firmly downward. The back cover will pop loose in 2-3 seconds. If resistant, rotate the key slightly while pushing—never force it, as chrome keys have fragile plastic clips. For circular-button models, you’ll see two stacked batteries immediately.
Install CR2025s With Uniform Polarity
Remove old batteries and insert new CR2025s with writing facing up (positive side toward you). Stack batteries flat for circular-button models—gaps cause power failures. Pro verification: Press each battery down until you feel slight resistance from the contacts.
Plastic SmartKey Battery Replacement (All Models)
Slide Out Emergency Key Correctly
Locate the small latch at the key’s end and pull firmly toward you. If stiff, warm the plastic in your hands for 30 seconds to loosen it. The latch should release smoothly—forced removal cracks the housing. The open slot now reveals the battery tray mechanism.
Extract Battery Tray Without Damage
Insert the emergency key horizontally into the slot and push straight in. The tray slides out in one motion. Critical visual: Look for the two battery slots labeled with “+” symbols. If the tray resists, realign the key—misalignment bends the metal guides.
Install Dual CR2025s With Precision
Replace both old batteries with new CR2025s positive-side up. Ensure they sit flush against the “+” markers—uneven seating is the #1 cause of post-replacement failures. Press down lightly until both click into place. Slide the tray back until it stops, then reinsert the emergency key.
Warning Signs Your Key Battery Is Failing Now
Immediate action required if you notice:
– Range collapse: Walking within 5 feet to unlock doors (normal range is 30+ feet)
– Delayed ignition: Holding key near START button for 3+ seconds before responding
– Button ghosting: Lights flashing when keys sit in your pocket or purse
– Dashboard alerts: “Key not detected” or battery symbol on instrument cluster
– Partial function loss: Lock buttons working but trunk release failing
Urgent tip: These symptoms worsen rapidly—replace batteries at the first sign of weakness. A dying battery can corrupt your fob’s memory, requiring costly reprogramming.
Battery Life Extension Tactics Mechanics Won’t Share
Triple Your Battery Lifespan With These Moves
- Pocket storage hack: Keep keys in a dedicated inner jacket pocket lined with aluminum foil (blocks accidental button presses that drain power)
- Temperature control: Never leave keys on dashboards—extreme heat cuts battery life by 60%
- Monthly maintenance: Wipe battery contacts with a dry microfiber cloth to prevent corrosion
- Strategic replacement: Change batteries every 8 months even if working—weak voltage damages circuits
Pro disposal rule: Tape the positive terminal of used batteries with clear tape before recycling at AutoZone or Best Buy. Lithium batteries can ignite if terminals touch metal.
Troubleshoot Post-Replacement Failures in 60 Seconds
Fix Non-Working Keys After Battery Change
- Polarity check: For post-2017 chrome keys, confirm CR2032 is installed positive-side down (S-Class exception: up)
- Seating test: Press down firmly on the battery—if lights flicker, it’s loose
- Contact cleaning: Rub terminals with a cotton swab dipped in 90% isopropyl alcohol
- Reset procedure: Hold lock and unlock buttons simultaneously for 10 seconds
When Professional Help Is Non-Negotiable
Visit a Mercedes dealer immediately if:
– Battery replacement fixes nothing after triple-checking polarity
– Cracks appear in the casing (moisture causes internal short circuits)
– Your vehicle displays “Key Programming Required” after replacement
– You own an AMG model (some require infrared sync tools)
Cost reality check: Dealers charge $120+ for battery replacement plus $85 for reprogramming—tasks you’ve now mastered yourself.
Final Tip: Bookmark this guide in your phone. When your Mercedes key dies at 2 AM in a deserted parking lot, you’ll have the exact steps to resurrect it in five minutes flat. Keep that spare CR2025 in your glove compartment—it’s the cheapest insurance against being locked out of your luxury vehicle. For model-specific diagrams, check your owner’s manual section on “Key Fob Maintenance” or visit Mercedes-Benz’s official DIY portal.


