
That frustrating “Check Engine” light lingers after your repair, or your engine idles roughly following a new battery installation. Don’t rush to the dealership—performing a proper how to reset car battery procedure could solve these issues instantly. What many call a “battery reset” is actually resetting your Engine Control Unit (ECU), your vehicle’s central computer. This straightforward process clears stored error codes and allows your car to relearn optimal performance settings, often eliminating phantom problems without expensive diagnostics. In this guide, you’ll discover exactly when to reset, which of the four field-tested methods works best for your specific situation, and critical mistakes that could leave your radio locked or immobilizer system disabled.
Most drivers mistakenly believe disconnecting the battery fixes mechanical issues—it doesn’t. Instead, this how to reset car battery technique clears corrupted adaptive memory and stored diagnostic trouble codes (DTCs) that confuse your ECU after repairs or component replacements. When executed correctly, it restores factory defaults so your engine management system can rebuild accurate fuel trims and idle parameters. Whether you’re preparing for emissions testing or troubleshooting persistent warning lights, understanding this process saves you time, money, and unnecessary service visits.
Why Your ECU Needs Resetting After Battery Service
Ignoring these specific scenarios invites preventable drivability headaches that mimic serious mechanical failures. A proper how to reset car battery procedure becomes essential when you notice these concrete symptoms:
- Check engine light persists after replacing a faulty oxygen sensor or fixing a known issue
- New performance parts installed like cold air intakes or exhaust systems requiring ECU recalibration
- Rough idling or hesitation immediately following battery replacement
- Failed emissions test due to incomplete OBD-II readiness monitors
- Erratic transmission shifting after electrical work
Crucially, resetting won’t mask underlying mechanical problems—it only clears the ECU’s corrupted memory. If the “Check Engine” light returns immediately after resetting, you have an unresolved issue needing professional diagnosis. This distinction separates temporary fixes from genuine repairs, preventing costly misdiagnosis.
Pre-Reset Safety Protocol: Avoid Stranded Scenarios
Skipping these steps risks triggering anti-theft systems or permanent radio lockouts. Complete this checklist before touching any terminals:
- Scan existing codes first using an OBD-II scanner to document persistent DTCs (this reveals if the problem is truly fixed)
- Record critical settings including radio security codes, seat positions, and sunroof presets—most vehicles lose these during reset
- Gather essential tools: 10mm wrench (most common terminal size), safety glasses, fuse puller, and OBD-II scanner if available
- Park on level ground with parking brake engaged and transmission in Park—never attempt this on an incline
- Wait 5 minutes after engine shutdown to allow all vehicle modules to enter sleep mode (prevents voltage spikes)
Critical warning: Disconnecting the battery while the ignition is ON can fry sensitive control modules. Always verify the key is removed and all dash lights are off before proceeding.
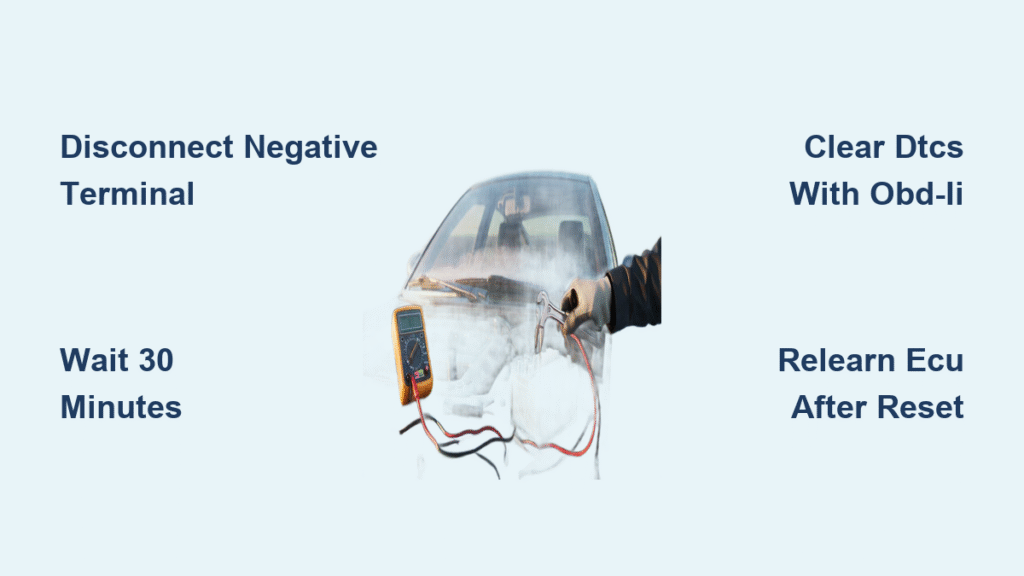
Battery Terminal Disconnect: Universal Reset Method
This remains the most reliable approach across all vehicle makes, especially for stubborn European models.
Negative Terminal Removal Sequence
- Locate your battery (check trunk or under rear seats in BMWs/Audis)
- Identify the negative terminal (marked with “-” or black cable)
- Loosen the clamp nut with a 10mm wrench (turn counter-clockwise only)
- Lift the cable straight up and secure it away from the battery post using zip ties
- Wait 30 minutes minimum (60 minutes for Mercedes/BMW with large capacitors)
- Optional full discharge: After 60 seconds, briefly touch the negative cable to the positive terminal for 3 seconds
Pro tip: Place the disconnected cable on a non-conductive surface like rubber mat—never let it contact metal during the wait period.
Safe Reconnection Process
- Slide the negative clamp fully onto the post before tightening
- Snug the nut to 5-7 N·m torque (finger-tight plus 1/4 turn—overtightening cracks terminals)
- Start the engine immediately and let it idle for 5 minutes
- Drive gently for 15 minutes (avoid hard acceleration) to complete ECU relearning
Never disconnect both terminals simultaneously—this risks short-circuiting sensitive electronics. Always remove negative first and reconnect last.
OBD-II Scanner Reset: Preserves Radio Settings
This method avoids terminal work entirely but requires a $20 scanner from auto parts stores.
Step-by-Step Code Clearing
- Plug scanner into the OBD-II port (typically under driver’s dashboard)
- Turn ignition to ON position (engine off—dash lights illuminated)
- Select “Clear DTCs” or “ECU Reset” from the menu
- Wait for confirmation (typically 15-30 seconds)
- Turn ignition OFF for 30 seconds before restarting
Key limitation: Won’t clear permanent codes on Volkswagen or Audi vehicles—their adaptations require dealer-level tools. Always verify “System Ready” status after resetting for emissions testing.
Key Cycle Reset: For Older GM and Chrysler Models

This battery-free technique works on pre-2010 American vehicles but risks anti-theft lockouts.
Precise 30-Minute Procedure
- Insert key and turn to ON position (engine off)
- Maintain this position for exactly 10 minutes until security light stops flashing
- Turn key fully OFF for 30 seconds
- Repeat steps 1-3 three complete cycles (total 30 minutes)
- Attempt to start on the fourth cycle
Critical warning: If the security light flashes continuously after step 4, your immobilizer has locked out—use your spare key and repeat the process. Never skip the 30-second OFF periods between cycles.
ECU Fuse Pull Reset: Fast Alternative Method
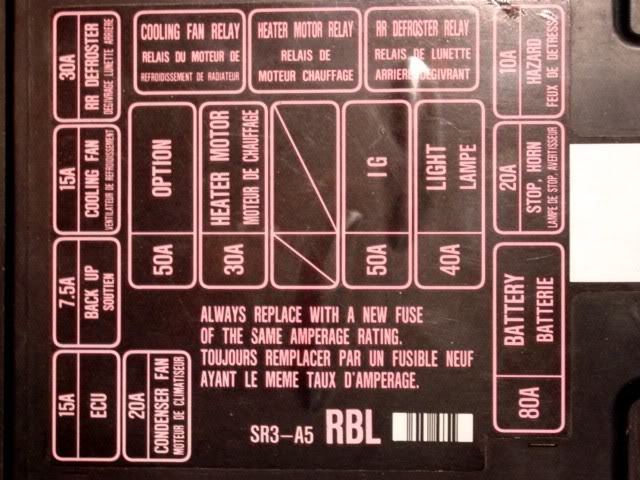
Ideal when battery terminals are corroded or hard to access.
Fuse Box Execution
- Consult owner’s manual for “ECU,” “PCM,” or “ENG” fuse location
- Turn ignition OFF and remove key
- Extract fuse using proper puller (typically 15-20 amp)
- Wait 5 full minutes for complete capacitor discharge
- Reinsert fuse firmly until it clicks
- Turn ignition ON for 10 seconds before starting
Troubleshooting note: If windows lose auto-up/down function after resetting, cycle each window fully up and down once to restore operation.
Post-Reset Driving Behavior: What’s Normal?
Your car will drive differently for 20-40 miles as the ECU relearns parameters. Don’t panic when you experience:
- High idle (1,500 RPM) for the first 10 minutes—let it idle without touching the gas pedal
- Slightly rough running during initial drive—this resolves after 25 miles of normal driving
- Radio displaying “CODE”—enter your security code (found in glovebox documentation)
- Transmission shifting harshly—avoid aggressive driving for the first 15 miles
Critical insight: If symptoms persist beyond 50 miles, you have an unresolved mechanical issue—not a reset problem.
Fixing Common Reset Failures
Check Engine Light Returns Immediately
This means the original problem wasn’t fixed. Solution: Rescan codes, address the actual fault (e.g., replace faulty MAF sensor), then reset again. Never clear codes repeatedly without repairs.
Engine Cranks But Won’t Start After Reset
Your immobilizer lost key synchronization. Solution: Cycle the ignition ON-OFF three times with 10-second intervals, then try starting. If unsuccessful, lock/unlock doors with key fob to reset security system.
Radio Locked Permanently
You entered the wrong security code three times. Solution: Disconnect battery for 10 minutes to reset radio module, then retry with correct code (found in owner’s manual).
Preventing Future Reset Needs
Extend time between resets with these proactive measures:
– Clean battery terminals every 6 months using baking soda solution
– Address “Check Engine” lights within 50 miles of appearance
– Use a $15 memory saver during battery replacement (plugs into OBD-II port)
– Complete full drive cycles after repairs before emissions testing
Pro maintenance tip: When replacing your battery, always disconnect the negative terminal first and reconnect it last—this prevents dangerous voltage spikes that corrupt ECU memory.
Which Reset Method Wins for Your Situation?
| Method | Best For | Time Required | Critical Limitation |
|---|---|---|---|
| Battery Disconnect | All vehicles, especially European models | 35+ minutes | Loses all radio/seat settings |
| OBD-II Scanner | Daily drivers, preserving presets | 2 minutes | Won’t clear adaptations on luxury brands |
| Key Cycling | Pre-2010 GM/Chrysler | 30 minutes | High anti-theft lockout risk |
| Fuse Pull | Corroded terminals | 7 minutes | Not possible on many modern vehicles |
Final reality check: A proper how to reset car battery procedure solves electronic gremlins—not mechanical failures. If your car runs poorly after resetting and driving 50 miles, seek professional diagnosis. Ignoring underlying issues while repeatedly resetting your ECU risks catalytic converter damage and costly repairs down the road. Always reset with purpose: to clear confirmed-fixed problems, not to mask symptoms.


