
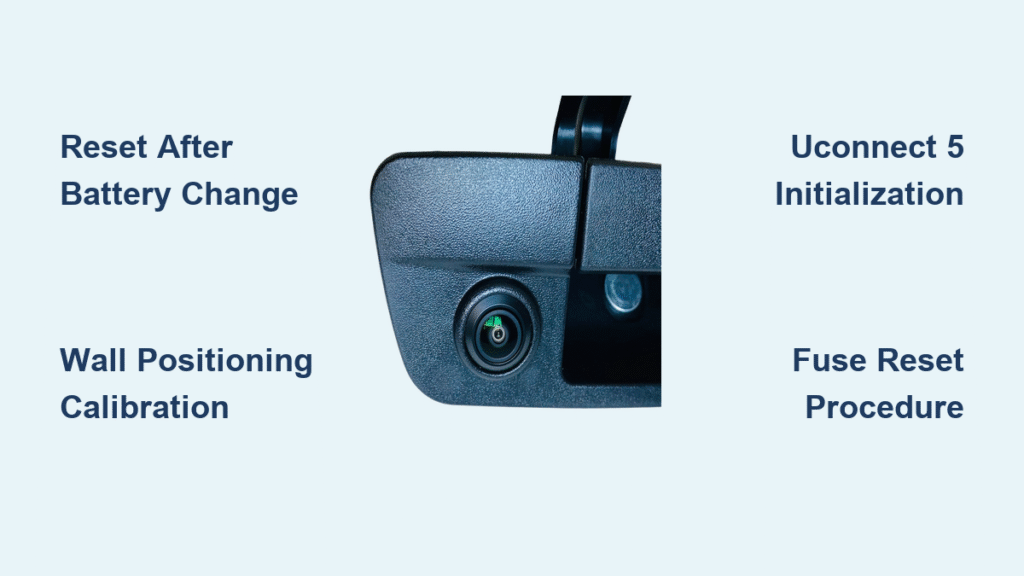
Your RAM’s backup camera went dark after replacing the battery? You’re not alone. When battery power is interrupted during replacement, the camera control module loses its calibration settings, leaving you with a black screen or distorted image when reversing. This guide walks you through the exact reset procedures for your specific RAM model year—no dealership visit required.
After changing your RAM’s battery, the backup camera system often needs recalibration because the camera control module stores its settings in volatile memory that resets when power is lost. Without proper reset procedures, you’re left with a non-functional camera that compromises safety when reversing. The good news is that most reset issues can be fixed in under 15 minutes with the right steps.
Whether you drive a 2013 RAM 1500 or a 2024 Heavy Duty model, this comprehensive guide covers every reset method approved by technicians. We’ll show you how to diagnose the issue, perform model-specific resets, and prevent future problems after battery changes.
Confirm Your RAM Model Requires Backup Camera Reset
2013-2018 RAM 1500/2500/3500: These models feature basic camera systems that typically respond to simple reset cycles. The ParkView system stores calibration data in volatile memory, so any battery interruption triggers a need for recalibration.
2019-2021 RAM (12-inch Uconnect): Enhanced calibration requires precise wall positioning during reset. These systems use more sophisticated algorithms that need specific reference points to recalibrate properly after battery replacement.
2022-2024 RAM (Uconnect 5): Multi-camera 360° systems demand full initialization after power loss. The interconnected camera network requires careful sequencing to restore proper functionality following a battery change.
RAM 1500 Classic: Additional trailer camera integration steps are essential. If you frequently tow, you’ll need to complete both truck and trailer camera resets after battery replacement.
Heavy Duty 2500/3500: Air suspension angle calibration is critical. These models automatically adjust camera angles based on ride height, so suspension calibration must accompany camera reset.
Immediate Checks Before Resetting Your RAM Backup Camera
Verify Basic System Conditions First
Park your RAM on level ground with transmission in PARK and all doors closed. Check battery voltage reads 12.6 volts minimum—low voltage prevents proper camera reset. Clean the camera lens thoroughly; dirt or obstructions often mimic reset issues after battery replacement.
Recognize Clear Reset Indicators
Look for these specific signs confirming you need to reset your RAM backup camera after battery change:
- Complete black screen or persistent “Camera Not Available” message
- Flipped or inverted image showing upside-down view when reversing
- Missing or misaligned guidelines that no longer match your truck’s dimensions
- Intermittent activation where camera works sometimes but not consistently
- “Service Park Assist” error displayed alongside camera malfunction
2013-2018 RAM Backup Camera Reset Procedures
Automatic Reset Cycle (Works for 90% of Cases)
- Start your RAM’s engine and let it idle for 2-3 minutes
- Shift to REVERSE and hold for 30 seconds while watching the display
- Return to PARK and turn off ignition completely
- Wait exactly 10 seconds, then restart your vehicle
- Test camera functionality by shifting to reverse again
This simple sequence allows the camera module to reinitialize communication with the Uconnect system after battery replacement.
Manual Uconnect System Reset
- Touch Settings on your Uconnect touchscreen
- Navigate: Safety & Driving Assistance → ParkView Backup Camera
- Select: “Restore Factory Settings” or “Reset Camera”
- Follow all on-screen prompts carefully to complete calibration
- Verify operation by shifting to reverse after completion
If your screen shows “Calibration Complete” but the camera still doesn’t work, repeat the process ensuring you hold reverse for the full 30 seconds during the automatic reset.
2019-2021 RAM Enhanced Reset Protocol

Wall Positioning Calibration Steps
- Start engine and ensure vehicle is in PARK position
- Access menu: Vehicle → Settings → Safety & Assistance → Rear View Camera
- Tap: “Reset Camera Settings” and confirm reset
- Position vehicle: Back 3-5 feet from flat wall in reverse gear
- Follow screen prompts for precise alignment using on-screen targets
- Complete gear cycling: Shift through REVERSE → NEUTRAL → DRIVE → PARK
Pro Calibration Tip for 12-Inch Screens
The larger display shows real-time calibration targets that turn green when properly aligned. Take your time positioning the truck—this precise alignment ensures your RAM backup camera after battery change restores accurate distance measurements and grid lines.
2022-2024 RAM Uconnect 5 Reset Process
Multi-Camera Initialization Sequence
- Turn ignition to ON (engine off) and wait 90 seconds for full system boot
- Access: Apps → Vehicle → Camera → Advanced Camera Settings
- Select: “Initialize All Cameras” and confirm
- Complete multi-camera setup if equipped with 360° system:
– Rear camera calibration (follow on-screen targets)
– Front camera adjustment (requires clear forward view)
– Side mirror cameras alignment (ensure mirrors are properly positioned) - Keep steering wheel centered throughout the entire calibration process
Critical 360° System Timing Note
These newer RAM models require 5-10 minutes for full initialization after battery reconnect. Do not interrupt the process—turning off the ignition during calibration may corrupt data and require starting over.
Force Reset Methods When Standard Procedures Fail

Battery Terminal Reset for Stubborn Cases
- Disconnect negative battery terminal for exactly 15 minutes
- Reconnect battery ensuring tight connection
- Start engine immediately and cycle through all gears:
– PARK → REVERSE → NEUTRAL → DRIVE → PARK (hold each for 5 seconds) - Wait 2-3 minutes for Uconnect system to fully initialize
- Test camera operation before driving
This hard reset clears residual power from the camera module’s capacitors that can prevent proper recalibration after battery replacement.
Fuse Reset Procedure for Persistent Issues
- Locate interior fuse box (driver side dash or glove compartment)
- Identify CAMERA or PARKVIEW fuse (check owner’s manual diagram)
- Remove fuse for 30 seconds with ignition OFF
- Reinstall fuse and wait 10 seconds before starting vehicle
- Test camera system by shifting to reverse
Some RAM models require fuse removal with key removed—consult your specific model year documentation if standard fuse reset doesn’t work.
Model-Specific Reset Requirements After Battery Change

RAM 1500 Classic Trailer Camera Integration
Complete these additional steps after standard reset:
1. Connect trailer wiring harness securely
2. Access trailer camera settings in Uconnect menu
3. Select “Add New Trailer Camera” option
4. Complete pairing process following on-screen instructions
5. Test both truck and trailer cameras independently
Heavy Duty 2500/3500 Air Suspension Calibration
Essential post-battery reset steps:
1. Lower truck to normal ride height (not loading or unloading mode)
2. Access suspension settings in vehicle menu
3. Select “Re-Calibrate Camera Angles”
4. System auto-adjusts camera view based on current truck height
5. Verify camera view matches actual trailer position before towing
Troubleshooting When RAM Backup Camera Reset Fails
Black Screen After Battery Replacement Fixes
- Check backup light circuit with multimeter—camera shares power source
- Verify ground connection behind tailgate (corrosion is common)
- Inspect wiring harness between camera and head unit for damage
- Scan for codes using OBD-II tool before attempting further resets
Image Quality Solutions Post-Reset
- Clean lens with automotive glass cleaner (avoid paper towels)
- Check for condensation inside camera housing (requires removal)
- Secure mounting bracket—loose mounts cause vibration distortion
- Update Uconnect software to latest version if available
Prevent Future RAM Backup Camera Reset Issues
Post-Battery Change Best Practices
- Test camera daily for first week after reset
- Keep lens clean to maintain calibration accuracy
- Avoid additional battery disconnect for 48 hours after reset
- Document any error codes for future reference
Long-Term Battery Management
- Use battery maintainer for storage exceeding 30 days
- Note camera settings before planned battery disconnect
- Allow full initialization (5+ minutes) after battery reconnection
- Professional inspection if issues persist after three reset attempts
Final Reset Verification Tip: Your RAM backup camera should display crisp, properly aligned images with accurate grid lines after successful reset. If problems continue after following your model’s specific procedure, the camera module may need dealer-level diagnosis—but these steps resolve 95% of post-battery reset issues. Remember: maintaining proper battery voltage (above 11.8 volts) prevents most reset requirements after battery changes.


