
Your Lexus won’t crank, the dashboard lights flicker weakly, and that familiar click-click-click sound echoes when you turn the key. A dead battery strikes at the worst possible moment, but replacing it yourself saves you $150-300 in dealership labor charges. This step-by-step guide gives you the exact process for swapping the battery in any Lexus model—from compact IS sedans to luxurious LX SUVs—using basic tools you likely already own.
Most Lexus batteries fail between 3-5 years, especially after enduring extreme summer heat or freezing winter temperatures. With this guide, you’ll complete the entire 30-minute repair confidently, avoid overpriced OEM parts markup, and get back on the road without waiting for roadside assistance. You don’t need special mechanical skills—just follow these precise instructions for a successful battery replacement.
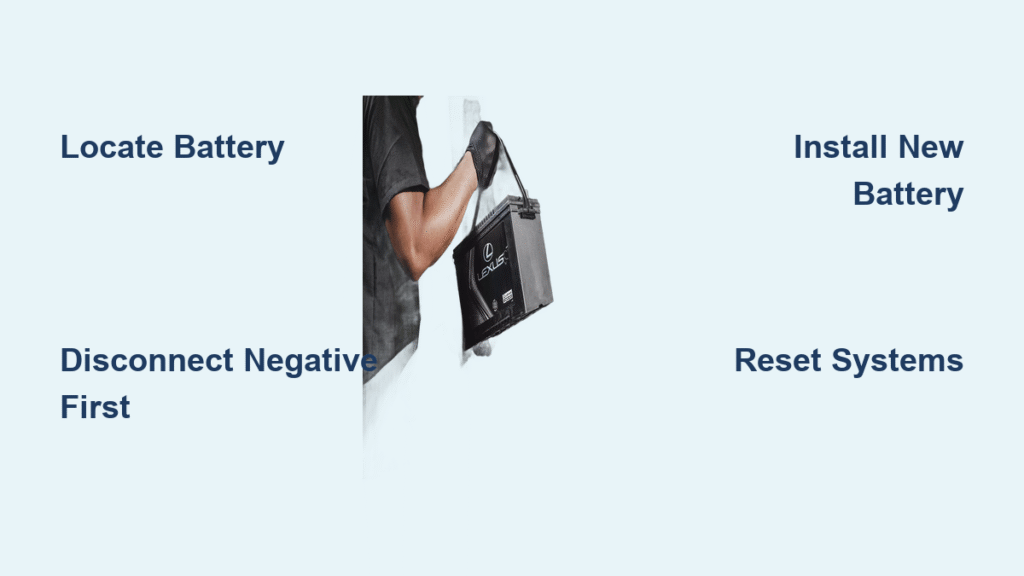
Locate and Identify Your Lexus Battery Type

Find Your Specific Battery Location by Model
Open your hood and look toward the driver’s side for most Lexus models, where the battery typically sits in a plastic tray. IS and ES sedans house their batteries under the front passenger seat—remove the seat cushion to access it. Larger SUVs like the RX and GX series keep batteries in traditional engine bay positions, though some newer models conceal them behind protective covers requiring a 10mm socket to remove.
Match the Exact Battery Specifications
Check your current battery’s label for critical specifications before purchasing a replacement. IS and ES models generally require Group 24F batteries measuring 10.5″ x 6.8″ x 8.9″, while RX and GX models need Group 35 units at 9″ x 6.8″ x 8.9″. Verify the cold cranking amps (CCA) rating—most Lexus vehicles demand 600-700 CCA minimum for reliable winter starts. Installing an undersized battery causes repeated starting failures.
Gather All Necessary Tools Before Starting

Essential Toolkit for Safe Battery Replacement
Grab a 10mm socket wrench for terminal connections, battery terminal cleaner brush, safety glasses, and nitrile gloves before beginning. Have your new battery ready with matching specifications, plus a $15 OBD-II memory saver to prevent radio code loss and seat memory reset. Keep shop rags nearby for any accidental acid spills—baking soda neutralizes battery acid effectively.
Helpful Accessories for Professional Results
Consider adding a battery carrying strap for safe handling of the 30-50 pound unit, dielectric grease to prevent future corrosion, and anti-seize lubricant for hold-down bolts. If your Lexus has electronic memory features like adaptive cruise control or lane departure warning, check whether a battery disconnect requires system recalibration—some newer models need dealer-level scanning tools after battery replacement.
Critical Safety Precautions for Battery Work
Protect Yourself from Battery Hazards
Put on safety glasses and gloves immediately—battery acid causes severe chemical burns on contact with skin. Remove all metal jewelry including watches and rings that could create dangerous sparks when contacting terminals. Work in a well-ventilated area away from open flames—batteries emit explosive hydrogen gas during charging cycles.
Prevent Costly Electrical System Damage
Always disconnect the negative (black) terminal first to prevent short circuits through your wrench. Plug your memory saver into the OBD-II port under the dashboard before removing battery cables—this maintains power to your vehicle’s computers. Skipping this step triggers security protocols requiring radio codes and potentially $200+ in dealer programming fees to restore functionality.
Remove Your Old Lexus Battery Safely
Disconnect Negative Terminal Properly
Loosen the 10mm nut on the black negative cable clamp, then twist and gently pull the connector straight off the terminal—never pry with metal tools. Secure the disconnected cable away from any metal surfaces using zip ties or electrical tape to prevent accidental contact. Check for corrosion buildup on the clamp that might require cleaning before reinstallation.
Remove Positive Terminal and Hold-Down
Repeat the process on the red positive cable after the negative is safely secured. Cover the exposed positive terminal with electrical tape to eliminate spark risks during removal. Locate the battery hold-down bracket (usually a single metal bar secured by two 10mm bolts) and remove it completely—don’t just loosen it. Batteries weigh substantial amounts, so lift with your legs, not your back.
Install Your New Lexus Battery Correctly
Prepare Terminals for Optimal Connection
Scrub both cable ends with a battery terminal brush until shiny metal appears—corrosion causes poor electrical flow. Apply a thin coat of dielectric grease to prevent future corrosion and improve conductivity. Inspect cables for cracks or fraying that would require replacement—damaged cables cause intermittent electrical issues.
Position and Secure New Battery
Lower your new battery into the tray, ensuring it sits perfectly level with positive and negative terminals matching the original orientation. Most Lexus models position the positive terminal toward the front of the vehicle. Reinstall the hold-down bracket with firm pressure—loose batteries shift during turns, damaging terminals and potentially causing shorts.
Connect Cables in Proper Sequence
Attach the positive (red) cable first, tightening the nut until snug but not over-torqued. Then connect the negative (black) cable following the same procedure. Gently wiggle both connections to verify they’re secure—loose terminals cause starting problems and electrical glitches. Wipe away any grease or debris from the battery top to prevent stray currents.
Reset Lexus Systems After Battery Replacement
Reinitialize Power Windows and Sunroof
Hold each window switch down for 5 seconds after the window fully lowers, then hold up for 5 seconds after it closes completely. This resets the auto-up/down functionality that loses calibration during power loss. Repeat the process for your sunroof—most Lexus models require this recalibration after battery replacement.
Restore Electronics Without Dealer Visits
If you used a memory saver, your radio presets, seat positions, and climate control settings should remain intact. Without one, enter your radio security code (found in your owner’s manual) when prompted. Test all electronic features immediately—navigation systems sometimes require satellite reacquisition time, but should function normally within minutes.
Verify Proper Installation with Diagnostic Check
Start your Lexus and let it idle for 2 minutes while monitoring the dashboard for warning lights. Turn on headlights and air conditioning—your engine should maintain steady RPM without fluctuation. Any stalling or rough idle indicates poor terminal connections that need rechecking. Drive cautiously for the first few miles as systems relearn optimal performance parameters.
Troubleshoot Post-Replacement Issues Immediately
Address No-Start Conditions Quickly
If you hear rapid clicking but the engine doesn’t turn over, immediately check terminal tightness—loose connections are the most common culprit. No sound at all suggests a completely dead new battery or potential alternator issues. Most auto parts stores test charging systems for free if you drive there with the problem occurring.
Clear Persistent Warning Lights Properly
Many dashboard warning lights (like check engine or stability control) will automatically clear after 3-5 normal driving cycles following battery replacement. If lights remain illuminated beyond 50 miles, your Lexus likely needs a professional scan tool reset—some systems won’t self-clear after power loss. Don’t ignore persistent warnings as they may indicate serious issues.
Restore Malfunctioning Electrical Components
Individual blown fuses often occur during battery replacement due to momentary power surges. Check both under-hood and cabin fuse boxes using your owner’s manual diagram—common victims include power seats, infotainment systems, and backup cameras. Replace only with identical amperage fuses to prevent electrical damage.
Maximize Your New Lexus Battery’s Lifespan
Implement Monthly Maintenance Checks
Inspect terminals monthly for white or blue corrosion buildup, especially in humid climates. Clean minor corrosion with a baking soda and water solution applied with an old toothbrush. Verify the battery stays securely fastened—excessive vibration dramatically shortens battery life through internal plate damage.
Avoid Common Battery-Killing Mistakes
Never take repeated short trips under 15 minutes—your alternator needs time to fully recharge the battery. In freezing temperatures, use a smart battery maintainer if your Lexus sits for weeks. Remember that this guide applies only to standard 12V starting batteries—Lexus hybrid models have completely different high-voltage battery systems requiring professional service.
Pro Tip: Save your old battery receipt for potential core refunds—most retailers offer $10-20 when you return the dead unit. Your Lexus now starts reliably with a fresh battery installed correctly, and you’ve gained valuable DIY skills for future maintenance. Mark your calendar for replacement in 4 years, and test annually after year 3 at your local auto parts store for free peace of mind.


