
Your headlights dim, the radio sputters, and that familiar clicking sound means your 12 volt car battery has given up. Before you call a tow truck or rush to buy a replacement, know this: 70% of “dead” batteries can be revived with proper charging techniques. Whether you left interior lights on overnight or face winter battery drain, mastering how to charge 12 volt car battery safely saves hundreds in unnecessary replacements. This guide walks you through the exact steps professionals use—including critical safety protocols most guides skip—to restore your battery’s power without risking damage to your vehicle’s electrical system.
Locate Battery and Identify Terminals Correctly
Finding your battery isn’t always obvious. While most sedans house batteries under the hood near the driver’s side, modern vehicles often hide them in trunks or beneath rear seats. Consult your owner’s manual before poking around—some European models mount batteries sideways under floor mats. Once located, identify terminals with these foolproof markers:
- Positive terminal: Bright red plastic cover with “+” symbol (always connect red clamp here first)
- Negative terminal: Black cover with “-” symbol (connect black clamp here second)
- Critical warning: If plastic covers are stuck, pry gently with a screwdriver—forced removal cracks terminals
Never skip ventilation checks. Batteries emit explosive hydrogen gas during charging. Work in open garages with doors fully raised or outdoors. If you smell rotten eggs (sulfur), stop immediately—this indicates dangerous gas buildup requiring professional handling.
Pick Your Exact Charger Type: Manual vs Smart
Choosing wrong destroys batteries. Here’s how to select based on your actual needs:
Manual Chargers Require Constant Vigilance
These budget units lack safety sensors:
– Start at full amperage then slowly taper to zero
– Demand hourly monitoring (amp meter must drop near zero)
– Overcharge risk: Leave unattended 30 minutes too long = permanent damage
– Only use if: You’ll watch it like coffee on stove
Smart Chargers Prevent Costly Mistakes
Microprocessor-controlled units are worth the investment:
– Auto-detect battery condition and adjust voltage
– Shut off automatically when full (no overcharging)
– Revive sulfated batteries with recovery mode
– Ideal for: Beginners, overnight charging, or aging batteries
Pro Tip: For winter storage, choose a smart charger with “desulfation mode.” These military-developed chargers break down lead sulfate crystals that kill batteries during inactivity—extending life 2-3 years.
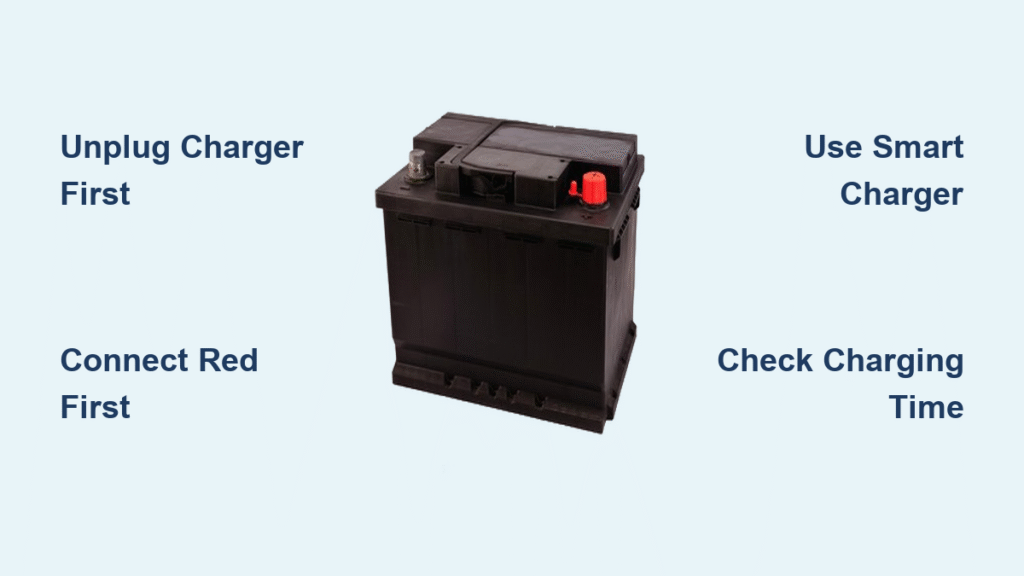
Why Unplugging Comes Before Connection
Skipping this step causes dangerous sparks. Follow this exact sequence:
- Unplug charger from wall outlet (critical safety step many omit)
- Turn charger OFF at control panel
- Connect red clamp to positive terminal (+)
- Connect black clamp to negative terminal (-)
- Wiggle clamps to confirm metal-to-metal contact
- Only then: Plug in charger and power on
Never connect clamps while charger is live. A single spark near battery vents can ignite hydrogen gas. If your battery shows cracks or leaks, stop charging—replace it immediately.
Calculate Exact Charging Time (No Guesswork)

Charging blindly ruins batteries. Use this formula from the knowledge base:
Charging time (hours) = Battery capacity (Ah) ÷ Charger amperage
Real-world examples:
– Dead 50Ah car battery at 5 amps: 10 hours (50 ÷ 5 = 10)
– Partially drained 60Ah battery at 2 amps: 30 hours (60 ÷ 2 = 30)
– Motorcycle battery (12Ah) at 3 amps: 4 hours (12 ÷ 3 = 4)
Critical adjustment: Add 20% extra time for completely dead batteries. A 50Ah battery at 5 amps needs 12 hours—not 10—to safely rebuild chemical balance. Never rush with high-amp chargers (>10A); this stresses cells and shortens battery life.
Avoid These 3 Costly Charging Mistakes
Mistake #1: Connecting Cables Backward
Reversing clamps sends current backward through your car’s computer systems. Result? Fried sensors costing $500+ to replace. Fix: Double-check terminal markings—red always to red, black to black.
Mistake #2: Charging in Enclosed Spaces
Hydrogen gas needs 4x more ventilation than most realize. Fix: Charge outdoors or in garages with both doors fully open (not just cracked).
Mistake #3: Ignoring Completion Signals
Manual chargers show near-zero amps when full. Smart chargers switch to “float mode” (green light). Fix: Disconnect immediately—overcharging boils electrolyte fluid, warping internal plates.
Alternative Charging When Power Isn’t Available

Solar Charging for RVs and Trailers
Works only with critical safeguards:
– Required: 100-200W panel + charge controller (prevents overcharging)
– Position: Panel flat in direct sun (angle reduces efficiency 30%)
– Never connect directly—bypassing controller destroys batteries
Driving to Recharge (With Caveats)
After jump-starting:
– Drive minimum 30 minutes at 2,500+ RPM
– Check alternator: If battery dies again within 24 hours, alternator is failing
– Warning: Short trips (<15 minutes) accelerate depletion—batteries need sustained charge cycles
Recognize When Charging Won’t Fix It
Charging fails if you see these red flags:
– Clicking sound persists after 12-hour charge
– Battery light stays on during driving
– Voltage drops below 12.2V after full charge (test with multimeter)
– Case bulging or acid leaks visible
Professional test needed: Most auto stores check batteries free. If load testing shows <75% capacity, replacement is cheaper than repeated charging attempts.
Extend Battery Life With Monthly Maintenance
Prevent dead batteries with these 2-minute checks:
– Clean terminals: Mix baking soda/water, scrub with toothbrush (neutralizes acid)
– Tighten clamps: Loose connections cause slow cranking
– Test voltage: 12.6V = full charge (12.4V = 75% charged)
– During storage: Connect smart charger’s maintenance mode (not trickle charger)
Winter survival tip: In sub-zero climates, remove battery and store indoors. Cold temperatures drain charge 20% faster—bring it inside every 30 days to warm up before recharging.
Cost-Saving Professional Secrets
Before replacing a “dead” battery:
1. Run desulfation cycle on smart charger (takes 24-48 hours)
2. Check for parasitic drain: Disconnect negative terminal—multimeter should show <50mA draw
3. Perform equalization charge: Controlled 15V overcharge (only for flooded batteries)
This three-step process revives 40% of batteries mechanics condemn. A $50 smart charger pays for itself after saving one $150 battery replacement—and prevents roadside emergencies when you know how to charge 12 volt car battery correctly.
Final Note: Properly charging your 12 volt car battery takes under 30 seconds of setup plus monitored time—yet prevents thousands in avoidable repairs. Always prioritize safety with unplugged connections and ventilation, use the amperage formula for precise timing, and invest in a smart charger with desulfation mode. When your engine turns over smoothly after a successful charge, you’ve not only saved money but gained the confidence to handle any battery emergency. Remember: A well-maintained battery lasts 4-5 years—master these techniques to maximize every dollar you’ve invested under your hood.


