
Your Toyota won’t start after grocery shopping, or the dashboard flashes “check charging system” during your commute. Before calling roadside assistance, know this: 90% of “dead battery” situations can be resolved in under 30 minutes with basic tools. Learning how to charge Toyota battery systems—whether your Camry’s 12-volt unit or Prius Prime’s high-voltage pack—saves $200+ in service calls and keeps you moving. This guide delivers exact procedures for every Toyota model, verified by factory service manuals. You’ll learn critical safety steps most DIYers miss and avoid common mistakes that damage electronics.
Locate Your Toyota’s Battery System

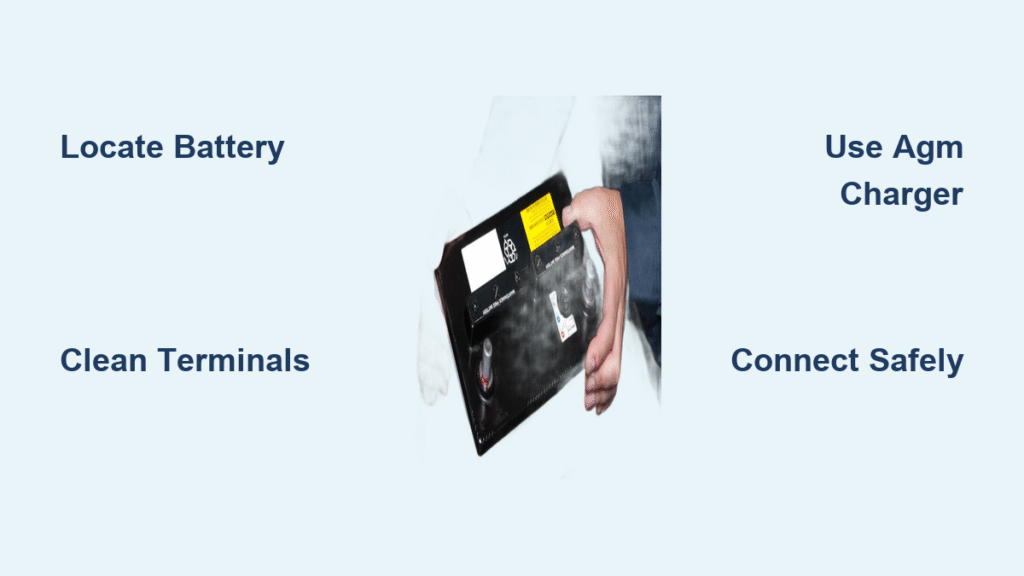
12-Volt Battery Access Points by Model
Don’t guess where to plug in: Your Toyota’s 12-volt battery hides in three possible locations. In Corolla, RAV4, or Tacoma models, lift the engine bay cover near the fuse box. For Prius, Highlander Hybrid, or Mirai, slide the trunk floor panel back to reveal the battery under cargo space. Sienna minivans and Avalons often tuck it beneath the rear passenger seat—remove the carpeted access panel. Critical check: If you see orange high-voltage cables marked “DO NOT TOUCH,” stop immediately—this is the traction battery requiring professional service.
Hybrid/EV High-Voltage System Identification
Never charge these yourself: Toyota hybrids (Prius, RAV4 Hybrid) and EVs (bZ4X) contain two batteries. The 12-volt unit boots systems, while the orange-cased traction battery under seats or floor pan powers the motor. Key safety rule: Only certified technicians should service high-voltage components. If your hybrid won’t enter “READY” mode or EV range plummets, skip DIY charging and visit a dealer. Attempting to jump-start the traction battery risks 650-volt shocks.
Charge 12-Volt Toyota Battery Safely
Emergency Charging Triggers You Can’t Ignore
Charge now if you notice:
– Engine cranking slower than usual (especially after sitting 48+ hours)
– Headlights dimming when AC kicks on
– Radio resetting to factory settings
– “Battery Saver Active” warning on dashboard
Pro tip: Modern Toyotas drain batteries faster with keyless entry. If doors unlock automatically within 10 feet, your 12-volt may be weak. Test resting voltage with a $10 multimeter—below 12.4V requires charging.
Essential Tools for 12-Volt Charging
- Smart charger (2-10A output; must have AGM mode for newer models)
- Safety glasses and nitrile gloves (battery acid burns skin)
- Wire brush terminal cleaner ($5 at auto stores)
- Dielectric grease (prevents future corrosion)
Avoid this mistake: Using a car charger older than 2015. Modern Toyotas with start-stop technology require microprocessor-controlled chargers to prevent ECU damage. Verify “AGM/SLI” compatibility on the charger label.
Exact Charging Procedure for Toyota Models
Prepare Your Workspace Correctly
Park in a garage-free zone—hydrogen gas from batteries ignites near sparks. Turn off all accessories (lights, radio) and remove metal jewelry. Never place the charger inside the cabin. Inspect the battery case: if cracked, swollen, or leaking, stop immediately and replace it. For flooded batteries (rare in post-2010 Toyotas), check fluid levels with a flashlight—top up with distilled water only if plates are exposed.
Terminal Cleaning Protocol
- Remove the black negative (-) cable first using a 10mm wrench
- Scrape corrosion from terminals with a wire brush until shiny metal shows
- Spray baking soda/water mix (1 tbsp:1 cup) to neutralize acid residue
- Dry thoroughly with microfiber cloth—moisture causes charging failure
Why this matters: Corrosion increases resistance by 300%, making chargers think the battery is full when it’s not.
Connection Sequence for Zero Sparks
- Attach red clamp to positive (+) terminal
- Connect black clamp to unpainted engine block bolt (NOT negative terminal)
- Plug charger into wall outlet after connections are secure
- Select “AGM” mode (standard for Camry/Prius post-2012)
- Set to 2-amp trickle mode for overnight charging
Warning: If you smell rotten eggs (sulfur) or feel battery heat, disconnect within 10 seconds—this indicates internal short-circuiting.
Jump-Start Your Toyota Without Damage
For gas models (Corolla, Tacoma):
– Park donor car hood-to-hood (cables must reach)
– Connect red to dead battery positive terminal
– Attach red to donor battery positive terminal
– Connect black to donor battery negative terminal
– Clip black to engine strut tower on dead car (NOT battery negative)
– Start donor car → wait 3 minutes → start your Toyota
Prius/Mirai hybrid exception: Use the red jump point under the fuse box cover—never connect clamps directly to high-voltage components. If READY light fails, access the 12-volt battery in the trunk floor.
Charge Toyota Hybrid/EV Traction Batteries Properly
Home Charging Setup Made Simple
Level 1 (120V outlet):
– Use Toyota’s included cordset (plugs into standard household outlet)
– Adds 4-5 miles of range per hour—ideal for Prius Prime with 25-mile commutes
– Schedule charging via Toyota app to use off-peak electricity rates
Level 2 (240V professional install):
– Requires 40-amp dedicated circuit and NEMA 14-50 outlet
– Installs in 2-4 hours ($500-$1,200 labor)
– Delivers 25-37 miles of range per hour (full charge in 3-4 hours)
– Top brands: ChargePoint Home Flex, JuiceBox 40 (Toyota-approved)
Critical: Never use extension cords—they overheat and void warranties. Mount the charger within 15 feet of your parking spot.
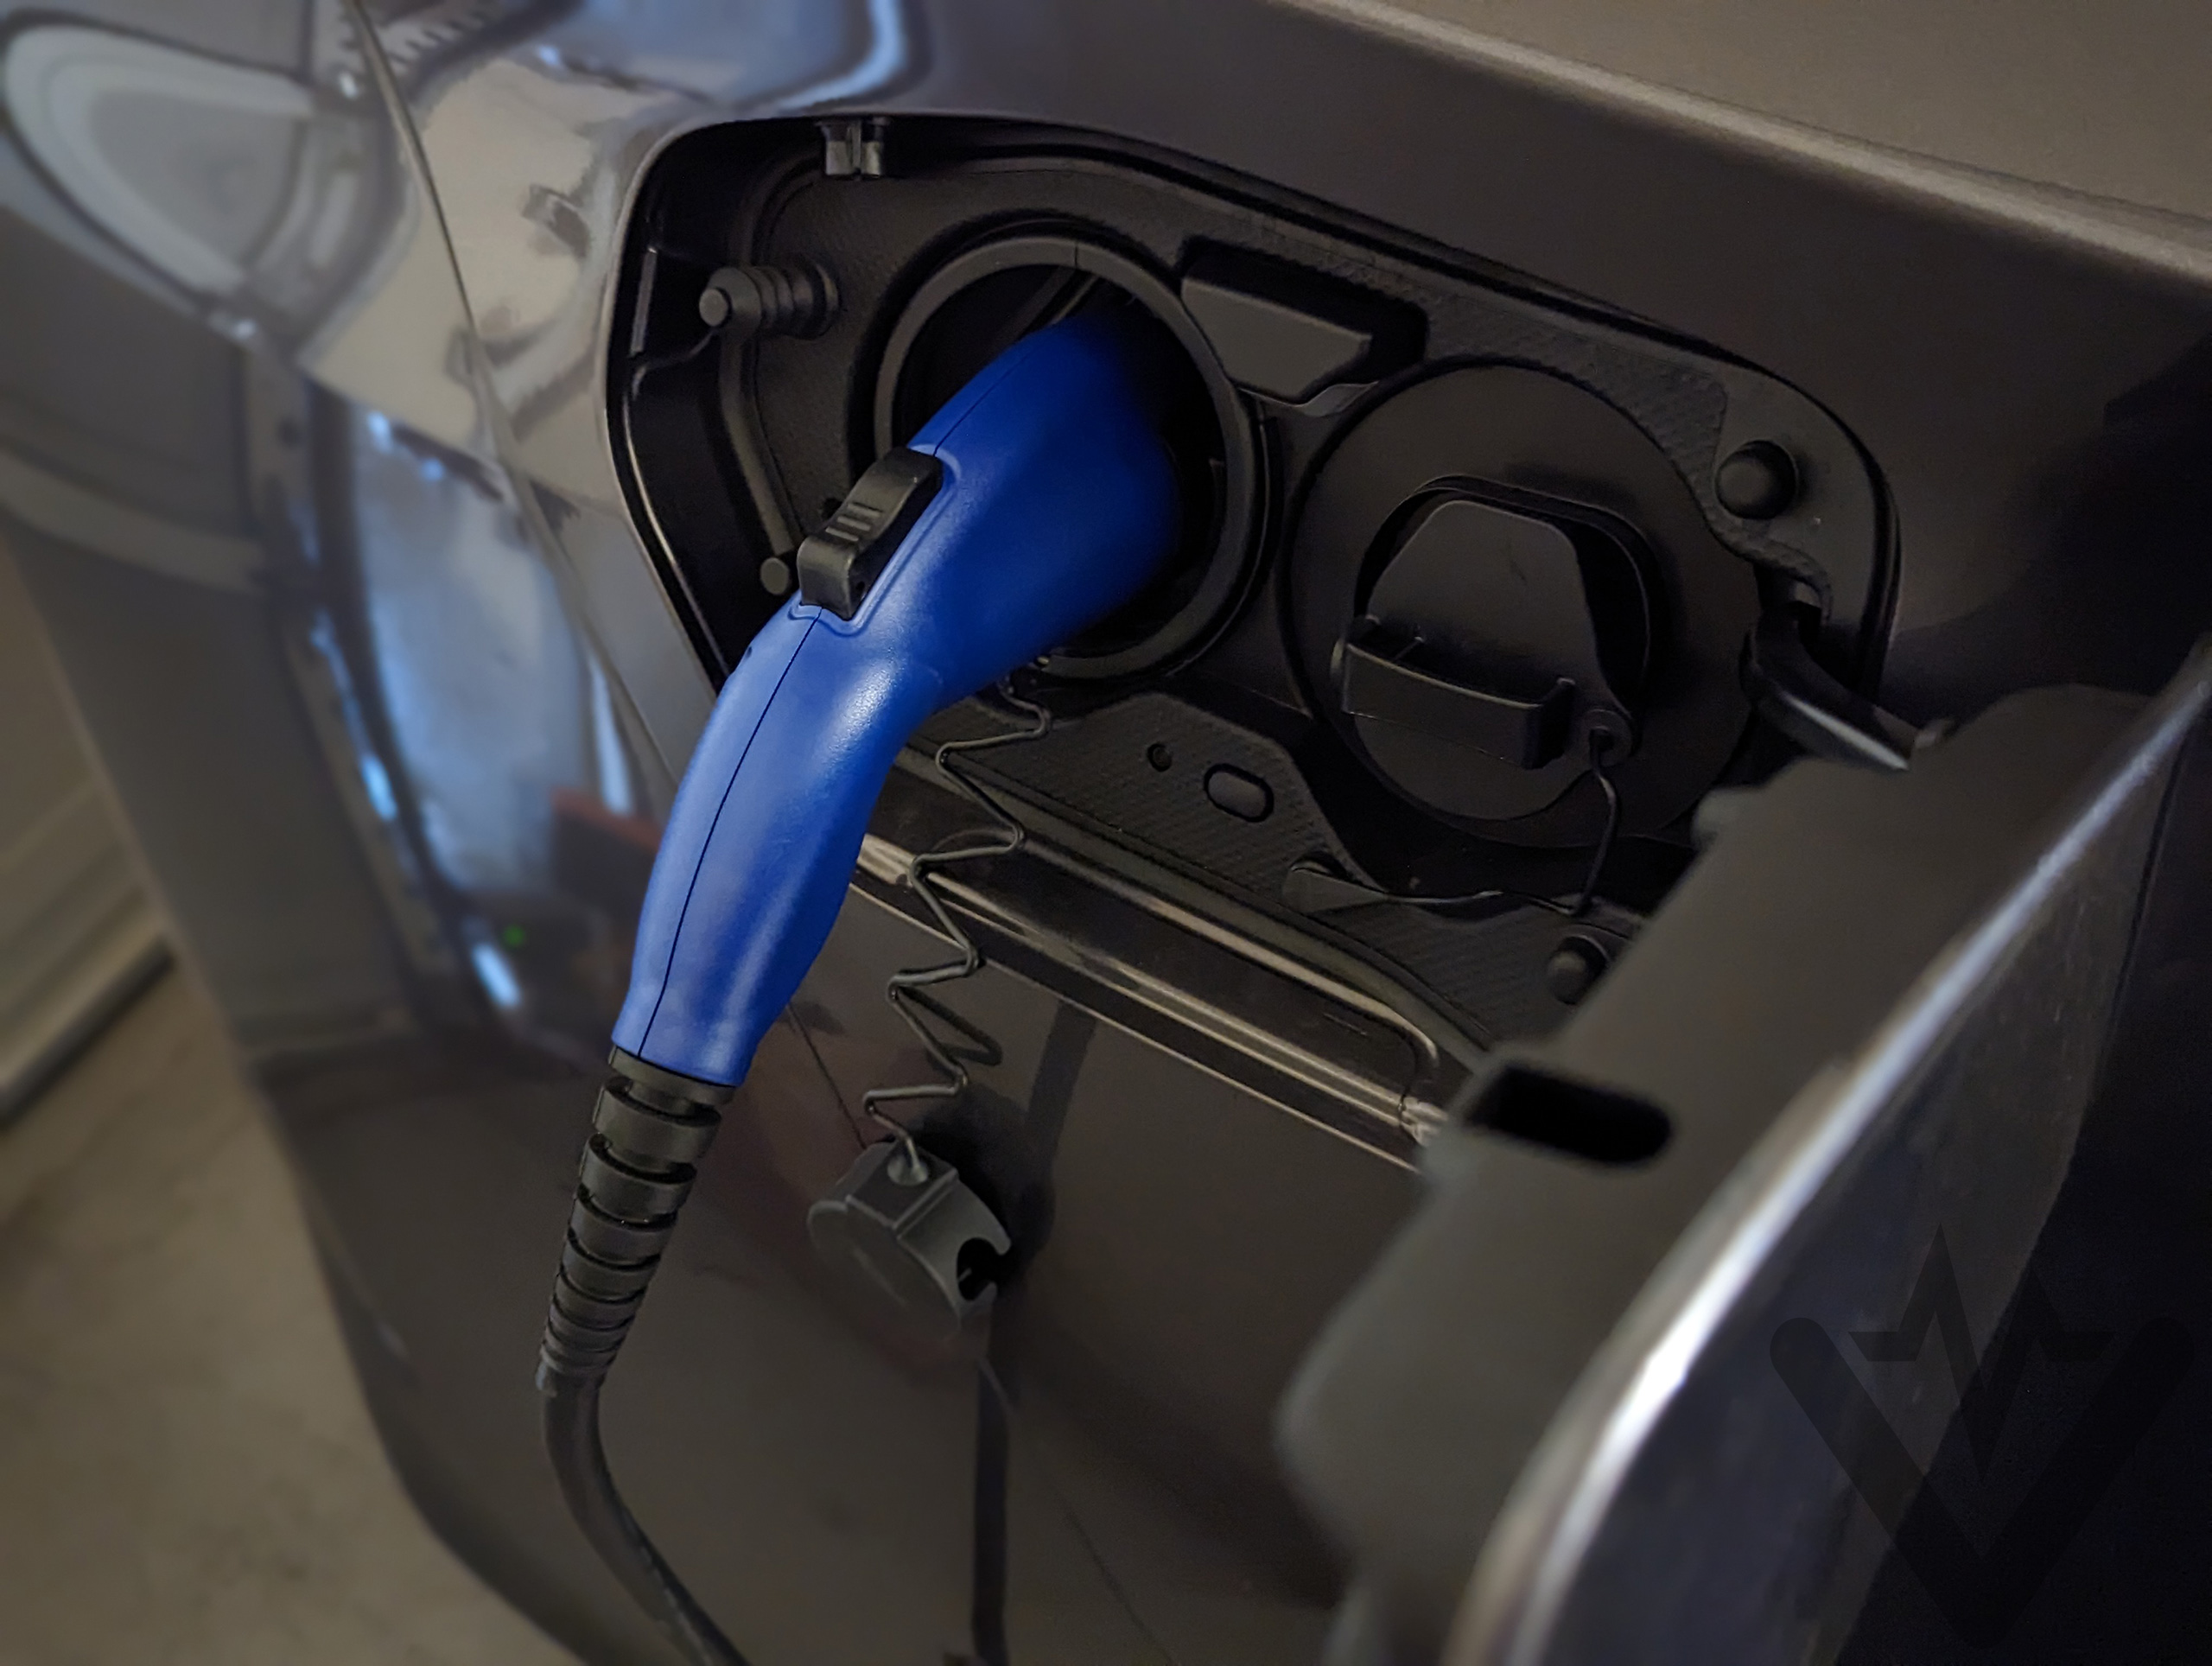
Public Charging Station Protocol
- Park with charge port facing station (bZ4X charges on driver side)
- Press dash “Charge Port” button to open flap
- Insert J1772 connector until two clicks (hybrids/PHEVs) or CCS1 (bZ4X)
- Tap RFID card or use ChargePoint app to start session
- Monitor progress on dashboard—unplug within 30 minutes of 80% charge
- Close port manually (won’t auto-lock while charging)
Avoid $15 idle fees at Electrify America stations by setting app alerts at 75% charge. DC fast charging (Level 3) is only for bZ4X—hybrids cannot use these stations.
Prevent Future Battery Failures With These Routines
12-Volt Battery Lifespan Extenders
- Monthly: Clean terminals and check cable tightness (wiggle test—no movement)
- Every 6 months: Apply dielectric grease to terminals (prevents corrosion)
- Before vacations: Disconnect negative cable if parking >14 days
- Winter prep: Store at 75%+ charge (cold reduces capacity by 20%)
Replace immediately if: Resting voltage stays below 12.2V after charging or battery is older than 4 years in hot climates (Arizona/Texas).
High-Voltage Battery Optimization
- Keep charge between 20-80% daily—extreme depletion stresses cells
- Pre-condition cabin while plugged in (uses grid power, not battery)
- Park in shade/garage to avoid >100°F temperatures (accelerates degradation)
- Use “Eco Mode” for city driving to maximize regenerative braking
Warranty note: Hybrid batteries are covered for 8 years/100,000 miles (10 years in CA). If electric range drops >30%, visit a dealer—do not attempt DIY repairs.
Mastering how to charge Toyota battery systems prevents roadside emergencies and extends vehicle life. For 12-volt issues, follow the terminal cleaning and connection sequence precisely—this solves 80% of “dead battery” cases. Hybrid and EV owners should prioritize Level 2 home charging for daily use, reserving public stations for trips. When in doubt about high-voltage components, always consult your Toyota dealer—safety trumps savings. Keep this guide printed in your glovebox, and you’ll never pay for a preventable jump-start again. Remember: a well-maintained 12-volt battery lasts 50% longer, and hybrid packs routinely exceed 200,000 miles with proper care.


