
Your car won’t start on a frigid Tuesday morning. The dashboard lights flicker weakly as you turn the key—no engine response. Before you call for a tow or replace parts blindly, grab your $20 voltmeter. This simple test reveals whether you need a quick charge or a new battery, saving you hundreds in unnecessary repairs. In the next five minutes, you’ll learn exactly how to check a car battery with a voltmeter and decode what those numbers really mean for your vehicle’s health.
Most drivers misinterpret battery voltage readings because they test at the wrong time or miss critical load tests. A resting battery tells one story, but the real truth emerges under stress. This guide cuts through the confusion with step-by-step procedures verified by auto technicians. You’ll discover why a battery showing 12.6V might still fail to start your car and how to spot hidden problems before they strand you.
Decoding Your 12V Battery: Voltage Readings That Predict Failure
Each tenth of a volt reveals your battery’s survival odds. These readings apply only after the engine sits unused for at least one hour—overnight tests deliver the most accurate results.
12.6V or higher: Your battery operates at peak capacity. No action needed unless you notice slow cranking.
12.4-12.5V: At 75% charge, it’s time for attention. Recharge before it drops further.
12.2V: Half-dead and unreliable. Starting becomes risky in cold weather.
12.0V: Critical discharge. Won’t restart reliably after shutdown.
10.5-11.0V: Severe cell damage likely. Professional testing required immediately.
Below 10.5V: Beyond recovery. Replacement is your only option.
Temperature dramatically alters readings. At 80°F (27°C), a full charge reads 12.6V, but that same battery drops to 12.516V at 0°F (-18°C). Always factor in ambient temperature when interpreting results.
Why Resting Time Matters for Accurate Tests
Testing too soon after driving yields false highs due to surface charge. The alternator leaves residual voltage that masks true capacity. Wait 60 minutes minimum—longer in extreme temperatures. For definitive diagnosis, disconnect the battery overnight and retest in the morning. This eliminates parasitic drain interference from modern vehicle electronics.
Critical Safety Gear for Testing Car Batteries (Don’t Skip These!)

Batteries contain explosive hydrogen gas and sulfuric acid that burns skin and clothing. One slip with a metal tool can cause catastrophic short-circuiting.
Non-negotiable protection:
– Nitrile gloves (acid-resistant, unlike latex)
– Polycarbonate safety glasses (regular sunglasses won’t cut it)
– Remove all metal jewelry—watches and rings can weld to terminals
Terminal safety protocols:
– Always connect the black (negative) probe first when testing
– Never let red and black probes touch simultaneously
– Work in well-ventilated areas—batteries emit explosive gas during charging
– Locate emergency eyewash stations before starting (most garages have them)
Finding Hidden Batteries in Modern Vehicles
Don’t assume it’s under the hood. Luxury cars often place batteries in trunks, under seats, or behind wheel wells. Consult your owner’s manual for exact location—using the wrong battery type can fry your electrical system. Many EVs and hybrids have separate 12V batteries for accessories; test these independently from the main traction battery.
Setting Up Your $20 Voltmeter for Battery Testing
You don’t need a professional-grade Fluke meter. Even basic Harbor Freight multimeters ($8) read voltage accurately when configured correctly.
Proper setup sequence:
1. Insert black probe into COM port (common ground)
2. Plug red probe into VΩ port (voltage/resistance)
3. Rotate dial to DC voltage (⎓ symbol or “VDC”)
4. Select 20V range—not 2V (overload risk) or 200V (inaccurate readings)
Troubleshooting Meter Errors
- “OL” or “1” display: Range too low—switch to higher voltage setting
- Negative reading (-12.6V): Probes reversed—swap red/black connections
- Fluctuating numbers: Loose terminal contact—clean corrosion with baking soda paste first
- Zero reading: Blown meter fuse—replace internal 10A fuse before continuing
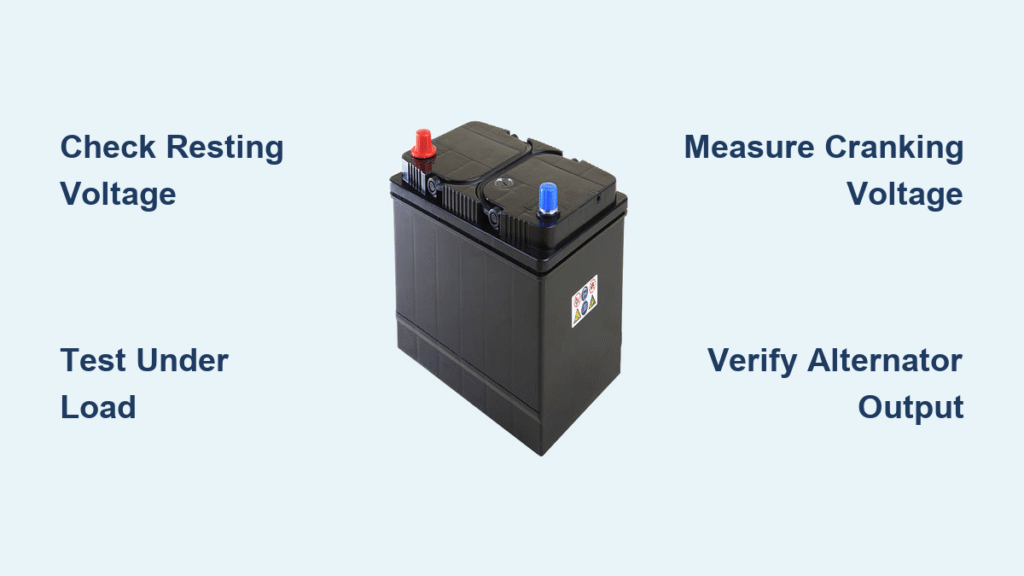
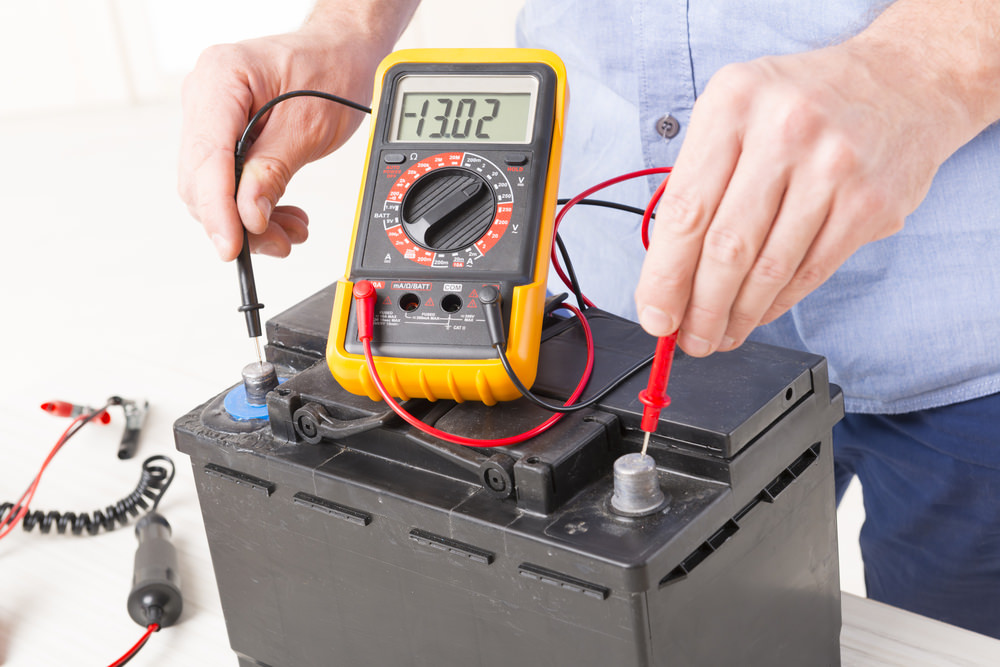
Step 1: Measure Resting Voltage (Engine Off for 1 Hour)
This is your baseline health check. Perform this test before any other diagnostics.
Testing procedure:
1. Ensure headlights and interior lights are OFF (prevents drain during test)
2. Firmly press red probe to clean positive (+) terminal
3. Press black probe to negative (-) terminal
4. Hold probes steady for 10 seconds until reading stabilizes
Interpreting Your Resting Voltage
- 12.6V+: Fully charged—proceed to load testing
- 12.4-12.5V: Recharge overnight then retest
- 12.2V: Charge immediately—weak starting likely
- 12.0V or below: Internal damage probable—do NOT jump-start
- Below 10.5V: Replace battery—recharging risks acid leakage
Pro tip: Wipe terminals with a baking soda-water mix (1 tbsp per cup) if corrosion interferes with probe contact. Never let baking soda enter battery cells.
Step 2: Test Battery Under Load with Headlights On
Voltage at rest lies. This simulates starting stress without cranking the engine.
Critical load test steps:
1. Turn headlights to HIGH beam
2. Set heater blower to MAXIMUM
3. Apply voltmeter probes as before
4. Monitor voltage drop for 30 seconds
Failure indicators:
– Healthy battery: Drops only 0.2-0.3V (e.g., 12.6V → 12.3V)
– Weak battery: Plummets below 12.0V immediately
– Critical failure: Drops below 11.0V within 10 seconds
Warning: If voltage collapses during this test, disconnect loads immediately. Continuing stresses the alternator.
Step 3: Diagnose Weak Batteries During Engine Crank
This reveals batteries that pass resting tests but fail under real-world demand.
Two-person procedure:
1. Have helper turn ignition key to START position
2. Watch voltmeter during cranking (5-second max cranks)
3. Note lowest voltage reading achieved
Normal vs. dangerous readings:
– ✅ Healthy: Drops to 10.5-11.0V, recovers to 12.4V+ within 30 seconds
– ⚠️ Failing: Drops below 9.5V, slow recovery (over 2 minutes)
– ❌ Critical: Drops below 8.0V—stop testing! Jump-starting risks alternator damage
Pro tip: If voltage stays high during cranking but engine won’t turn, suspect starter motor failure—not battery.
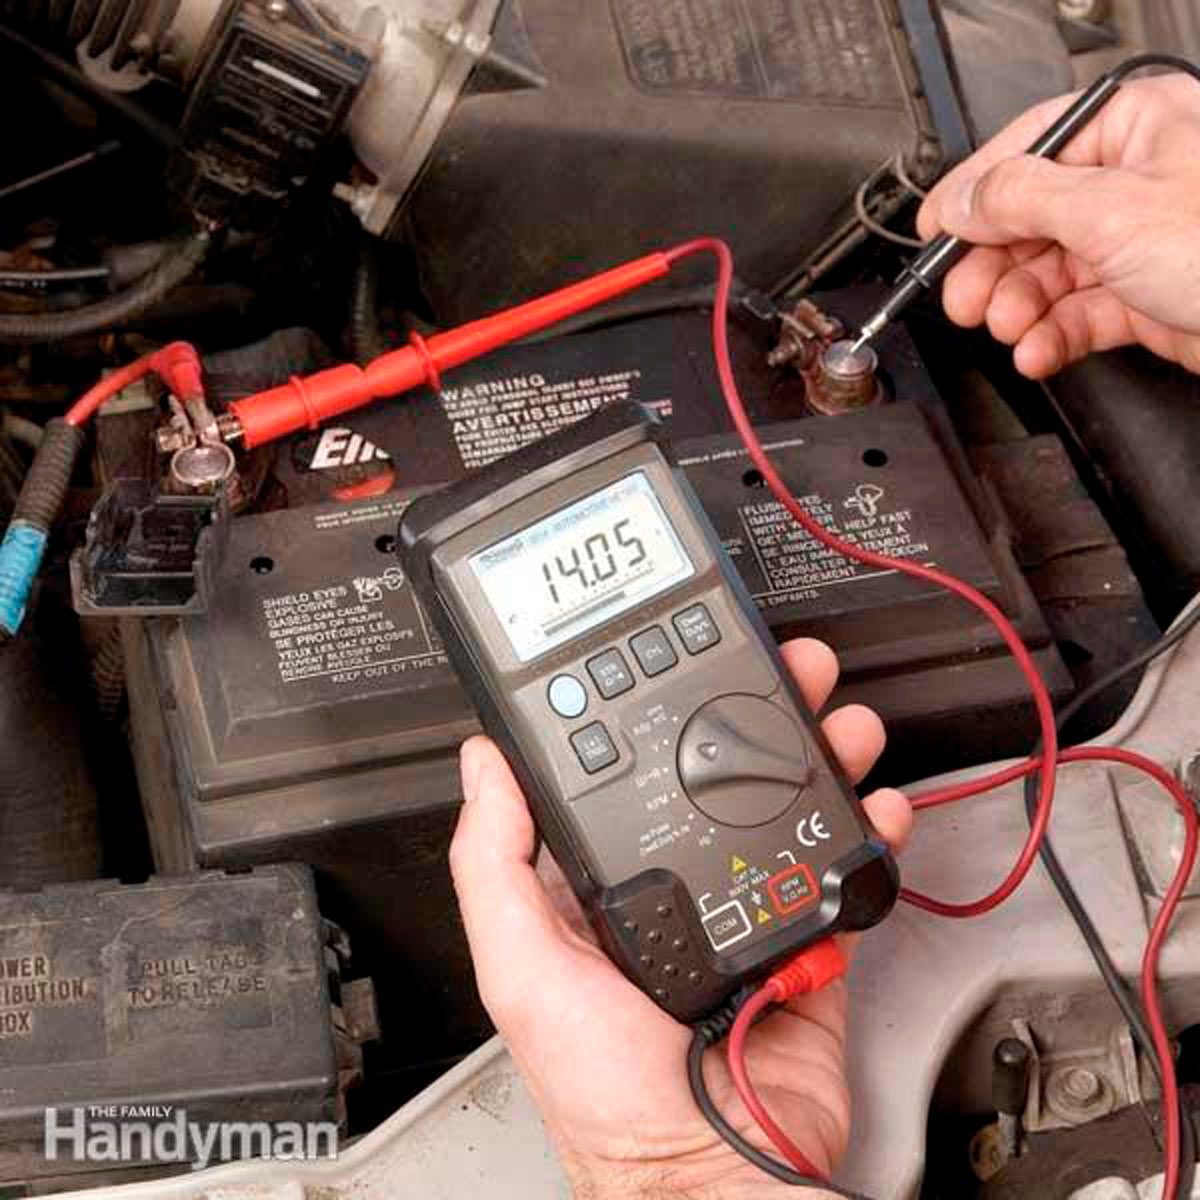
Step 4: Verify Alternator Output While Engine Runs
A dying alternator kills new batteries. Always test charging system after battery replacement.
Correct testing method:
1. Start engine and let idle for 2 minutes
2. Measure voltage at battery terminals
3. Rev engine to 2,000 RPM
Diagnosis by reading:
– 13.8-14.4V at idle: Perfect alternator function
– Below 13.5V: Undercharging (worn belt, bad alternator)
– Above 14.8V: Overcharging (voltage regulator failure)
– Fluctuating readings: Failing diodes—replace alternator immediately
Critical note: If voltage exceeds 15.0V, shut off engine. Overcharging cooks batteries and fries electronics.
How to Detect Dead Battery Cells Before They Kill You
One dead cell destroys the whole battery. Sealed AGM batteries hide this failure until it’s too late.
Red flags of cell failure:
– Voltage reads normal at rest but collapses under load
– Swelling on battery sides (feels “puffy”)
– One terminal noticeably warmer than others after cranking
– Rapid discharge overnight despite clean connections
Testing non-sealed batteries for dead cells
For traditional flooded batteries:
1. Remove cell caps carefully
2. Check electrolyte levels (top up with distilled water if low)
3. Use hydrometer to test specific gravity in each cell
4. Healthy cells: 1.265-1.299 SG; Dead cell: Below 1.200 SG
Warning: Never check cell levels in sealed AGM or gel batteries—this voids warranties and risks acid exposure.
Your Immediate Next Steps Based on Voltmeter Results
Don’t guess—follow this action matrix:
12.6V+ at rest but won’t start:
– Check starter relay and ignition switch
– Test for parasitic drain (disconnect negative terminal overnight)
12.3-12.5V after charging:
– Monitor for 3 days—if drops below 12.4V, replace battery
– Clean all ground connections (battery-to-chassis, engine-to-chassis)
Below 12.0V after recharge:
– Professional load test required—do NOT install in vehicle
– Recycle immediately if voltage won’t exceed 10.5V after 24h charging
Why AutoZone’s Free Test Beats Your Voltmeter (and When to Go)
Auto parts stores apply 100-200 amps of load—something your voltmeter can’t simulate. Their testers reveal batteries that:
– Hold voltage at rest but collapse under real cranking load
– Have high internal resistance (common in cold climates)
– Pass basic tests but have <50% original capacity
Get professional testing when:
– Battery is over 3 years old with inconsistent readings
– Voltage drops mysteriously overnight
– You’ve recharged twice with no improvement
Pro tip: Bring your voltmeter readings to the store—they’ll correlate your data with their load test for faster diagnosis.
Why Your Battery Might Show 12.6V But Still Fail to Start
Modern vehicles drain power through “always-on” systems. A healthy battery shouldn’t lose more than 0.01V overnight.
Parasitic drain suspects:
– Aftermarket stereos or dash cams
– Faulty control modules (common in BMWs and Mercedes)
– Trunk or glove box lights that stay on
– Phone chargers left plugged in
DIY drain test:
1. Disconnect negative battery terminal
2. Set multimeter to 10A DC current mode
3. Connect meter between terminal and cable
4. Normal drain: <50mA; Problem: >100mA
Warning: Never remove battery cables on European cars without radio code—you’ll brick the stereo.
Your voltmeter is now your most valuable diagnostic tool. Monthly testing in extreme weather catches 90% of battery failures before they strand you. Remember: Voltage tells part of the story, but load testing reveals the truth. When in doubt, visit AutoZone for free professional verification—your alternator will thank you.


