You turn the key, and nothing happens—again. That familiar clicking sound or complete silence when your car won’t start points to a battery that keeps dying. This frustrating cycle isn’t just about replacing the battery; it’s about solving the underlying issue causing your car battery to drain repeatedly. Most drivers make the mistake of replacing the battery only to face the same problem weeks later, unaware that parasitic drains, faulty connections, or charging system failures are the real culprits.
If your car battery dies overnight despite all lights being off and doors closed, you’re dealing with a hidden electrical problem rather than a defective battery. Understanding how to diagnose and fix these recurring battery failures will save you from costly replacements and unexpected breakdowns. This guide shows you exactly how to identify the root cause and implement permanent solutions.
Diagnose Hidden Parasitic Electrical Drains
Modern vehicles contain dozens of components that can silently drain your battery even when the engine is off. These parasitic draws often measure just milliamps but add up to a dead battery overnight.
Identify Common Battery Drain Culprits
Interior lighting failures are among the most frequent offenders. Vanity mirror lights left on can completely drain your battery in just 8-12 hours. Glove box lights that fail to turn off when the door closes create gradual power loss that becomes noticeable after 24-48 hours. Even small map lights left illuminated overnight can cause starting problems.
Aftermarket electronics represent another major source of parasitic drain. Dash cams that operate in parking mode, phone chargers left plugged into 12V outlets, and upgraded stereo systems with separate amplifiers maintain small but constant electrical draws. LED underglow kits wired to always-hot circuits can drain your battery in as little as 36 hours.
Factory-installed systems like security alarms and keyless entry systems create necessary but persistent electrical loads. While designed for minimal impact, aging components can increase these draws beyond acceptable limits.
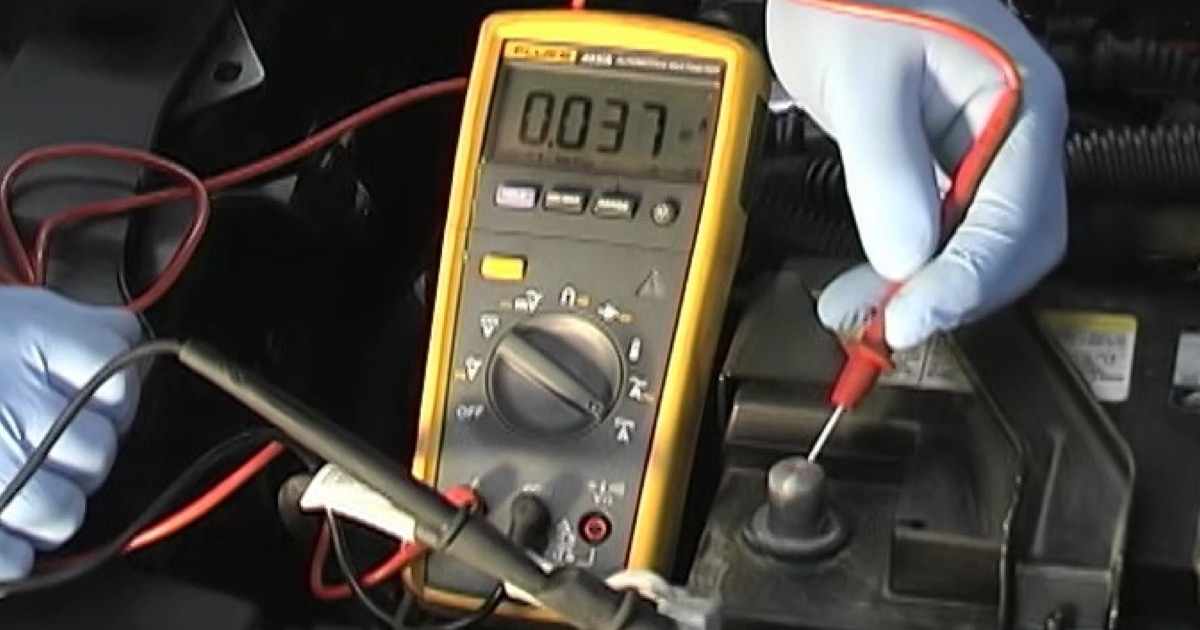
Perform the Fuse Removal Test
To pinpoint the exact circuit causing your battery drain:
- Fully charge your battery using an external charger
- Wait 30 minutes for all vehicle systems to go to sleep
- Disconnect the negative battery cable
- Set your multimeter to 10A amperage setting
- Connect multimeter between negative cable and battery terminal
- Normal draw should be under 50mA (0.05 amps)
- Remove fuses one at a time until the amperage reading drops significantly
- Identify the circuit corresponding to the problematic fuse
Critical tip: Some modern vehicles require waiting 15-30 minutes after connecting your multimeter before getting an accurate parasitic draw reading as systems enter sleep mode.
Test Your Battery’s True Condition

Before replacing your battery, verify whether it can actually hold a charge or if external factors are causing the repeated failures.
Conduct Proper Voltage Testing
Required equipment: Digital multimeter set to 20V DC mode
Testing procedure:
1. Ensure all accessories are off and keys removed
2. Let the vehicle sit undisturbed for at least 4 hours
3. Connect red probe to positive terminal, black to negative
4. Record the voltage reading
Interpretation guide:
– 12.6V or higher: Battery is fully charged (problem lies elsewhere)
– 12.4-12.5V: Acceptable charge (verify charging system)
– Below 12.4V: Battery needs charging or replacement
Pro insight: A battery reading 12.2V after sitting overnight indicates significant discharge that requires investigation beyond simple recharging.
Clean Corroded Battery Connections
Corroded terminals cause more recurring battery failures than actual battery defects. White or blue crusty buildup creates resistance that prevents proper charging and starting current flow.
Complete Terminal Cleaning Process
- Disconnect negative cable first (prevents short circuits)
- Mix 1 tablespoon baking soda with 1 cup water to neutralize acid
- Apply solution to corrosion using old toothbrush
- Scrub terminals and cable ends with wire brush until shiny metal appears
- Rinse thoroughly with clean water
- Dry completely before reassembly
- Apply dielectric grease to both terminals to prevent future corrosion
- Reconnect cables (positive first, then negative) ensuring tight connections
Warning: Never spray water directly onto battery terminals—this can force acid into sensitive components. Always disconnect negative first and reconnect last to prevent electrical shorts.
Verify Your Charging System Performance
A failing alternator creates the illusion of a bad battery by not properly recharging during driving, leading to recurring dead battery situations.
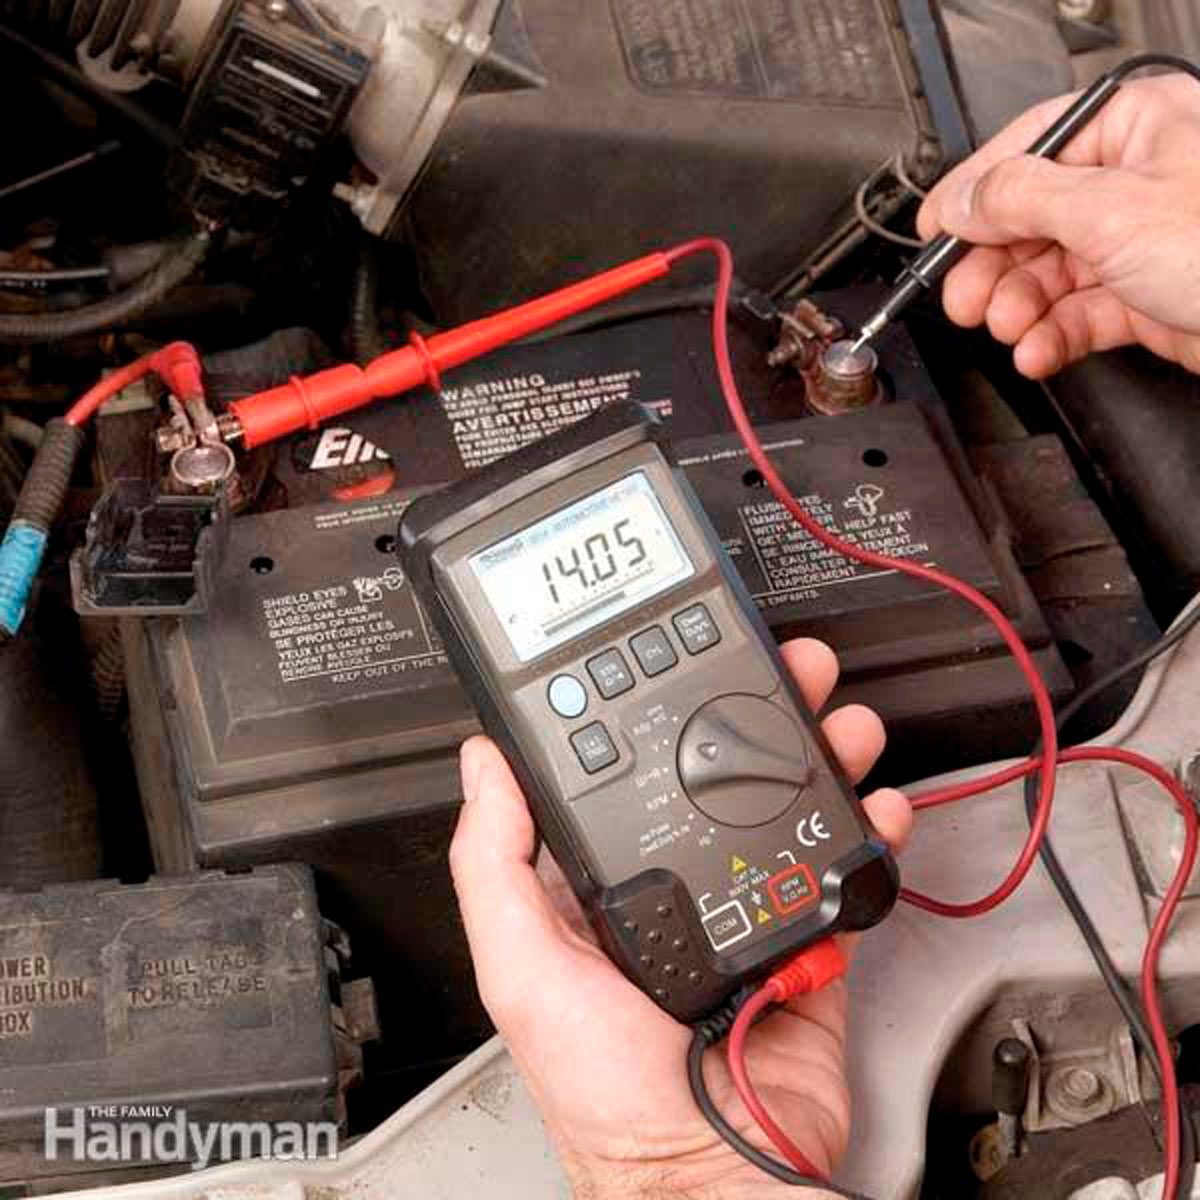
Perform Accurate Alternator Testing
- Fully charge your battery using an external charger
- Start engine and maintain 2,000 RPM
- Connect multimeter to battery terminals
- Read voltage while engine runs
Interpretation guide:
– 13.5-14.5 volts: Properly functioning alternator
– Below 13.5 volts: Failing alternator requiring replacement
– Above 14.8 volts: Overcharging (potential battery damage)
Critical signs of alternator failure:
– Dimming headlights while driving, especially at idle
– Battery warning light illuminated on dashboard
– Electrical accessories failing while engine runs
– Burning rubber smell from serpentine belt
Implement Daily Prevention Habits
Once you’ve fixed the immediate problem, establish routines that prevent future battery drain issues.
Essential Pre-Exit Checklist
Before leaving your vehicle each time:
– Double-check headlights (automatic systems can malfunction)
– Remove all devices from 12V power outlets
– Verify all interior lights turn off when doors close
– Listen for unusual sounds indicating accessories still running
– Check aftermarket installations for proper switched-power connections
Pro tip: Place a small sticky note on your steering wheel reminding you to check these items until the habit becomes automatic.
Determine When to Replace vs. Repair
Knowing whether to replace your battery or fix underlying issues saves money and prevents recurring problems.
Battery Age Assessment Guide
Under 3 years old: Focus on fixing electrical system issues first. Batteries this young rarely fail due to internal defects.
3-5 years old: Test thoroughly. Replace if voltage drops below 12.4V after full charge or if slow cranking develops.
Over 5 years old: Plan for replacement regardless of current performance. The risk of sudden failure increases dramatically beyond this age.
Warning Signs Requiring Immediate Replacement
- Slow engine cranking that worsens daily
- Battery case swelling or visible damage
- Severe terminal corrosion that cleaning cannot resolve
- Voltage consistently below 12.2V after full charge
- Failed load test at auto parts store
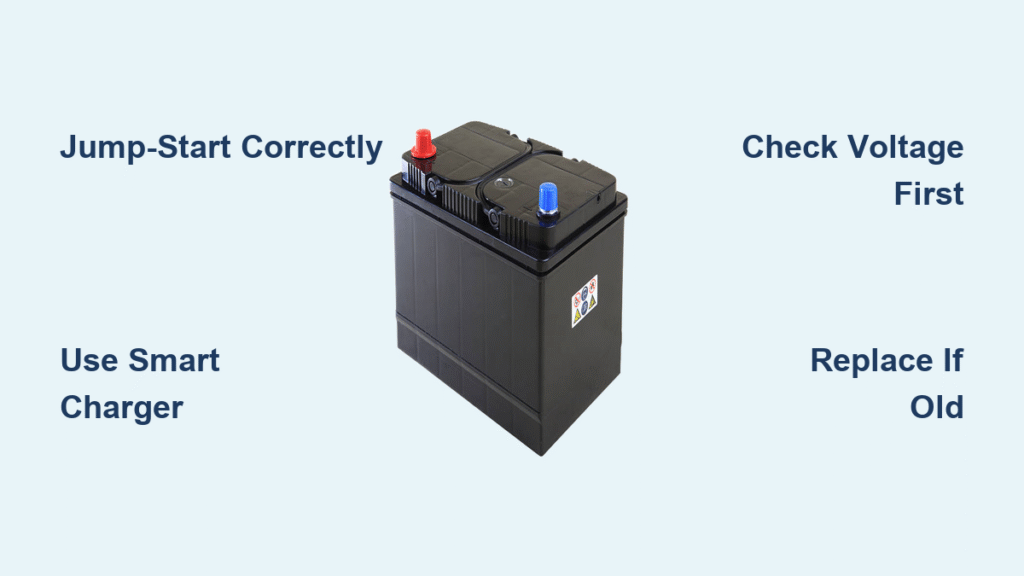
Execute Safe Jump-Starting Procedures
Despite prevention efforts, you may still need to jump-start your vehicle. Doing it correctly prevents damage to sensitive electronics.
Proper Jump-Starting Sequence
- Position vehicles close but not touching (if using another car)
- Turn off both vehicles and remove keys
- Connect positive (red) clamp to dead battery’s positive terminal
- Connect other positive clamp to good battery’s positive terminal
- Connect negative (black) clamp to good battery’s negative terminal
- Connect final negative clamp to unpainted metal on dead car’s engine block
- Start working vehicle and let run 2-3 minutes
- Attempt to start dead vehicle – stop after 3 unsuccessful tries
Critical safety note: Never connect both negative clamps directly to batteries—this can cause dangerous sparks near battery gases.
Establish Long-Term Maintenance Habits
After resolving your recurring battery drain issue, implement these maintenance practices to extend battery life.
Seasonal Battery Care
Before summer:
– Test battery capacity (heat accelerates failure)
– Clean terminals thoroughly (corrosion worsens in heat)
– Check electrolyte levels in serviceable batteries
Before winter:
– Load test battery (cold weather reveals weakness)
– Ensure full charge before first freeze
– Consider battery warmer for extreme cold climates
Pro insight: Mark your battery installation date on the case with permanent marker. This helps track actual age versus perceived age when troubleshooting future issues.
Key takeaway: A car battery that keeps dying rarely indicates a defective battery—it’s almost always signaling an underlying electrical system problem. By methodically diagnosing parasitic draws, testing your charging system, and maintaining clean connections, you solve the root cause rather than wasting money on repeated battery replacements. Most drivers replace their battery only to face the same problem weeks later because they never addressed the real issue. Implement these diagnostic steps and prevention habits to end the frustrating cycle of recurring dead batteries for good. Remember that professional battery testing at auto parts stores is typically free and can provide valuable insights when you’re unsure of your diagnosis.