
That dead battery you just revived with jumper cables? Or the one you disconnected for winter storage or stereo upgrades? Slapping cables back on without proper sequence risks more than just sparks—it can fry your engine control unit, melt wiring, or even cause battery explosions. Most DIYers don’t realize that connecting the negative terminal first turns your entire car chassis into a live circuit, making one slipped wrench capable of dumping 1,000+ amps through critical electronics. This guide reveals the exact 8-step reconnection process mechanics use to avoid costly mistakes, complete with torque specs, corrosion fixes, and post-installation checks you won’t find in your owner’s manual. Follow these steps to ensure your car starts reliably for years, not just until the next grocery run.
Essential Safety Steps Before Touching Cables
Power down completely before approaching the battery bay. Turn the ignition to OFF and remove the key—even if your car has keyless start, unlock doors first then carry the fob 15+ feet away. Proximity sensors can accidentally wake systems, creating dangerous voltage spikes during reconnection. Then switch off every accessory: headlights, dome lights, radio, and HVAC. A single live circuit transforms your wrench into a potential short-circuit hazard the moment it bridges metal.
Protect yourself with mechanic-grade rubber gloves and ANSI-rated safety glasses. Battery acid splashes are invisible until they hit your skin or eyes, and one accidental spark near hydrogen gas vents can cause minor explosions. Clear all metal objects from your person—watches, rings, and even belt buckles—while ensuring your workspace is dry and free of loose tools. Never skip this step; I’ve seen $1,200 ECU replacements stem from a dropped socket wrench during reconnection.
Quick Battery & Cable Inspection Checklist

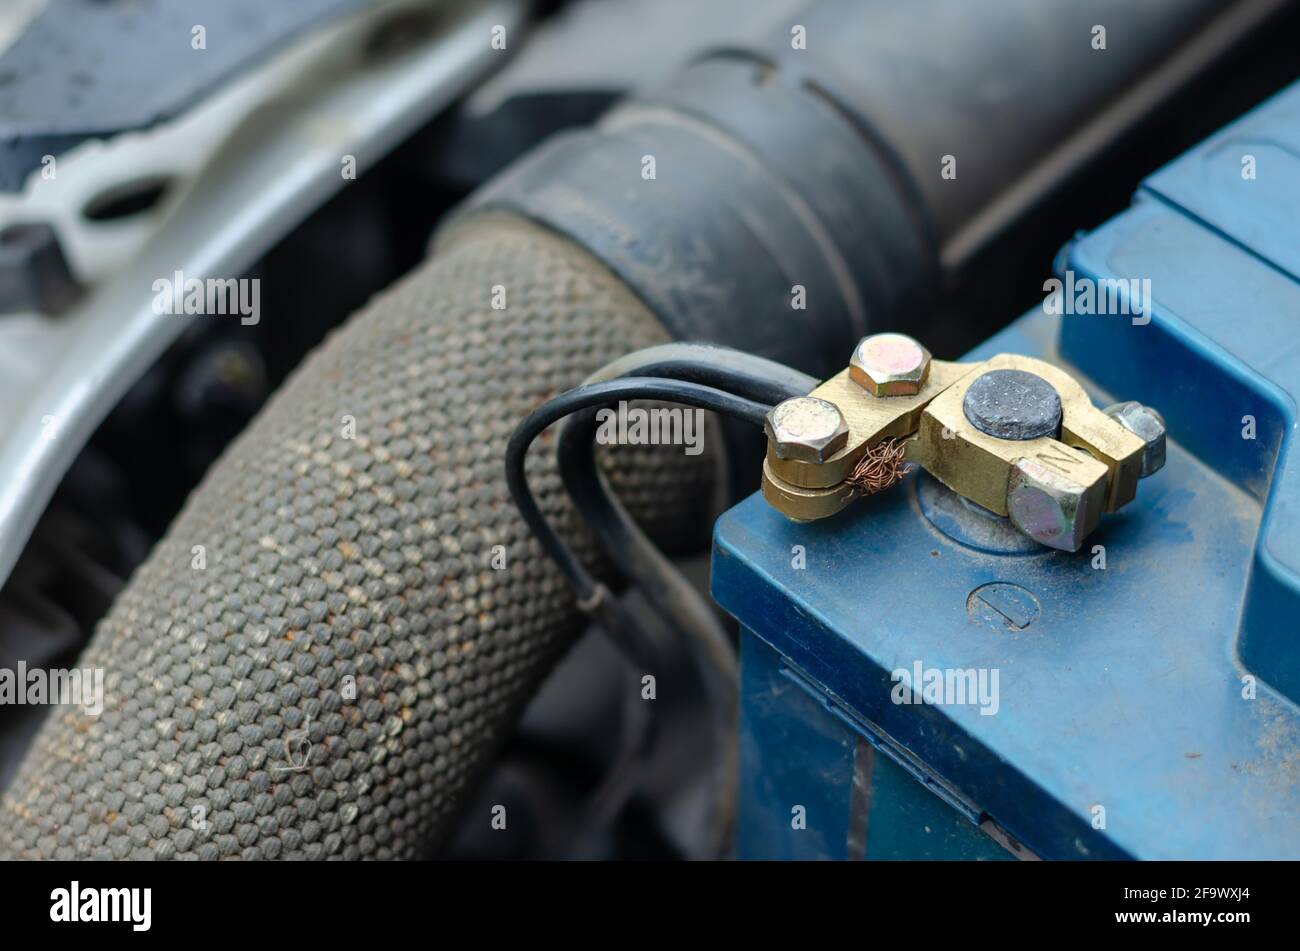
Don’t reconnect until you’ve inspected both terminals and cables. Look for white or blue crystalline deposits (corrosion) that increase electrical resistance and cause slow cranking. Check cable insulation for cracks, fraying, or exposed copper strands—these create fire hazards when contacting metal surfaces. If terminal clamps appear stretched, cracked, or misshapen, replace them immediately; a loose grip guarantees voltage drops and no-start scenarios.
Fast Corrosion Removal in 3 Minutes
Create a corrosion-killing paste using three parts baking soda to one part water. Dip a wire brush or old toothbrush into the mixture and scrub both battery posts and cable clamps until bright metal shows through. Rinse thoroughly with clean water, then dry completely with a lint-free cloth. Critical warning: Never spray water directly into battery vents—this dilutes electrolyte and causes internal damage. Finish by applying a thin layer of dielectric grease to posts; this creates a moisture barrier that prevents corrosion for 6+ months.
Correct Battery Placement and Securing
Position the battery level as you lower it into the tray—tilting risks sulfuric acid spills that eat through paint and rubber. Align posts so the red positive cable reaches its terminal without stretching or kinking. Remember: standard car batteries weigh 40+ pounds; lift with your legs, not your back, to avoid injury. Once seated, gently rock the battery side-to-side. Any movement means your hold-down isn’t tight enough, which leads to terminal damage from vibration during driving.
Secure Hold-Down Mechanism Properly
Reinstall the factory bracket, strap, or hook system immediately after positioning. For strap-type clamps, pull tight until you feel resistance, then add one-quarter turn with your wrench. Bracket systems require bolting snugly while ensuring no metal flexes. Test security by trying to shift the battery—you shouldn’t achieve more than 1/8 inch of movement. An unsecured battery shifts during hard turns, cracking its case and spilling acid onto engine components.
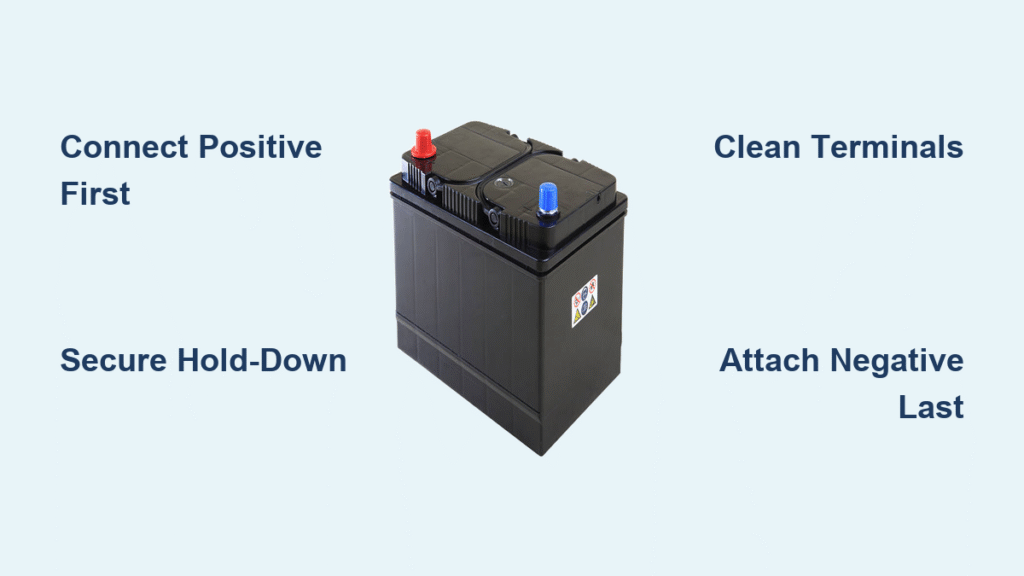
Connect Positive Terminal First: The Critical Rule
Always reconnect positive (+) before negative (–). This isn’t arbitrary—it’s electrical physics. Your car’s entire metal frame connects to the negative terminal, making the chassis a live conductor if you attach negative first. If your wrench then touches any metal while connecting positive, you complete a 1,000-amp circuit through your tool. With positive connected first, only the small terminal post is energized, eliminating short-circuit risks.
Slide the red cable fully onto the + post until it seats against the battery’s shoulder ridge. Tighten the clamp bolt clockwise to 7-10 ft-lbs—about hand-tight plus 1/8 turn. Stop immediately if you feel resistance ease; over-tightening cracks soft lead posts, causing permanent connection failure. Verify security by attempting to twist the cable—it shouldn’t rotate.
Attach Negative Terminal Last Without Sparks
Keep the black cable clear of all metal surfaces while positioning it over the – post. One accidental brush against the chassis during connection causes violent sparking that can blow fuses or damage sensors. Slide the clamp fully on, then tighten to the same 7-10 ft-lb specification as the positive side. After tightening, tug firmly on both cables—they must remain immovable. If either shifts, loosen slightly, reseat, and retighten.
Verify Connections Before Starting the Engine
Perform three critical checks before turning the key. First, trace both cables away from moving parts—belts, fans, or sharp edges can wear through insulation within weeks. Second, remove all rags, tools, or gloves from the engine bay; forgotten items cause overheating or fires. Third, confirm no corrosion remains under clamps by gently wiggling cables while inspecting for white residue.
Test Electrical Systems Thoroughly
Start the engine and listen for brisk cranking—slow turnover indicates loose connections or low charge. Then test every system:
– Headlights (both low and high beams) for consistent brightness
– Horn for full volume without distortion
– Power windows for smooth operation
– HVAC blower on all speed settings
Flickering lights or sluggish accessories mean residual corrosion or poor grounding. If the check-engine light stays illuminated after two ignition cycles, scan for codes immediately—some modules require reprogramming after power loss.
Common Reconnection Mistakes and Instant Fixes
| Mistake | Consequence | Prevention |
|---|---|---|
| Negative terminal connected first | Sparks, blown fuses, ECU damage | Always connect positive first |
| Over-tightening clamps | Cracked posts, permanent connection failure | Tighten to 7-10 ft-lb—stop when snug |
| Ignoring corrosion | Slow starts, charging system failure | Clean posts with baking soda paste pre-reconnection |
| Reversed polarity | Melted wiring, destroyed alternator | Double-check red = +, black = – |
| Loose hold-down | Cracked battery case, acid leaks | Secure until <1/8″ movement remains |
Why Positive-First Sequence Prevents Catastrophe
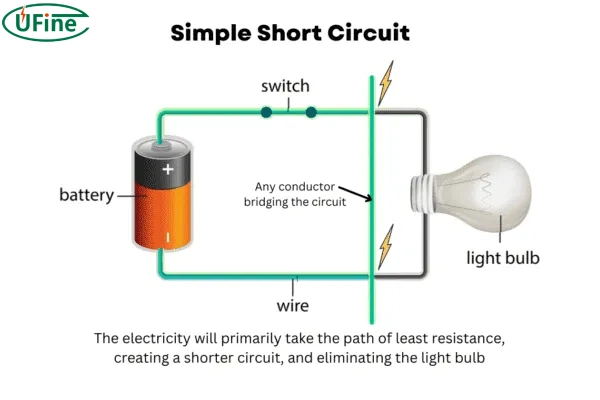
A car battery’s 12-volt system can unleash over 1,000 amps during a short circuit—enough to weld steel tools red-hot in seconds. When negative connects first, your entire car body becomes a live conductor. If your wrench touches the positive terminal and any metal surface simultaneously, you create a direct short through critical electronics. Connecting positive first confines the live circuit to the small terminal post. Even if your tool slips, it won’t contact another conductor, eliminating short-circuit risks. This isn’t theory; I’ve diagnosed three modern vehicles with fried engine control modules from reversed connection sequences.
Final Reconnection Checklist Before Driving
Complete these five steps before closing the hood:
1. Power verification: Engine off, key removed, all accessories confirmed OFF
2. Battery security: Hold-down tight with zero lateral movement, corrosion-free terminals
3. Connection sequence: Positive cable secured first at proper torque, negative last
4. Cable routing: Clear of moving parts and sharp edges with no slack
5. System validation: All lights, accessories, and engine functions tested
Your battery is now reconnected with professional-grade safety. That initial investment of 10 minutes prevents $1,500+ repair bills down the road. For long-term reliability, recheck terminal tightness after 500 miles of driving—thermal cycling often loosens connections. If you performed this reconnection after a jump-start, drive at least 20 minutes to fully recharge the battery; short trips prevent complete charging and accelerate future failures. Keep dielectric grease in your glovebox for the next inspection—you’ll avoid 90% of corrosion-related no-starts with this simple preventative step.


