
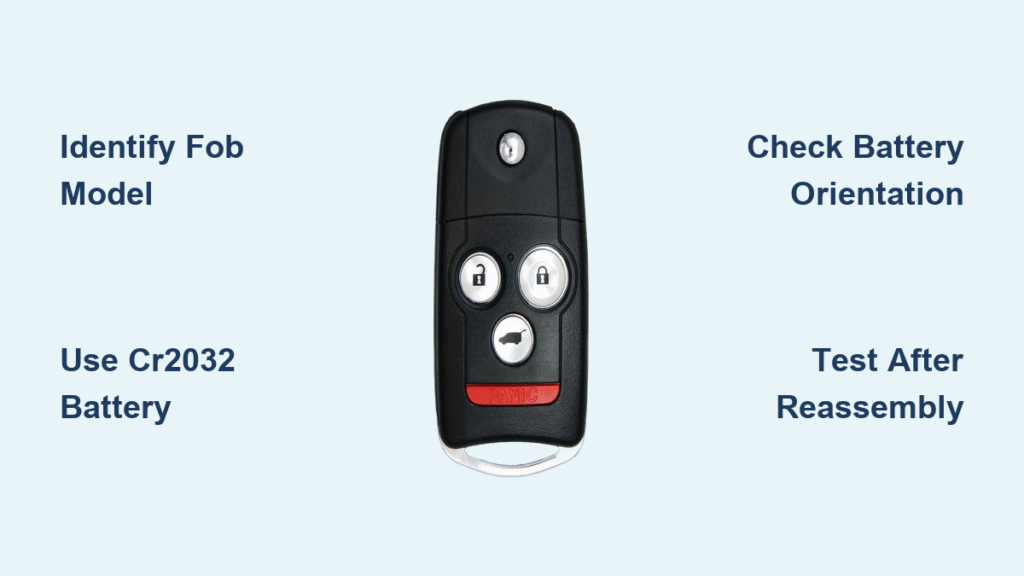
Your Acura key fob stops responding in the middle of a busy day. No lock, no unlock, no panic button. A dead battery is almost always the culprit, and the good news is you can fix it yourself in minutes. Learning how to replace Acura key battery saves you a trip to the dealership and keeps you prepared for the next time it happens.
In this guide, you’ll learn how to open your Acura key fob, install a new CR2032 battery correctly, and confirm everything works before you walk away. The process is nearly identical across popular models like the RDX, MDX, TLX, and ILX.
Open the Acura Key Fob Without Damage
Before you can swap the battery, you need to separate the two halves of the key fob housing. Acura fobs use a snap-fit design that opens with light pressure, but rushing the job can crack the plastic or damage internal clips.
Find the Seam and Insert a Flat Tool
Look along the edge of the fob for a thin seam where the two halves meet. Insert a flathead screwdriver, a butter knife, or even a coin into the gap near the key release button. Twist gently until the first clip pops loose. Work your way around the edge slowly, releasing each tab as you go. Once the shell separates, pull the two halves apart by hand.
Pro Tip: Wrap the tip of your tool in a thin layer of tape to prevent scratches on the plastic surface.
Locate the Battery and Circuit Board
With the fob open, you’ll see the internal circuit board and the battery seated in a small metal holder. The battery is typically a CR2032 coin cell, which has been the standard for Acura key fobs for over a decade. Avoid touching the circuit board with bare fingers, since skin oils can cause corrosion over time.
Remove the Old Battery Safely

Swapping the battery is the quickest part of the job, but doing it carefully protects the electronics from damage.
Lift the Battery Out of the Holder
Use your fingertip or a plastic spudger to gently push the old battery out of its compartment. It should slide free with minimal pressure. While the battery is out, inspect the compartment for white, green, or brown residue, which signals corrosion or leakage. If you spot any buildup, clean it with a cotton swab lightly dampened with rubbing alcohol. Wait until the area is completely dry before moving on.
Warning: Never insert metal tools directly into the battery compartment. Metal can scratch the contacts or create a short circuit that ruins the board.
Confirm the Battery Type Before Proceeding
Double-check that you’re replacing a CR2032 with another CR2032. Using the wrong battery size or voltage can prevent the fob from working or even damage the housing. Most packaging clearly labels the model, and the old battery should have “CR2032” printed on the front.
Install the New CR2032 Battery
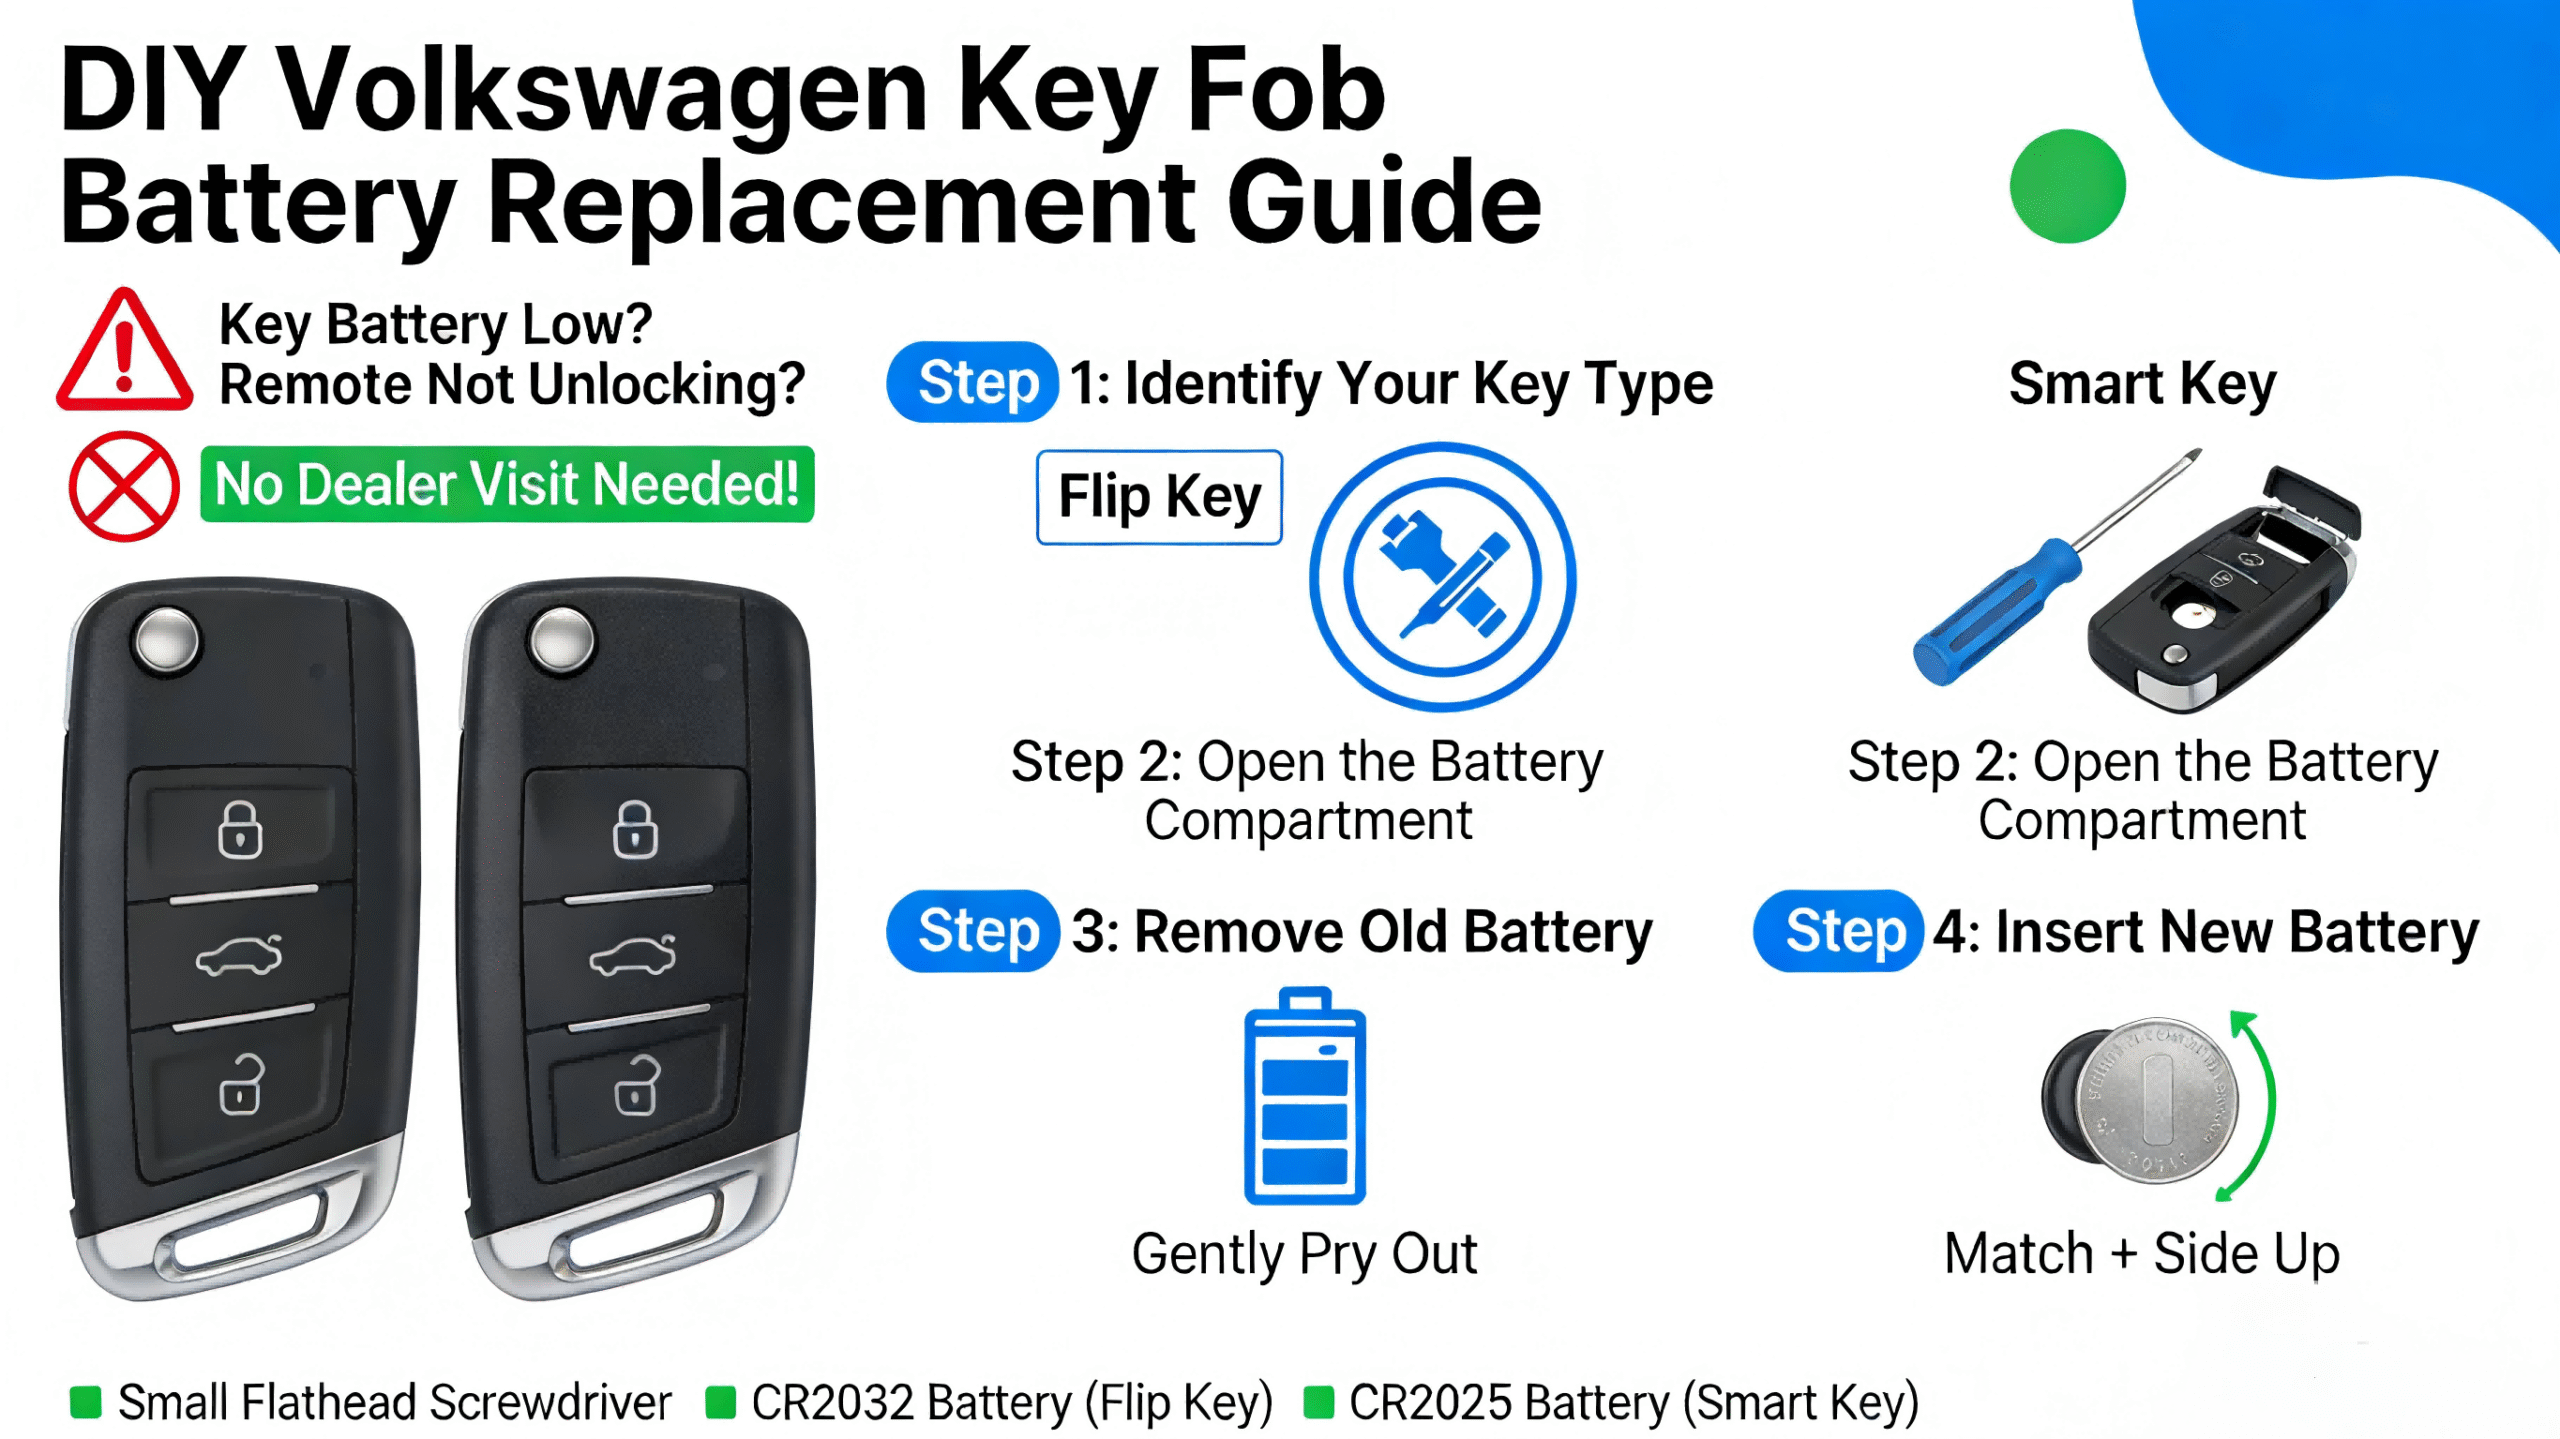
Inserting the new battery correctly is critical for the fob to function. Getting the orientation wrong is the most common DIY mistake.
Place the Battery with the Positive Side Up
Take a fresh CR2032 battery and slide it into the holder so the positive side faces up. The plus sign (+) should be visible after placement. The negative side should rest against the metal spring contact at the bottom of the compartment. Press down gently until the battery sits flat and stable.
Pro Tip: Choose name-brand batteries from Panasonic, Energizer, or Duracell for longer life and more consistent voltage output.
Check That the Battery Seats Firmly
A loose battery causes the fob to work intermittently or not at all. After placing the battery, give it a light press to confirm it is fully seated and does not wobble. If it shifts, adjust the spring contact or reposition the battery until it locks into place.
Reassemble and Test the Key Fob
Once the battery is installed, put the fob back together and verify it works before you rely on it.
Snap the Housing Back Together
Align the two halves of the fob so the edges meet evenly. Press them together starting from one corner and working around the perimeter. You should hear soft clicks as the plastic tabs lock into place. Make sure there are no gaps or misaligned sections. If the fob refuses to close, reopen it and confirm that no internal components or wires are pinched between the halves.
Confirm the LED Light Flashes
Press any button on the key fob and watch for the LED light to flash. According to Phil Plante’s tip, “If you see the light, you did it right.” A flashing LED confirms the battery is installed correctly and the circuit is receiving power. Next, test the fob by locking and unlocking your car doors from a short distance. If the vehicle responds, your replacement was a success.
If the light does not flash or the car does not respond:
– Reopen the fob and verify the battery orientation
– Make sure the battery is fully seated
– Try a different CR2032 to rule out a defective cell
Identify Your Specific Acura Key Fob
Not every Acura key fob looks or opens the same way. Knowing which style you have helps you avoid forcing the wrong technique.
Flip Key Versus Remote-Only Fob
Most Acura models use a flip-style key fob with a mechanical key that folds into the housing. These open along the side seam and house the battery beneath the circuit board. Some newer models, including certain 2021 and later TLX trims, use a remote-only fob without a visible key blade. These versions may require pressing a small release latch or inserting a tool into a hidden slot to access the battery compartment.
Consider Model Year Differences
While the CR2032 battery fits nearly all Acura fobs from 2005 to present, the casing design can vary between generations. Older models built before 2010 may have a slightly different shell shape or internal layout. If your fob looks significantly different from standard images, check your owner’s manual or verify the battery type before prying anything open.
Extend the Life of Your New Battery
Replacing the battery solves the immediate problem, but a few simple habits can delay the next replacement.
Watch for Early Warning Signs
Your Acura key fob usually gives clear signals before the battery dies completely:
– You need to stand closer to the car for it to respond
– There is a noticeable delay when pressing buttons
– The dashboard displays a “Key fob battery low” message
– Locking or unlocking works only some of the time
Replace the battery at the first sign of weakness rather than waiting for a total failure.
Store Spare Batteries the Right Way
Keep an extra CR2032 in your glove compartment, toolbox, or kitchen drawer. Store it in a cool, dry place away from direct sunlight and extreme temperatures. Avoid tossing loose batteries into pockets or bags where they can rub against keys or coins, which can cause discharge or shorting.
Know When to Call a Professional
Most battery swaps are quick DIY fixes, but some situations need expert attention.
The Fob Still Won’t Work After a New Battery
If you’ve installed a fresh CR2032 correctly but the fob still does nothing, the problem may run deeper. Common culprits include:
– Damaged circuit board or loose internal connections
– Moisture intrusion from spills or weather exposure
– Lost pairing between the fob and the vehicle
A visit to your Acura dealer or a qualified automotive locksmith can diagnose and resolve these issues.
The Mechanical Key Is Damaged or Missing
Many Acura fobs include a physical emergency key tucked inside the housing. If that key is bent, cracked, or lost, you’ll need a replacement from the dealership or a trusted locksmith. Forcing a damaged key into the door lock can damage the cylinder and lead to costly repairs.
Where to Buy Reliable CR2032 Batteries
You don’t need a dealership to find the right battery, but quality matters more than price.
Trusted Places to Purchase
CR2032 coin cells are available almost everywhere:
– Grocery stores and pharmacies
– Drugstores like CVS or Walgreens
– Big-box retailers such as Walmart or Target
– Auto parts stores including AutoZone and O’Reilly
– Online marketplaces like Amazon or eBay
Always check the expiration date on the packaging, since most coin batteries hold their charge for five to ten years when stored properly.
Stick with Reputable Brands
While OEM-branded Acura batteries aren’t sold separately, name-brand CR2032 cells from Panasonic, Energizer, or Duracell deliver consistent voltage and longer service life. Avoid unbranded generics from unknown manufacturers, since these are more likely to leak, underperform, or fail shortly after installation.
Frequently Asked Questions About Acura Key Battery Replacement
What battery does an Acura key fob use?
Most Acura key fobs use a CR2032 coin cell battery. This 3-volt lithium battery has been the standard for Acura models from roughly 2005 to the present, including the RDX, MDX, TLX, and ILX.
How long does an Acura key fob battery last?
A typical CR2032 battery lasts between two and four years under normal use. Heavy use, extreme temperatures, and low-quality batteries can shorten that lifespan significantly.
Do I need to reprogram my Acura key fob after changing the battery?
No. Replacing the battery does not erase the pairing between your fob and the vehicle. The fob should work immediately after the new battery is installed and the housing is snapped back together.
Can I open my Acura key fob without breaking it?
Yes. Use a flat tool like a screwdriver or coin and apply gentle pressure along the seam. Rushing or using excessive force is the most common cause of cracked housings or broken clips.
What should I do if the LED light does not flash after replacing the battery?
Reopen the fob and confirm the positive side of the battery faces up. Make sure the battery is fully seated and the contacts are clean. If the light still does not flash, try a different CR2032 to rule out a defective cell.
Where can I get help if my Acura key fob still does not work?
Visit your local Acura dealership’s parts or service department for diagnosis and repair. A qualified automotive locksmith can also handle fob issues, reprogramming, and mechanical key replacement.
Final Thoughts on Replacing Your Acura Key Battery
Replacing your Acura key fob battery is one of the simplest and most cost-effective DIY car maintenance tasks you can tackle. With a flat tool, a fresh CR2032 battery, and about five minutes of your time, you can restore full function to your fob without a service appointment. Remember the three keys to success: pry gently, install the battery with the positive side up, and confirm the LED light flashes before reassembling. Next time your fob starts acting sluggish, you’ll know exactly what to do.


