

Your AGM battery died overnight, stranding you before an important meeting. The mechanic quotes $200 for replacement, but here’s the truth: most “dead” AGM batteries just need proper charging. These sealed powerhouses can recover from deep discharge—if you follow precise voltage protocols. Standard chargers often ruin them by overcharging, while undercharging leaves them weak. This guide reveals the exact voltage thresholds and equipment pros use to revive AGM batteries safely, potentially saving you hundreds and extending battery life by years. You’ll learn why your regular charger is dangerous and how to charge your AGM car battery correctly in under 12 hours.
AGM batteries aren’t traditional flooded types. Their fiberglass-mat design traps electrolyte in a sealed, spill-proof system that demands surgical voltage precision. While flooded batteries tolerate 13.5V charging, AGM units require 14.4-14.7V—straying outside this range causes permanent damage. Miss this narrow window and you’ll either evaporate electrolyte through overcharging or leave sulfation buildup from undercharging. Understanding these unique requirements isn’t optional; it’s the difference between a battery that lasts six years versus failing in two.
AGM Battery Charging Voltage and Current Limits
AGM batteries absorb charging current differently due to their ultra-low internal resistance. This allows them to take 30-50 amps initially versus 10 amps for flooded batteries, but only within strict voltage boundaries. Exceeding 15 volts—even briefly—triggers dangerous off-gassing that can pop safety valves and warp the case. Conversely, charging below 14.4V leaves the battery perpetually undercharged, accelerating sulfation.
Why Standard Chargers Damage AGM Batteries
- Voltage mismatch: Regular chargers often hit 15-17V, boiling electrolyte in sealed AGM units
- No temperature compensation: AGM requires voltage adjustments for every 5°F temperature change
- Fixed current output: Delivers unsafe amperage for AGM’s sensitive chemistry
- Lack of stage transition: Stuck in bulk mode, causing thermal runaway
Critical Charging Parameters for Your AGM Car Battery
Absolute safe range: 14.4-14.7 volts at 77°F (25°C)
Current rule: Never exceed 10 amps; ideal is 10% of battery’s Ah rating (e.g., 6A for 60Ah)
Temperature adjustment: Reduce voltage by 0.003V per °F above 77°F; increase below
Deep discharge limit: Stop charging immediately if battery exceeds 125°F (52°C)
Must-Have AGM-Specific Charging Equipment
Generic chargers destroy AGM batteries through voltage ignorance. Only smart chargers with AGM-specific algorithms can navigate the narrow charging window while compensating for temperature. These devices automatically shift between bulk, absorption, and float stages—something manual chargers can’t replicate. Skipping this specialized equipment risks permanent damage within hours.
Non-Negotiable Charger Features
- AGM mode selector: Must explicitly list “AGM” or “Absorbed” (gel settings won’t work)
- Temperature sensor: Adjusts voltage based on real-time battery temperature
- Multi-stage progression: Auto-transitions between charging phases
- Reverse polarity protection: Prevents catastrophic sparks during connection
Top verified options:
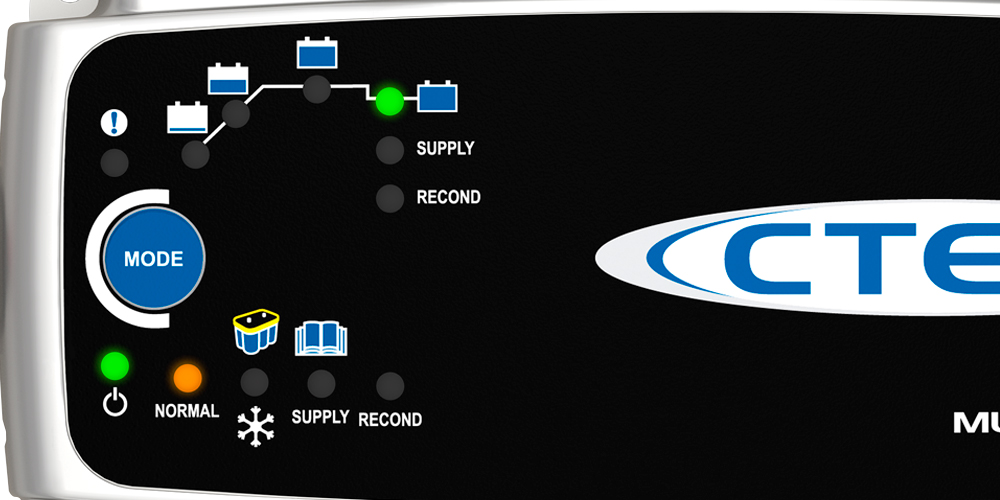
– CTEK Multi US 7002: Self-adjusts for temperature extremes (-4°F to 122°F)
– Optima Digital 1200: Special “recovery mode” for batteries below 10.5V
– NOCO Genius5: Microprocessor-controlled with OBD-II preservation
Dangerous Equipment to Avoid
Never use standard automotive chargers—even “12V” models—as they lack voltage regulation for AGM. Avoid gel-specific chargers, equalization modes, or any charger exceeding 10 amps continuously. Trickle chargers without AGM programming will undercharge and sulfate the battery over time.
Pre-Charging Safety Protocol for AGM Batteries
AGM batteries store explosive hydrogen gas under pressure. A single spark during charging can cause violent venting. This isn’t theoretical—improper handling causes 12,000+ battery explosions annually. Skip these steps and you risk acid burns or fire.
Critical Safety Checklist
- Personal protection: Remove all metal jewelry; wear ANSI Z87.1 safety glasses and nitrile gloves
- Ventilation: Charge outdoors or in open-garage (hydrogen gas requires 1,000+ air exchanges/hour)
- Vehicle prep: Turn ignition OFF completely; engage parking brake; pop hood
- Backup power: Plug OBD-II maintainer into diagnostic port to preserve radio/ECU settings
Visual inspection: Check for case bulging, acid leaks, or terminal corrosion. If present, stop charging immediately—the battery is compromised.
Step-by-Step AGM Charging Process
Follow this sequence exactly. One misstep—like connecting clamps backward—can fry your vehicle’s electronics. AGM batteries charge in three distinct phases, each requiring precise monitoring.
1. Correct Disconnection Sequence
- Disconnect negative terminal first (black cable with “-“) using 8mm or 10mm wrench
- Insulate the cable end with a clean rag to prevent accidental contact
- Only then disconnect positive terminal (red cable with “+”)
2. Charger Setup and Connection
- Plug charger into wall outlet before attaching clamps
- Select AGM/Absorbed mode and 12V setting
- Set current to 10% of battery Ah rating (e.g., 7A for 70Ah battery)
- Attach red clamp to positive terminal, black clamp to negative terminal
- Verify charger’s AGM indicator light is solid (not flashing)
3. Charging Phase Monitoring
- Bulk stage (0-80% charge): Watch amperage drop from initial 30% to 10% of Ah rating
- Absorption stage (80-100%): Voltage must hold steady at 14.4-14.7V for 1-4 hours
- Termination signal: Current drops below 1 amp for 60+ minutes (not timer-based!)
Stop immediately if battery feels warm to touch—this indicates dangerous overcharging.
Charging Time Estimates and Warning Signs
Charging duration depends entirely on discharge depth, not battery size. A 60Ah AGM at 12.0V takes the same time as a 100Ah unit at the same voltage. Guessing times leads to undercharging—always verify with voltage readings.
Expected Charging Durations
- Slightly discharged (12.4V): 2-3 hours
- Moderately discharged (12.0V): 4-6 hours
- Deeply discharged (11.5V): 8-12 hours
Emergency Warning Signs During AGM Charging
- Hissing sound: Safety valve venting—stop charging immediately
- Case bulging: Permanent damage occurring; disconnect power
- Temperature >125°F: Use infrared thermometer; reduce charge rate by 50%
- Strong rotten egg smell: Sulfuric acid leakage—evacuate area
Post-Charging Verification and Reconnection
Completing the charge cycle correctly prevents “phantom drain” issues that kill AGM batteries overnight. Many users skip these steps, causing premature failure.
Critical Completion Checks
- Let battery rest 30 minutes after charger indicates “full”
- Measure voltage: 12.8-13.2V confirms full charge (below 12.6V = incomplete charge)
- Unplug charger from wall before removing clamps
- Remove negative clamp first, then positive
Reconnection Best Practices
- Reattach vehicle’s negative cable to terminal
- Start engine immediately to verify charging system output (13.5-14.8V)
- Disconnect OBD-II backup within 60 seconds to avoid draining new charge
Troubleshooting Failed Charging Attempts
AGM batteries below 10.5V often “confuse” smart chargers, triggering safety shutdowns. Don’t replace the battery yet—these fixes often revive seemingly dead units.
“Charger Not Recognizing Battery” Fix
- Set charger to manual 12V mode (not AGM)
- Charge at 2 amps for 10 minutes to raise voltage above 10.5V
- Switch to AGM mode and restart normal charging
Persistent Slow Charging Causes
- Cold weather (<40°F): Double expected charge time; warm battery to 60°F first
- Sulfation buildup: Run charger’s “recondition” mode for 24 hours
- Parasitic drain: Test vehicle with multimeter (should be <50mA)
Proven AGM Battery Longevity Strategies
AGM batteries last 6+ years with proper charging—versus 2-3 years with neglect. These practices prevent the #1 killer: chronic undercharging.
Non-Negotiable Maintenance
- Monthly voltage checks: Maintain above 12.6V during storage
- Immediate recharge after deep discharges (below 50% capacity)
- Use smart maintainer for vehicles stored >30 days
- Never let sit below 12.0V for more than 72 hours
Invest $100 in an AGM-specific charger—it pays for itself by preventing two $200 battery replacements. Temperature compensation alone extends battery life by 30% in extreme climates.
Special Case Charging Protocols
Start-stop vehicles and marine applications demand extra vigilance. Their constant cycling strains AGM batteries more than standard cars.
Start-Stop Vehicle Considerations
- Charge after every short-trip drive (under 10 miles)
- Verify alternator output hits 14.4V+ during engine operation
- Use chargers with “start-stop” mode (Optima Digital 1200)
Marine/RV Deep-Cycle Charging
- Accept higher bulk currents (up to 30% of Ah rating) due to thicker plates
- Recharge within 4 hours of deep discharge to prevent sulfation
- Use dual-bank chargers for house/engine battery separation
Final Note: Charging your AGM car battery correctly takes precision, not complexity. Stick to the 14.4-14.7V sweet spot, use only AGM-specific smart chargers, and monitor temperature like a hawk. One voltage slip above 15V can permanently damage your battery, while consistent undercharging guarantees premature failure. Follow this protocol and your AGM will reliably start your car for 6+ years—saving you $400+ in replacements. Never settle for generic chargers; your vehicle’s electronics depend on it.


