

Your Kia EV6 sits lifeless in the driveway. The key fob won’t wake it, the screens stay black, and you’re stuck wondering what went wrong. This frustrating scenario often points to one culprit: your 12V battery needs attention. While the EV6’s massive high-voltage battery powers your wheels, it’s the humble 12V battery that keeps everything else running—from unlocking doors to booting up your infotainment system.
This guide walks you through every proven method to charge your EV6’s 12V battery, whether you’re dealing with a simple low-charge situation or a completely dead battery. You’ll learn not just how to fix the immediate problem, but how to prevent it from happening again—saving you costly service calls and unnecessary stress.
Kia EV6 12V Battery Location and Access
The 12V battery hides under the hood on the passenger side, concealed beneath a plastic cover. To access it:
Manual hood release location: Driver’s side footwell, near the door hinge
Battery cover removal: Three plastic clips secure the cover—gently pull straight up on each clip
Terminal identification: Red plastic cover marks the positive (+) terminal; negative (-) terminal remains exposed
Pro tip: Take a photo of the battery layout before disconnecting anything. This simple step prevents confusion during reassembly and ensures proper reconnection.
Why Your 12V Battery Died
Your EV6’s 12V battery typically fails due to three common scenarios:
– Extended parking: Leaving your EV6 unplugged for more than 2 weeks
– Software glitches: System errors preventing DC-DC converter operation
– Aftermarket accessories: Power-hungry devices draining the battery
Unlike traditional vehicles, your EV6’s 12V battery doesn’t recharge through driving—it relies on the high-voltage battery via the DC-DC converter. When this system fails, manual intervention becomes necessary.
Smart Charger Method for Reliable 12V Battery Recovery

When automatic charging fails, a dedicated 12V battery charger provides the safest, most controlled recovery. This method offers complete control over the charging process without risking damage to your EV6’s sensitive electronics.
Essential Equipment Checklist
- Smart battery charger: 2-10 amp capacity with automatic shutoff
- Safety gear: Safety glasses and nitrile gloves
- Cleaning supplies: Battery terminal brush or wire brush
- Verification tool: Digital multimeter for testing
Critical Connection Sequence
1. Safety First
Park in a well-ventilated area with the vehicle completely powered OFF. Remove all metal jewelry and wear protective gear. Never work on the 12V system while the high-voltage battery is charging.
2. Terminal Preparation
Clean both terminals with a wire brush until metal appears shiny. Corrosion creates resistance that prevents proper charging.
3. Correct Clamp Placement
Connect in this exact sequence:
– Positive (red) clamp → positive battery terminal (red cover)
– Negative (black) clamp → chassis ground point (strut tower bolt)
Never connect the negative clamp directly to the battery’s negative terminal. This safety practice prevents dangerous sparking near the battery.
4. Charging Settings
Set your charger to:
– Battery type: 12V Lead-Acid
– Charging rate: 2-6 amps for maintenance, 8-10 amps for recovery
Charging typically requires 2-8 hours depending on battery condition. Monitor progress through your charger’s display—most smart chargers automatically switch to maintenance mode when complete.
Emergency Jump-Starting Your EV6
When you need immediate power and no charger is available, jump-starting gets you moving quickly. This method requires another vehicle but follows specific EV6 safety protocols.
Precise Jumper Cable Procedure
Positioning: Park donor vehicle close but not touching your EV6. Both vehicles must be completely OFF—not in accessory mode.
Connection order:
1. Red cable to EV6 positive (+) terminal
2. Red cable to donor positive (+) terminal
3. Black cable to donor negative (-) terminal
4. Black cable to EV6 chassis ground (strut tower bolt)
Startup procedure:
– Wait 2-3 minutes for electrical systems to initialize
– Press EV6 start button
– Keep cables connected for 5-10 minutes after successful startup
– Disconnect in reverse order
Critical warning: Never attempt to jump start if your EV6 shows signs of flooding or electrical damage. The high-voltage system requires specialized handling.
Portable Jump Starter for Solo Emergencies

Compact lithium jump starters offer independence from other vehicles. These pocket-sized devices pack enough punch to wake your EV6 without assistance.
Effective Usage Technique
Preparation: Ensure your portable jump starter shows at least 75% charge. These devices lose power over time, so check monthly.
Connection process:
– Connect red clamp to positive battery terminal
– Attach black clamp to chassis ground
– Power on the jump starter
– Enter vehicle and press start within 30 seconds
– Once running, disconnect jump starter immediately
Pro tip: Keep a quality jump starter in your frunk for emergencies. Models with USB-C charging maintain readiness longer than micro-USB versions. A 1,500-amp capacity provides sufficient power for reliable EV6 starts.
Prevent Future 12V Battery Failures
Smart maintenance prevents most 12V battery issues before they strand you. Implement these simple habits to avoid unexpected failures.
Weekly Prevention Checklist
- Visual check: Look for warning messages during startup
- Drive cycle: Take a 30-minute drive weekly when possible
- Charging discipline: Keep EV6 plugged in during extended parking
Monthly Inspection Routine
- Terminal cleaning: Check for corrosion buildup
- Voltage test: Use multimeter—healthy batteries read 12.6V+
- Accessory audit: Remove unnecessary aftermarket devices
Critical insight: Your EV6’s DC-DC converter automatically maintains the 12V battery when the high-voltage battery exceeds 15% charge. Keeping your main battery above 20% prevents 90% of 12V issues.
Troubleshooting Persistent 12V Problems

When 12V problems keep returning despite proper charging, deeper issues require investigation. These diagnostic steps help identify the root cause.
Quick Diagnostic Tests
High-voltage battery check: Ensure main battery maintains 20%+ charge. Low HV battery prevents proper 12V maintenance.
Voltage verification: With vehicle ON, measure 12V battery voltage. Reading should be 14.0-14.5V. Lower indicates DC-DC converter failure.
Parasitic drain test: Measure current draw when vehicle is OFF. Normal is under 50 milliamps. Higher readings suggest electrical faults.
When to Replace Your 12V Battery
Replace your 12V battery when experiencing:
– Age exceeds 4 years with frequent issues
– Multiple deep discharges (below 11.8V)
– Swollen or leaking case
– Failed load test at 50% capacity
Important: Kia requires battery registration with the vehicle computer after replacement. This process requires dealership diagnostic tools—DIY replacement without registration triggers electrical faults.
Essential Safety Protocols for 12V Service
Battery work involves real risks. Follow these non-negotiable safety rules:
Electrical safety:
– Remove all metal jewelry before touching terminals
– Work in well-ventilated areas only
– Never smoke or create sparks near batteries
– Keep baking soda and water nearby for acid spills
Vehicle safety:
– Never service 12V battery while HV battery charges
– Disconnect negative terminal before any electrical work
– Keep chargers and tools away from moving parts
– Verify hood prop rod security before leaning over engine bay
Critical warning: Unlike conventional vehicles, your EV6 maintains high-voltage systems even when the 12V battery is dead. Always follow proper safety procedures to avoid electrical hazards.
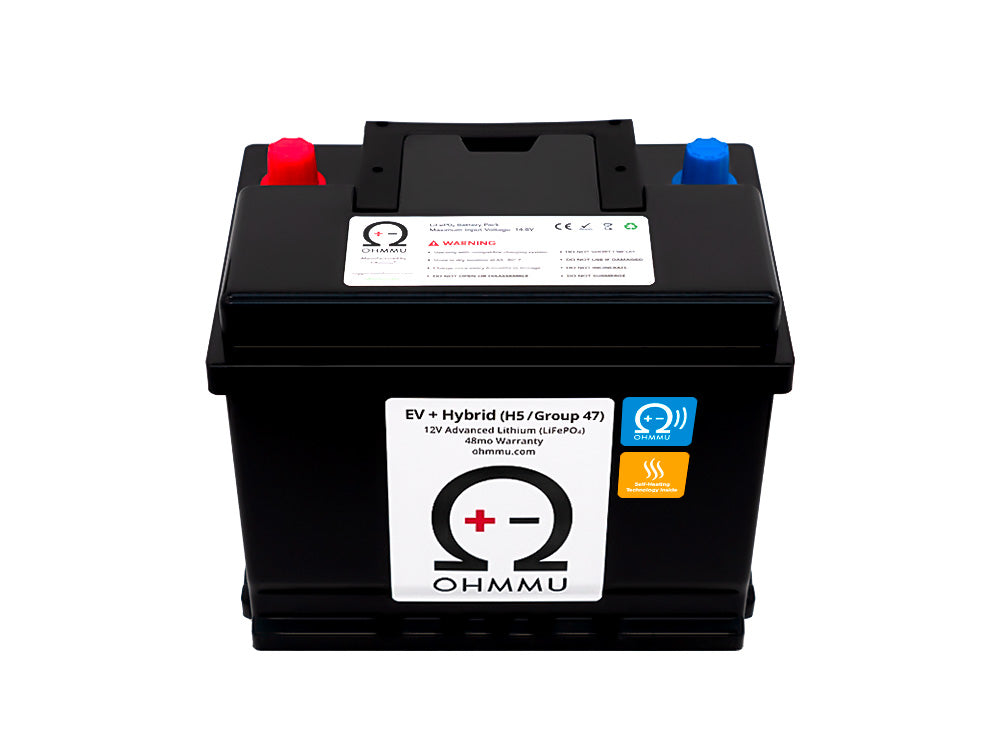
EV6 12V Battery Specifications and Replacement
Understanding your battery’s exact requirements ensures proper replacement and maintenance.
Technical Details
- Battery group: H5 (sometimes labeled 47)
- CCA rating: 500-600 cold cranking amps
- Reserve capacity: 90-100 minutes
- Capacity: 60-70 amp-hours
- Charging voltage: 14.2V from DC-DC converter
Recommended Replacement Options
- Kia genuine: 37110-K4000
- Interstate upgrade: MT-47/H5
- Optima AGM: DH6 YellowTop (superior performance)
- AC Delco: 47AGM (reliable aftermarket)
Your EV6’s 12V battery problems are solvable with the right approach. Whether you choose automatic maintenance, manual charging, or emergency jump starting, these methods restore reliable operation. Remember: consistent maintenance prevents most 12V issues entirely. Keep your EV6 plugged in during extended parking, drive regularly, and address warning signs promptly. When in doubt, your Kia dealer’s diagnostic tools provide definitive answers for persistent electrical gremlins. By following these procedures, you’ll maintain your EV6’s electrical health and avoid being stranded with a dead 12V battery.


