
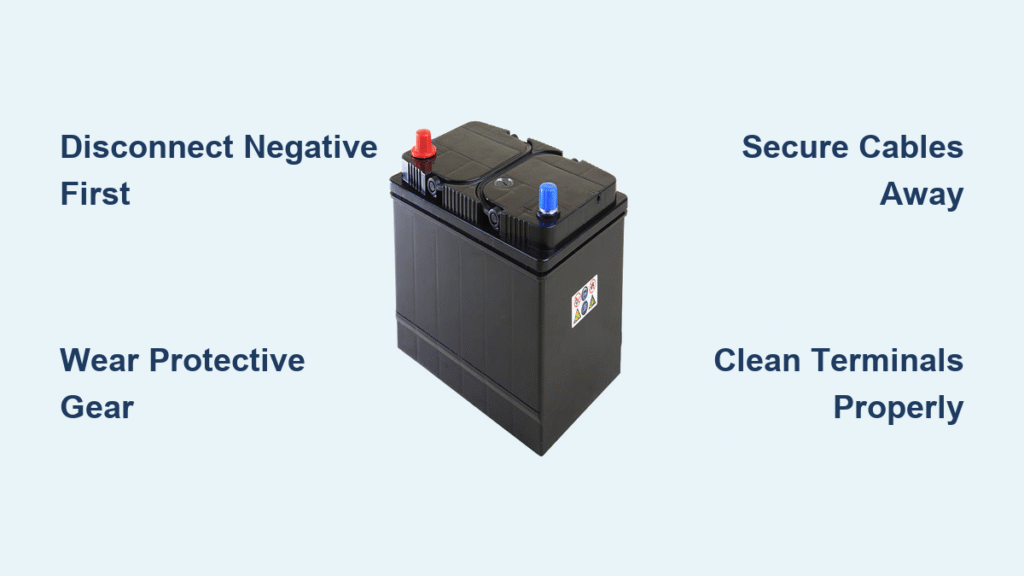
Your car won’t start, and the battery seems dead. Before you spend money on a replacement, you should know that many batteries can be revived simply by opening them and adding water. Learning how to open a car battery correctly lets you top off lost electrolyte, recover valuable materials, and add years of service to a battery you’d otherwise throw away.
This guide covers every step you’ll need, from identifying your battery type to resealing it properly. You’ll learn the exact tools required, how to handle sulfuric acid without injury, and how to recycle 98% of the battery’s components responsibly.
Identify Your Car Battery Type Before Opening

The opening method changes completely depending on what kind of battery you have. Using the wrong technique can cause acid burns, explosions, or permanent damage.
Check for Removable Caps on Flooded Batteries
Flip the battery upright and look at the top surface. Standard flooded lead-acid batteries have six visible rubber or plastic caps, one for each cell inside. These caps twist or pry off easily, giving you direct access to the electrolyte. If you see these caps, your battery is serviceable and designed for routine maintenance.
Identify Sealed Maintenance-Free Batteries
Sealed batteries appear completely smooth on top with no visible caps. The caps exist but are glued shut with strong adhesive. Despite the “maintenance-free” label, most of these batteries can still be opened safely to add distilled water and restore performance.
Confirm Your Battery Is Not AGM
AGM (Absorbent Glass Mat) batteries are sealed and contain no free liquid. The electrolyte is locked inside fiberglass mats. You should never open an AGM battery because doing so destroys its function and creates a serious hazard. Check the label for “AGM,” “VRLA,” or “Valve Regulated” before you proceed. If you see any of those terms, stop and do not open.
Gather Safety Gear and Tools Before You Start
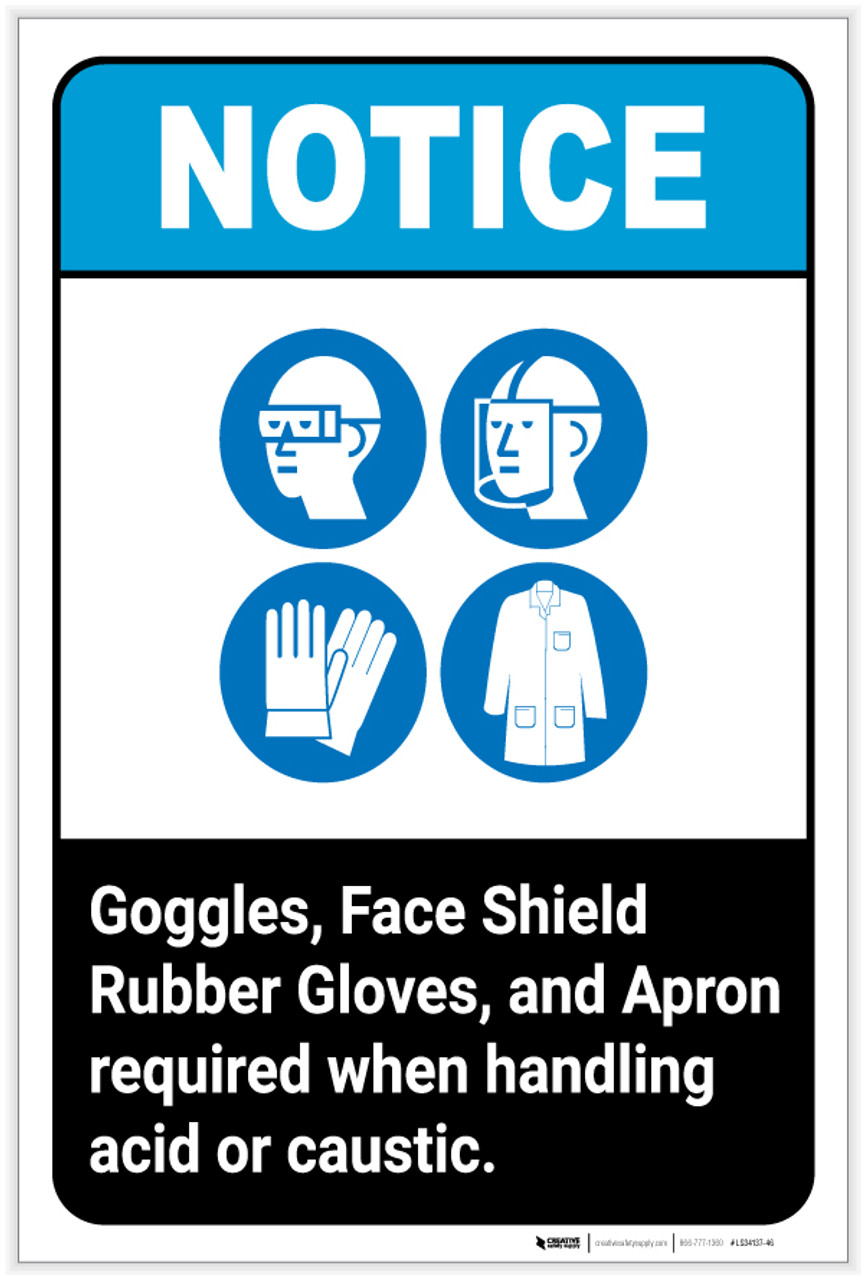
Opening a car battery exposes you to sulfuric acid, toxic fumes, and heavy components. Skipping safety preparation can result in chemical burns, respiratory injury, or environmental contamination.
Wear Full Protective Equipment
You need safety goggles to prevent acid splash from reaching your eyes. Put on acid-resistant gloves made of nitrile or neoprene, not standard rubber. Cover your arms and torso with long sleeves and a protective apron. A face shield adds extra protection when prying or breaking seals.
Prepare Emergency Supplies
Keep a bucket of baking soda water nearby (one cup of baking soda per gallon of water) to neutralize any acid spills instantly. Have a Class C fire extinguisher within reach in case of electrical fires. Always work outdoors or under a fume hood because battery fumes are toxic and potentially explosive.
Collect the Required Tools
You will need a flathead screwdriver or pry bar for breaking case seals. A plastic or metal scraper works well for lifting sealed caps without damaging internal rubber plugs. A syringe lets you inject lubricant under sealed caps. A heat gun softens warped lids during resealing. A steel plate and a 20+ pound weight flatten the lid for a tight seal. Use glass containers for storing or boiling acid, since plastic melts and metal reacts.
Disconnect and Remove the Battery from Your Vehicle
Never attempt to open a battery while it’s still connected to the vehicle. Sparks can ignite hydrogen gas that builds up during normal operation.
Power Down the Vehicle Completely
Turn off the engine and remove the key from the ignition. Disable any battery saver modes if your vehicle has them.
Disconnect the Terminals in the Correct Order
Always remove the negative terminal first (black, marked with a minus sign). This prevents short circuits if your tool accidentally touches the metal body. Then remove the positive terminal (red, marked with a plus sign). Use a wrench or pliers and avoid letting metal tools bridge the gap between terminals.
Unmount and Lift Out the Battery
Loosen the J-hook or hold-down bracket that secures the battery in place. Lift the battery straight out using your legs, not your back. Car batteries weigh between 40 and 50 pounds, and the weight is dense and awkward to handle.
Open Standard Flooded Batteries with Removable Caps
Standard flooded batteries are the easiest to service because the caps come off without breaking the case.
Remove the Caps and Inspect the Cells
Twist or pry off each of the six caps and set them aside carefully. Look inside each cell. The electrolyte fluid should cover the lead plates completely.
Top Off with Distilled Water Only
Use a funnel or syringe to add distilled water to each cell. Fill until the liquid reaches just below the split ring at the base of the vent well. Never add acid because only water evaporates during normal use.
Drain the Acid Before Breaking the Case
If you plan to extract the lead plates or recycle the battery, tilt the battery slowly over a glass container and drain all the electrolyte. Label the container clearly as “Sulfuric Acid – Hazardous.”
Break Open the Plastic Case
Insert a flathead screwdriver along the seam where the lid meets the base. Gently twist to break the adhesive seal. Work your way around the entire perimeter until the lid lifts free. Be careful, because the lid may be fused to the internal lead connectors.
Extract the Lead Plates Safely
Use pliers to disconnect the terminal posts from the top of the plates. Gently pull out each cell’s plate assembly. The plates alternate between positive and negative and are fragile, so handle them with care.
Open Sealed Maintenance-Free Batteries with Patience
Sealed batteries require more time and care, but you can successfully open them by softening the adhesive first.
Soften the Adhesive with Lubricant
Sealed caps are glued tightly, and forcing them off will damage the internal rubber plugs you need for resealing.
Inject Lubricant Along the Cap Edge
Fill a syringe with silicone-based fluid or penetrating oil. Insert the tip along the edge where the cap meets the battery case. Inject the lubricant slowly and let it seep into the adhesive channel. Repeat this process once daily for two to three days to weaken the bond significantly.
Work the Lubricant Around the Full Perimeter
Pull the syringe plunger back slightly before injecting to prevent accidental discharge. Use a small bowl to catch any excess fluid that drips out.
Pry Off the Cap Carefully
After two to three days of lubrication, slide a plastic scraper or flat pry bar under the cap edge. Apply steady upward pressure and work around the perimeter without forcing it. If resistance increases, add more lubricant and wait another two to three hours. Avoid damaging the internal rubber plug beneath the cap because a torn plug means the battery cannot be resealed.
Reseal the Battery Properly After Servicing
A proper reseal prevents leaks and ensures safe operation once you reinstall the battery.
Heat and Reshape the Warped Lid
Battery lids warp from heat and internal pressure over time. A flat surface is essential for creating a tight seal.
Use a heat gun to warm the lid until it becomes pliable and flexible. Place black electrical tape over both terminals to prevent short circuits during this step. Apply a thin bead of epoxy or silicone adhesive to the outer rim of the lid and the inner raised ridge where the original adhesive sat.
Flatten the Lid with Even Pressure
Place a steel plate or other heavy flat metal directly over the lid. Add 20 or more pounds of weight on top, such as two 10-pound dumbbells or a small cylinder jack. Leave the weight undisturbed for 24 hours so the adhesive cures under even pressure.
Allow a Final Cure Before Use
Remove the weight and steel plate after 24 hours. Press your finger around the entire groove to confirm a uniform seal. Reapply adhesive to any gaps you find. Allow another 24 hours for the adhesive to cure completely before refilling with distilled water and reinstalling the battery.
Handle Sulfuric Acid Safely During Recovery or Disposal
The electrolyte inside your battery is roughly 30% sulfuric acid and 70% water. Never pour it down a drain without neutralizing it first.
Concentrate the Acid for Industrial Use
If you have proper ventilation and equipment, you can concentrate the acid for reuse. Transfer the liquid to a heat-resistant glass container. Boil it slowly in a well-ventilated area or under a fume hood. Water evaporates first, leaving concentrated sulfuric acid behind. Monitor the container closely because boiling acid produces toxic sulfur oxide fumes. Never boil acid in plastic or sealed containers because both can explode.
Neutralize Waste Acid Before Disposal
For safe disposal, slowly pour the acid into your prepared baking soda bucket. The reaction will fizz violently as the base neutralizes the acid and releases carbon dioxide gas. Test the gas with a small flame. If the flame goes out, the gas is carbon dioxide and safe to vent. Once neutralization stops producing fizz, you can dispose of the liquid according to local regulations.
Recycle Every Battery Component Responsibly
Over 98% of a car battery is recyclable. Sending these materials to a landfill wastes valuable resources and contaminates the environment.
Return Components to a Recycling Center
Take your lead plates to a battery recycling center or auto parts store. Most stores accept old batteries even if you opened them. Lead can be melted down for new batteries or used in radiation shielding and construction. The plastic casing can be recycled into new battery housings or other plastic products.
Clean the Plastic Before Recycling
Rinse the casing thoroughly with baking soda water to remove all acid residue. Dry the plastic completely before taking it to a recycling facility.
Extend Your Battery’s Life with Proper Maintenance
Reviving a sealed battery is both a repair and a cost-saving strategy.
Understand Why Batteries Fail Prematurely
Electrolyte loss from evaporation is the primary cause of battery failure, especially in hot climates. When caps are sealed, you cannot replace the lost water, so the plates become exposed. Exposed plates develop sulfation, which reduces capacity and eventually kills the battery.
Revive the Battery with Distilled Water
After opening the battery, fill each cell to the proper level with distilled water and reseal it carefully. Recharge the battery fully before reinstalling it. Many users report getting two to five extra years of service from batteries they revived this way. This approach works especially well for older vehicles, classic cars, and hard-to-find battery models.
Avoid These Common Mistakes
Even experienced DIYers make errors that ruin batteries or create serious hazards.
Never Add Acid Instead of Water
Only water evaporates during normal battery operation. Adding acid increases the concentration and damages the internal plates.
Never Use Tap Water
Minerals in tap water cause scaling inside the cells and reduce the battery’s efficiency. Always use distilled water only.
Never Force the Cap Off a Sealed Battery
Forcing the cap destroys the internal rubber seals you need for resealing. Without those seals, the battery will leak acid once you reinstall it.
Never Skip the Weight Step During Resealing
Uneven pressure leads to warping and poor seals that leak over time. The 24-hour weight application is not optional if you want a durable bond.
Frequently Asked Questions About Opening a Car Battery
Can you open a sealed car battery without ruining it?
Yes, you can open most sealed wet-cell batteries safely by injecting silicone-based lubricant along the cap edge for two to three days, then prying the cap off carefully. You must avoid damaging the internal rubber plug beneath the cap, or you will not be able to reseal the battery properly.
What happens if you open an AGM battery?
Opening an AGM battery destroys its function because the electrolyte is trapped inside fiberglass mats rather than floating as free liquid. Exposure to air also damages the internal chemistry. AGM batteries should always be replaced, never opened.
Is it worth opening a car battery to add water?
In many cases, yes. Electrolyte loss is the leading cause of battery failure, and topping off with distilled water can extend a battery’s life by two to five years. This makes opening the battery worthwhile for older vehicles, classic cars, or any battery that is hard to replace.
What do you do with the acid after opening a car battery?
You can either neutralize the acid with baking soda water for safe disposal or concentrate it by boiling off the water in a glass container for industrial use. Never pour battery acid down a drain without neutralizing it first, and always check your local regulations for hazardous waste disposal.
How long does it take to open and reseal a sealed battery?
The full process takes about four to five days. Two to three days are needed for the lubricant to soften the adhesive, one day for the resealing adhesive to cure under weight, and another 24 hours for the final cure before the battery is ready to use.
Key Takeaways for Safely Opening a Car Battery
Learning how to open a car battery gives you the power to revive dead batteries, recover valuable materials, and keep hazardous waste out of landfills. Always identify your battery type first, wear full protective equipment, and work in a ventilated space. Use only distilled water when topping off cells, and take your time prying sealed caps to avoid damaging the internal rubber plugs. When you finish servicing the battery, reseal it under 20+ pounds of weight for 24 hours and allow another 24 hours for the adhesive to cure. Finally, recycle every component through a certified facility so the lead, plastic, and acid can be put to good use. With patience and the right precautions, you can safely open a car battery, extend its life, and save money in the process.


