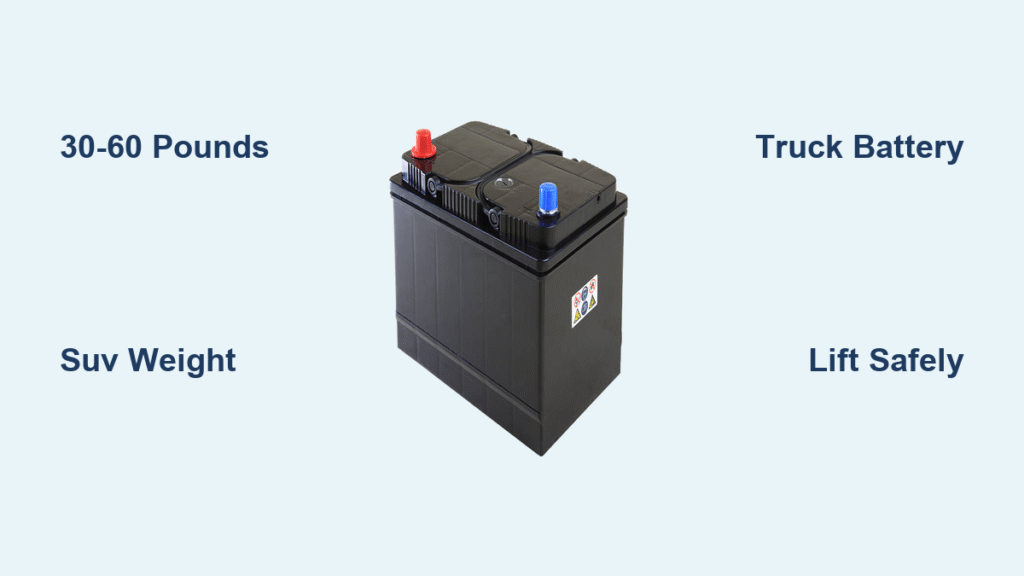
You’re stranded with a dead car battery, roadside assistance is an hour away, and the temperature is dropping. Instead of waiting helplessly, you could have a compact lithium jump starter in your glove box capable of reviving your engine in minutes. Building your own DIY car battery jump starter costs significantly less than commercial units while delivering reliable 300-400 amps of starting power. This guide reveals exactly how to make a car battery jump starter that fits in your glove compartment yet delivers enough current to start most vehicles, even in freezing conditions. You’ll learn which lithium cells work best, how to wire them safely, and the critical protection systems that prevent dangerous failures.
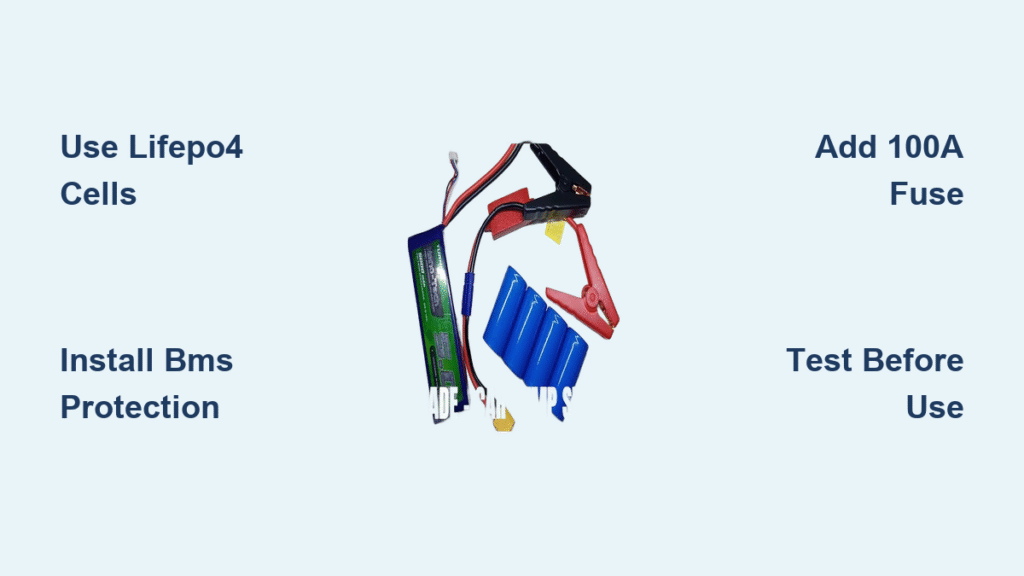
Select the Right Lithium Cells for Jump Starting
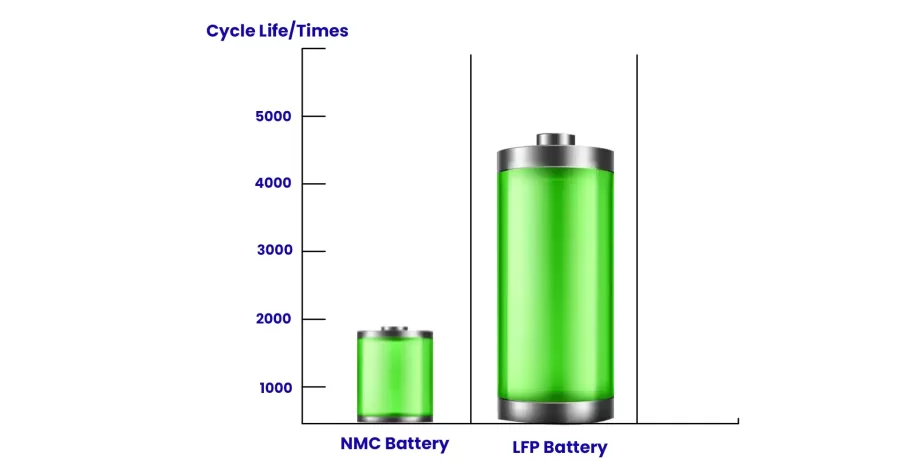
Why LiFePO4 Beats Other Lithium Chemistries
Lithium Iron Phosphate (LiFePO4) cells deliver the perfect balance of safety and performance for jump starting. Unlike standard 18650 lithium-ion cells found in laptops—which typically handle only 10 amps each—LiFePO4 cells maintain stable voltage under extreme loads. A 4S configuration (four cells wired in series) produces 12.8V nominal output that matches automotive electrical systems perfectly. RC LiPo packs work for smaller engines but carry significant fire risks due to their chemical instability. For reliable jump starting capability, LiFePO4’s thermal stability makes it the clear winner.
A123 26650 Cells: The Gold Standard
The A123 26650 LiFePO4 cell remains the top choice for DIY jump starters with these critical specifications:
– 3.2V nominal voltage (4S configuration = 12.8V)
– 120A peak discharge for 10-20 seconds
– 2500mAh capacity per cell
– Exceptional cold weather performance
A basic 4S1P configuration (four cells in series, single string) delivers 120A peak—enough for most 4-cylinder vehicles. For larger engines, a 4S4P setup (four parallel strings) provides 480A peak output while maintaining voltage above 11V during cranking. These cells originally came from Dewalt DC9360 battery packs and have demonstrated remarkable longevity in field-tested builds lasting over a decade.
Wire Your Jump Starter Safely and Effectively
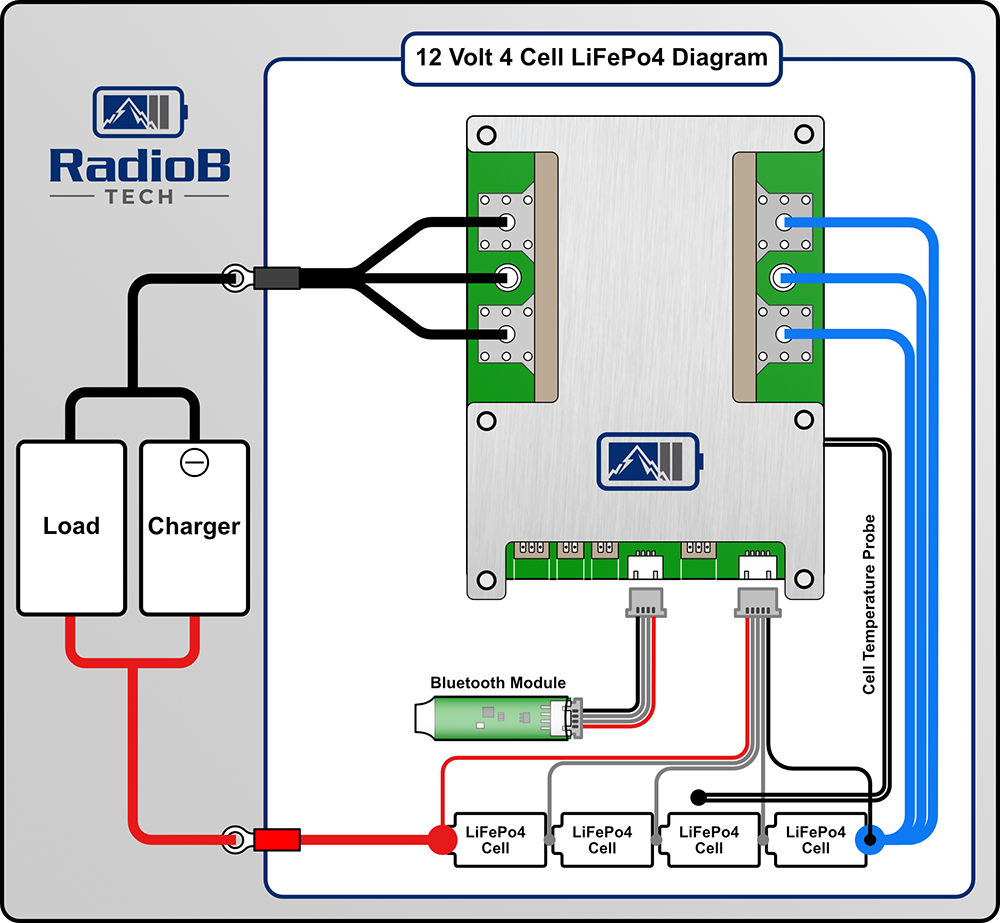
Critical 4S Series Wiring Sequence
Proper cell arrangement makes or breaks your jump starter’s performance. Follow this exact wiring sequence:
1. Connect Cell 1 positive terminal to the main positive output
2. Link Cell 1 negative to Cell 2 positive
3. Connect Cell 2 negative to Cell 3 positive
4. Link Cell 3 negative to Cell 4 positive
5. Connect Cell 4 negative to the main negative output
Never use spring-contact battery holders—they create resistance points that fail under high current. Instead, solder 10-12 AWG wire directly to cell terminals using rosin-core solder, then cover all connections with heat shrink tubing. This heavy-gauge wiring ensures minimal voltage drop when delivering critical starting current.
Install Essential Safety Systems
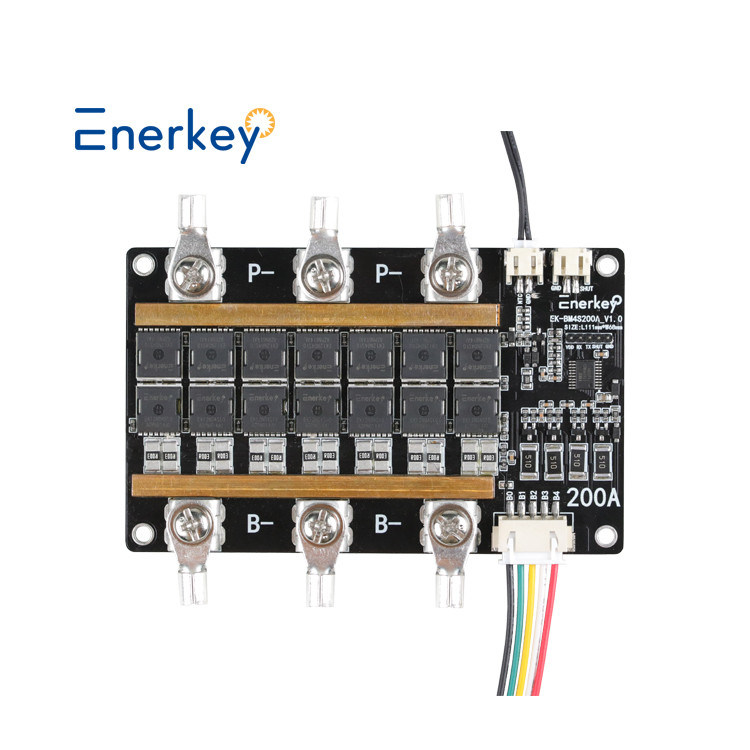
Non-Negotiable Battery Management System
A proper 4S LiFePO4 BMS isn’t optional—it’s your primary safety net. Look for these critical features:
– Over-voltage protection (trips at 3.65V per cell)
– Under-voltage protection (cuts off below 3.0V per cell)
– Over-current protection (100-150A trip point)
– Short-circuit protection (instant disconnection)
The JBD 4S 100A BMS (around $33) adds Bluetooth monitoring via smartphone app, showing individual cell voltages and temperature data. Install this first by connecting the balance leads to each cell junction point before making main power connections. This allows the BMS to monitor each cell independently.
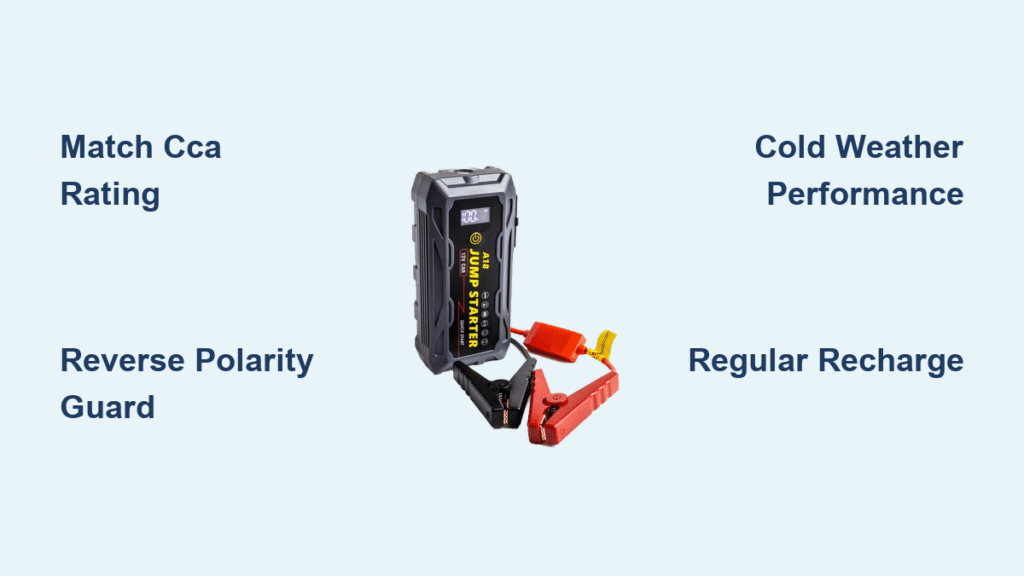
Critical Safety Components You Must Include
Your jump starter requires three physical safety components wired in series on the positive terminal:
– 100A fast-blow fuse: Protects against catastrophic failure
– 100A manual disconnect switch: Lets you isolate power when not in use
– Reverse polarity protection: 50V 100A Schottky diode prevents damage from incorrect connections
Never skip these components—they protect both your investment and your safety. Without them, a single mistake could cause thermal runaway or fire.
Build a Reliable Compact Jump Starter
Doctorbass Proven Design (2009)
This field-tested design has successfully started over 100 vehicles with impressive specs:
– Configuration: 4S1P A123 26650 cells
– Weight: Just 300 grams (lighter than your smartphone)
– Performance: Maintains >11V under load while delivering 300A+
– Capacity: 10-12 car starts per charge
– Size: Fits in a 3″ × 4″ × 2″ enclosure
This minimalist approach proves you don’t need massive capacity—just sufficient current delivery capability. The compact size makes it perfect for glove box storage without taking up valuable space.
Assembly Checklist for Success
Follow these critical steps when building your jump starter:
1. Prepare cells: Clean terminals with isopropyl alcohol and verify each reads 3.2-3.3V
2. Solder connections: Use 10 AWG wire between cells with proper heat shrink coverage
3. Install BMS: Connect balance leads first, then main power cables
4. Add safety components: Install fuse, switch, and diode in correct sequence
5. Secure components: Use plastic cell holders or foam padding to prevent movement
6. Test thoroughly: Verify 12.8V output before connecting to any vehicle
Critical warning: Never allow bare cells to contact metal surfaces—this creates instant short circuits capable of melting tools or causing burns.
Source Components and Test Reliability
Finding Quality Cells in 2024
A123 26650 cells are increasingly rare but still available through:
– Battery Hookup and Liion Wholesale (reputable suppliers)
– Local Dewalt service centers (for old DC9360 packs)
– EVE 26650 cells as reliable alternatives
If sourcing individual cells proves difficult, consider these alternatives:
– RC LiPo 4S packs (5000mAh 20C) for smaller vehicles
– Commercial LiFePO4 motorcycle batteries from auto parts stores
– 40Ah prismatic LiFePO4 cells for higher capacity needs
Mandatory Testing Before Road Use
Never trust your jump starter without proper testing:
1. Initial voltage check: Should read 12.8-13.2V when fully charged
2. Load test: Connect to a known good car battery (engine off) and verify stable voltage
3. Real-world verification: Test on your own vehicle before relying on it in emergencies
Pro tip: Perform a “cold engine test” by disconnecting your car battery and attempting to start—this verifies your jump starter works when you need it most.
Charge and Maintain Properly
Dedicated Charging Protocol
Never use standard 12V car chargers—lithium cells require precise voltage control. Always use:
– A 4S LiFePO4-specific charger (14.6V maximum)
– Charge rate no higher than 0.5C (20A for 40Ah cells)
– Temperature monitoring during charging
Store your jump starter at 50-70% charge (13.0-13.2V total) in a fireproof LiPo bag when not in use. For long-term storage, check voltage every three months and recharge to 60% if needed.
Monthly Maintenance Checklist
Extend your jump starter’s lifespan with these simple steps:
– Check individual cell voltages via BMS app for balance (should differ by <0.1V)
– Inspect for physical damage, swelling, or loose connections
– Clean corrosion from output terminals with baking soda solution
– Verify fuse integrity and switch operation
Critical reminder: Never store your jump starter fully discharged—this permanently damages lithium cells. Recharge immediately after use to maintain peak performance.
Building your own lithium jump starter delivers reliable starting power at a fraction of commercial costs while teaching valuable battery management skills. Start with the proven 4S1P A123 design for most vehicles, adding parallel cells only if your specific needs require more current. Remember that safety systems aren’t optional—the BMS and fuses protect both your investment and your safety. Test thoroughly, charge properly, and your DIY jump starter will provide years of reliable service, ready whenever you face a dead battery emergency. This essential roadside tool could save you hundreds in towing fees while giving you the confidence to help others stranded with dead batteries.