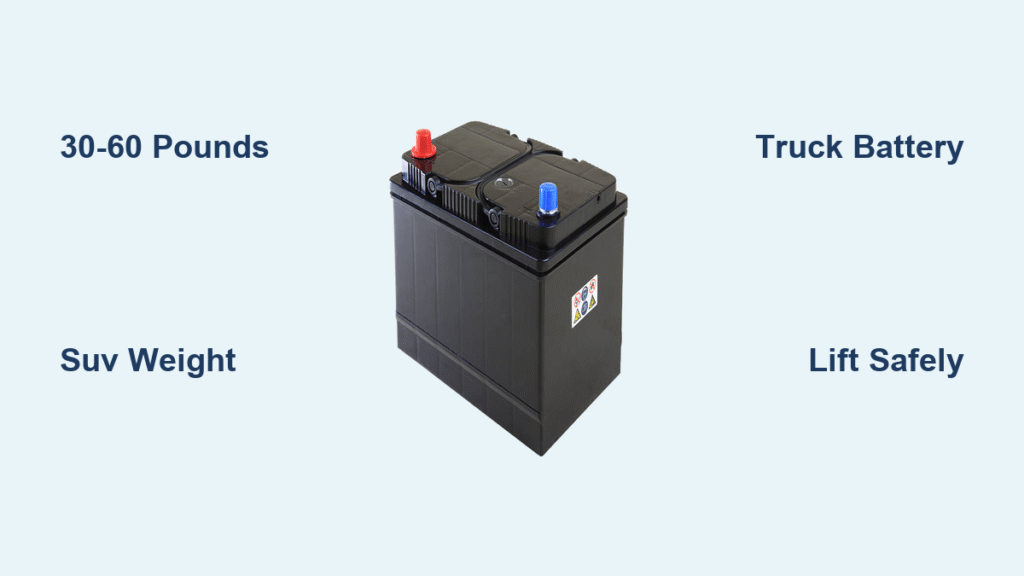
Your car’s lead-acid battery weighs over twice what it should, dies prematurely in cold weather, and needs replacing every 2-3 years. Learning how to make lithium ion battery for car solves these problems with a 1.2kg pack that delivers reliable starts for a decade. This guide shows you exactly how to build a safe, powerful 12V lithium car battery using salvaged 18650 cells—slashing weight by 46% while doubling cold-cranking performance.
Skip expensive commercial packs that cost $200+ when you can create your own 17.05Ah lithium car battery for under INR 650 ($8). You’ll discover the exact cell configurations, BMS specifications, and safety protocols that turn dead laptop batteries into a reliable automotive power source. Whether you’re tired of jump-starting your car in winter or want to reduce weight for better fuel economy, this project delivers professional results with basic tools.
Select the Right Chemistry for Automotive Use
LiFePO4 vs Standard Li-ion: Critical Differences
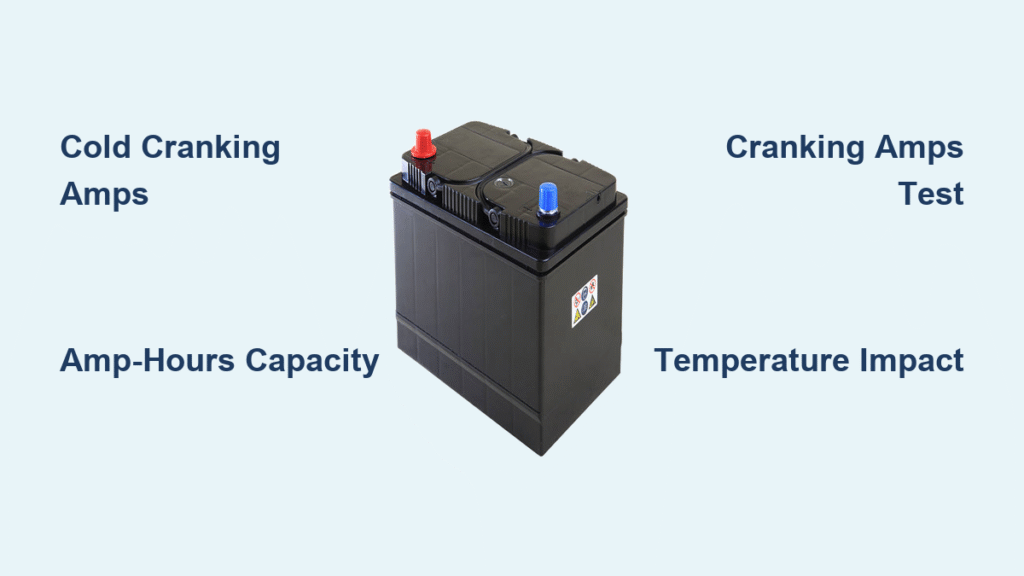
Your choice between LiFePO4 and standard Li-ion determines everything about your lithium car battery build. LiFePO4 (Lithium Iron Phosphate) uses a 4S configuration delivering 12.8V nominal voltage with exceptional safety—tolerating alternator spikes up to 15V without damage. Standard Li-ion (NMC variants) packs more energy in a 3S configuration at 11.1V nominal but demands stricter thermal management.
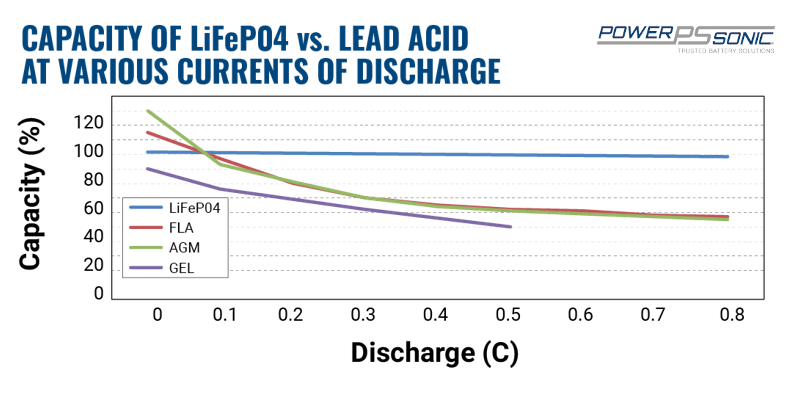
For most daily drivers, LiFePO4 is the smarter choice with 3,000-5,000 cycles versus lead-acid’s 300-500. Its stable chemistry handles automotive electrical spikes better, crucial when your alternator fluctuates between 13.5-14.8V. Only choose standard Li-ion if you’re building for racing applications where every gram counts and you can implement advanced thermal monitoring.
Source and Test Cells from Laptop Batteries
Salvaging Usable 18650 Cells Properly
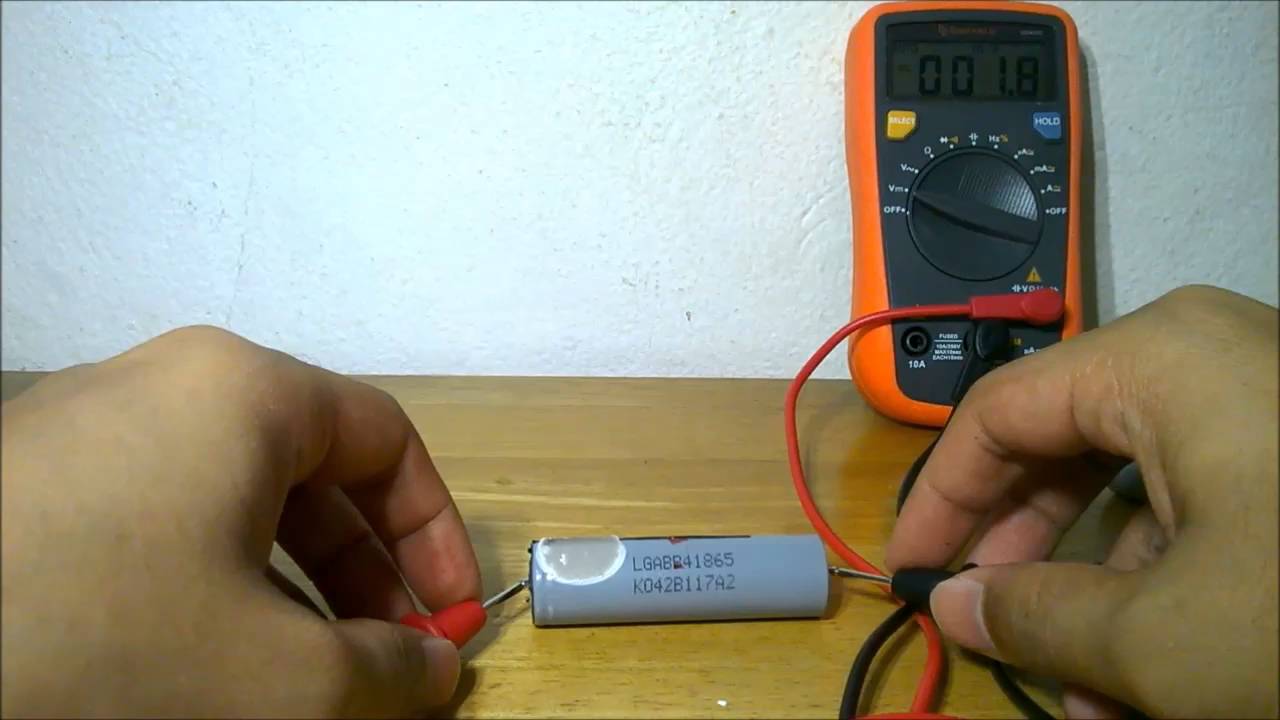
Computer repair shops discard laptop batteries containing perfectly good 18650 cells—your key to building a lithium car battery for near-zero cost. Carefully crack open the battery packs (never use metal tools that could short cells) and test each cell with a multimeter. Immediately discard any reading below 2.5V—they’re damaged beyond safe recovery.
Cell matching is non-negotiable for safety. Group your salvaged cells by:
– Capacity within 5% tolerance (use a capacity tester)
– Internal resistance within 10% (lower resistance delivers more power)
– Cells from identical production batches only
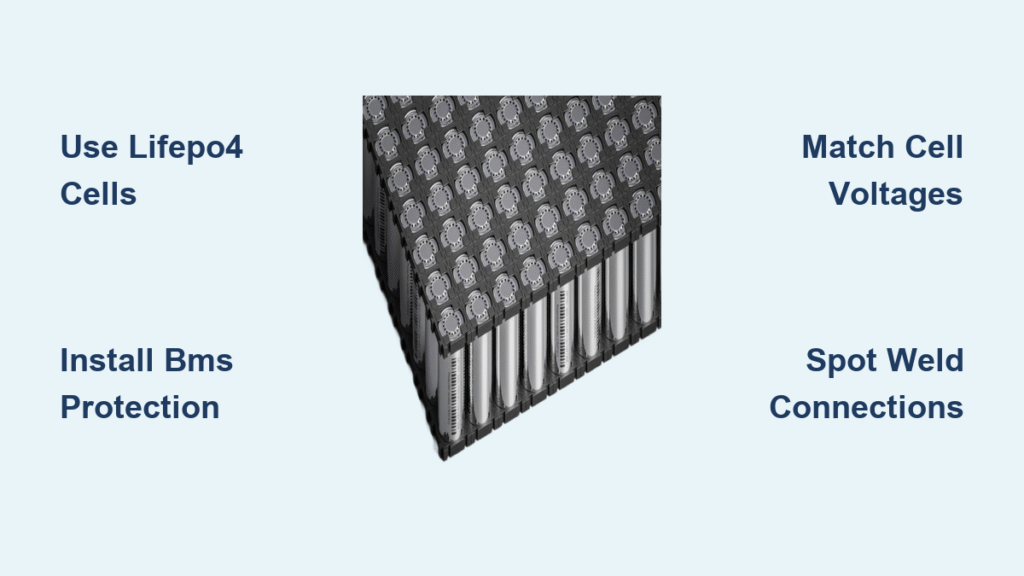
Required Cell Configurations
Your 12V lithium car battery needs specific arrangements:
– Standard Li-ion: 21 cells in 3S7P configuration (3 series groups of 7 parallel cells)
– LiFePO4: 4 large prismatic cells in 4S configuration
– 48V system: 112 cells in 16S7P configuration for 20Ah capacity
Install a Proper Battery Management System

Non-Negotiable BMS Protection Features
Your BMS is the lifeline of your DIY lithium car battery—skimping here risks fire. The system must include:
– Overcharge cutoff at 4.2V per cell (Li-ion) or 3.6V (LiFePO4)
– Over-discharge protection below 2.5V per cell
– Overcurrent limiting—20A minimum, 40A recommended for engine cranking
– Cell balancing to prevent dangerous voltage drift
– Temperature monitoring with automatic shutdown
Pro Tip: Spend the extra INR 100 for a 40A BMS—it future-proofs your build for accessories like winches or amplifiers. Mount it to the battery’s side with double-sided tape using 1mm² wire gauge for main connections (thicker wire prevents voltage drop during engine starts).
Assemble Cells in Modified Lead-Acid Case
Step-by-Step Case Conversion
Transform a dead 7.5Ah lead-acid battery case into your lithium car battery housing:
1. Discharge completely using a 12V bulb (never short terminals)
2. Remove top cover and rubber valve caps
3. Drain electrolyte and wash thoroughly with baking soda solution
4. Cut horizontally with bow saw to access internal compartments
5. Remove lead plates using tin-cutting scissors (wear gloves and goggles)
Safe Cell Connection Protocol
Never solder directly to lithium cells—heat destroys them faster than overcharging. Instead:
– Use nickel-plated strips (7mm × 0.15mm) with a spot welder
– Apply Kapton tape insulation around each cell
– Install barley paper rings on all positive terminals
– Maintain spacing with double-sided tape when plastic spacers won’t fit
Connect cells in parallel groups first (7 cells per group), then link these groups in series. This configuration ensures even current distribution during high-demand cranking.
Wire Critical Electrical Connections

Proper Connection Sequence
Follow this exact wiring order to prevent catastrophic failures:
1. Connect balance leads to BMS before main power cables
2. Install 30A inline fuse within 6 inches of positive terminal
3. Attach automotive-grade lugs using proper crimping tools
4. Color-code all wires (red for positive, improvised colors for negative)
Charging System Integration
Match your charger precisely to your chemistry:
– Li-ion: Maximum 12.6V (3S configuration)
– LiFePO4: Maximum 14.6V (4S configuration)
– Solar charging: Use PWM controller with 100W+50W panel array
Set current limiting to 0.5C rate—8.5A for your 17Ah pack. Never use lead-acid chargers on lithium batteries; the voltage profiles differ dangerously.
Implement Critical Safety Protocols
Non-Negotiable Workspace Requirements
Building how to make lithium ion battery for car demands serious safety measures:
– Ventilated garage space with fire extinguisher rated for electrical fires
– No flammable liquids within 10 feet of work area
– Insulated tools only—wrap handles with electrical tape
– Mandatory PPE: Safety goggles and insulated gloves at all times
Pre-Installation Testing Procedures
Before connecting to your vehicle:
1. Verify cell voltages—all within 0.1V of each other
2. Test BMS functionality by simulating overcharge conditions
3. Conduct load test with 30W bulb for 30 minutes
4. Perform final insulation check—no exposed metal anywhere
Expect Dramatically Better Performance
Your completed 17.05Ah lithium car battery delivers game-changing advantages:
– Weight reduction: Just 1.2kg versus 2.25kg for equivalent lead-acid
– Cold-weather performance: Full power at -20°C where lead-acid loses 50% capacity
– Usable capacity: 17Ah lithium equals 35Ah lead-acid (you can discharge deeper)
– Cycle life: 3,000-5,000 cycles versus 300-500 for lead-acid
Real-world impact: You’ll experience faster engine cranking, especially in winter, with no more “slow crank” when temperatures drop. The battery maintains stable voltage during starts—no more dimming headlights when turning the key.
Save 90% Compared to Commercial Packs
Complete Cost Breakdown
Your DIY lithium car battery costs dramatically less than store-bought options:
– Total materials: Under INR 650 ($8 USD)
– BMS upgrade: INR 100 ($1.20) for 40A over 20A model
– Cells: Free from salvaged laptop batteries
– Commercial comparison: $200+ for equivalent retail lithium packs
Long-Term Economic Advantage
Factor in the 10× cycle life versus lead-acid. Your INR 650 investment replaces 10+ lead-acid batteries over 8-10 years—a 90% cost reduction. Even if you pay for cells (INR 25-50 each), you still save 70% versus commercial lithium options.
Maintain Your Lithium Car Battery Properly
Monthly Inspection Checklist
Keep your DIY lithium car battery performing safely with this routine:
– Visual inspection for swelling, leaks, or corrosion
– Terminal torque verification (loose connections cause heat)
– BMS LED status check for error codes
– Cell voltage balance (all within 0.1V)
Troubleshooting Common Issues
- Cell drift: BMS handles automatic balancing—manual intervention rarely needed
- Capacity loss: Replace individual weak cells rather than entire pack
- Overheating: Check ventilation and verify load calculations
- Charging failures: Confirm charger voltage matches your configuration
Know When to Skip the DIY Approach
Avoid building how to make lithium ion battery for car if:
– You lack spot-welding equipment (soldering destroys cells)
– Cell testing tools are unavailable (mismatched cells risk fire)
– Your vehicle has complex battery management (modern cars with start-stop)
– Warranty protection matters (dealers void warranties for aftermarket batteries)
Professional pre-built packs from reputable suppliers cost more but eliminate fire risks and warranty issues. If you’re unsure about any step, this isn’t the project to learn on—your safety depends on precise execution.
Final Note: Your completed lithium car battery delivers superior cold-weather starting, 46% weight reduction, and decade-long service life. Store it at 40-60% charge during long inactivity periods, and always disconnect before welding on your vehicle. This upgrade transforms your car’s electrical system—just respect the chemistry that makes it possible. When built correctly following these steps, your DIY lithium car battery becomes the last battery your vehicle will ever need.