
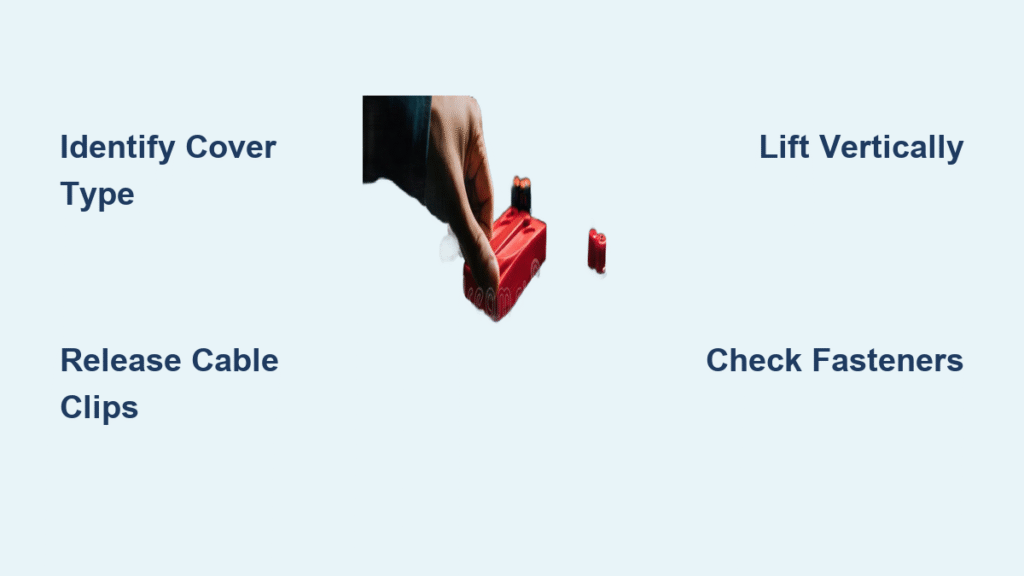
You’re ready to jump-start your car, inspect the terminals, or swap out an old battery, but the cover is blocking your way. Unlike older vehicles with easy-to-reach batteries, many modern cars use a plastic cover to shield the battery from debris, moisture, and accidental short circuits. If you don’t know how to open car battery cover the right way, you risk cracking the casing or damaging nearby electronics.
The good news is that this task usually takes less than ten minutes and requires only basic tools. In this guide, you’ll learn how to identify your battery cover type, gather the right equipment, follow critical safety steps, and avoid common mistakes. Whether you’re troubleshooting a dead battery or performing routine maintenance, you’ll have full access in no time.
Identify Battery Cover Type
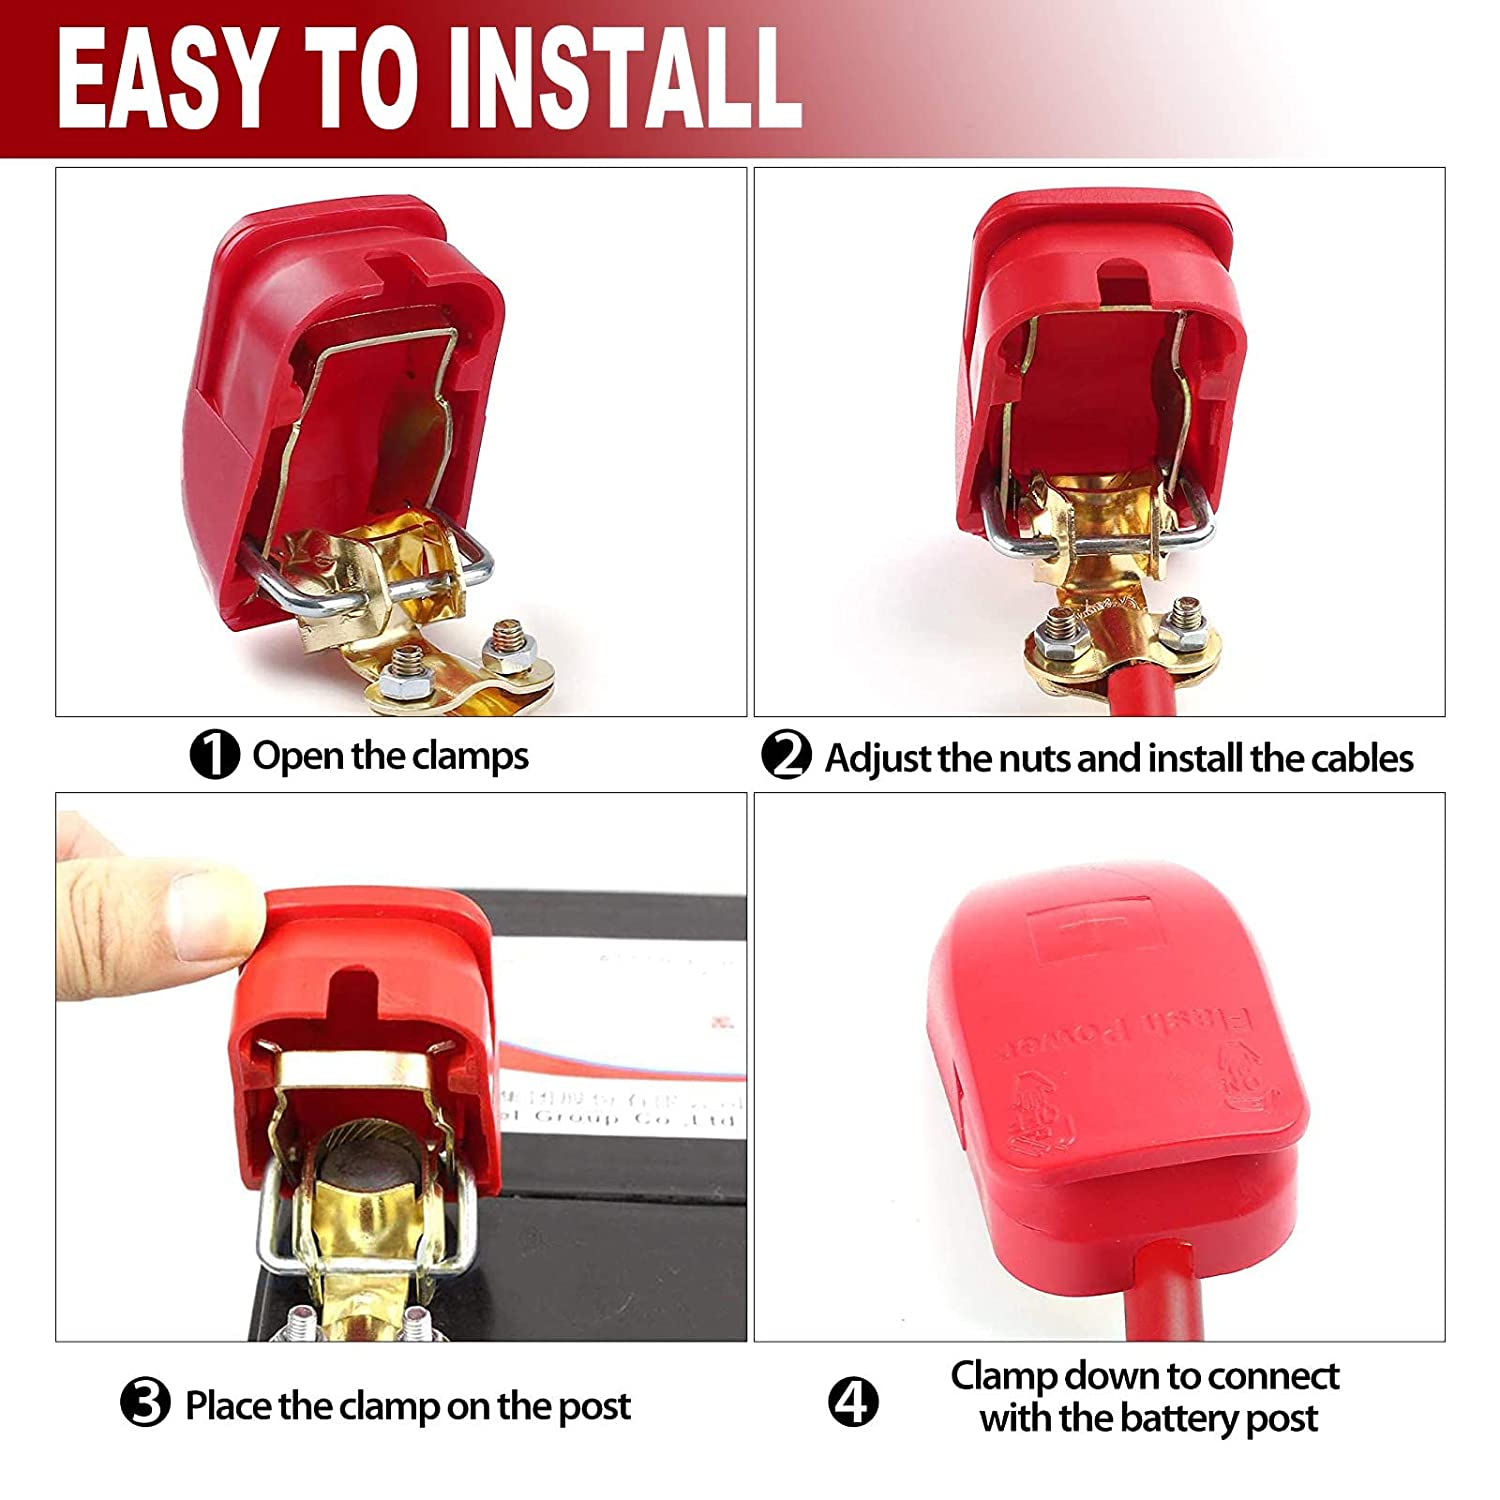
Before grabbing any tools, take a moment to inspect the cover. Most vehicles use one of three main designs, and identifying yours prevents unnecessary force or damage.
Snap-On Plastic Covers
These are the most common style, especially in compact and mid-size cars. They are held in place by flexible plastic clips that press into slots on the battery tray. To check if your cover is snap-on, look for visible seams along the edges and small indentations or tabs on the sides.
If you don’t see any screws, it’s almost certainly a snap-on design. Press down gently on one corner and see if the opposite side lifts slightly. That flex confirms it’s clip-secured and ready for simple hand removal.
Screw-Fastened Battery Covers
Many SUVs, trucks, and European models use screws to keep the cover firmly in place. These are typically found at the corners or along the edges of the cover. Most use Phillips or Torx heads, so you’ll need the correct screwdriver or bit to remove them.
Some covers combine screws with hidden clips, so always inspect the entire perimeter before attempting removal. Forcing a snap-on cover thinking it has screws can easily break the plastic tabs.
Multi-Panel or Latched Enclosures
Luxury and performance vehicles sometimes feature complex covers with multiple panels or side-access latches. These may include a main top cover plus a smaller panel that allows quick terminal inspection without full removal.
Check for small levers or push-tabs near the front edge. If your cover has both screws and latches, release the latches first before unscrewing. Forcing these designs can snap internal tabs and lead to expensive replacements.
Gather Required Tools

Using the correct tools protects both you and your vehicle. Most battery cover removals need only a few basic items.
Essential Hand Tools
Here’s what you’ll typically need:
- Phillips screwdriver for standard screw-fastened covers
- Torx bit set for many European vehicles
- Plastic pry tool or trim remover to release clips without scratching
- Rubber gloves and safety glasses to protect against acid residue
Avoid using metal screwdrivers, knives, or crowbars. A single slip can puncture the battery, cause acid leaks, or create sparks near flammable hydrogen gas.
Optional Tools for Tight Spaces
A 10mm socket wrench can help if the battery is mounted under an air filter housing or bracket. Some covers also sit beneath engine covers that require removal first. A small flashlight is useful for spotting hidden clips in dark engine bays.
Safety First: Pre-Cover Steps
Working around a car battery involves electrical and chemical risks. Taking a few precautions protects you and your car’s electronics.
Turn Off the Engine and Ignition
Make sure the car is completely off and the key is removed from the ignition. If your vehicle uses a push-start system, keep the fob out of range. Never attempt to open the cover while the engine is running or in accessory mode.
Electrical surges during removal can trigger warning lights or damage onboard computers.
Wear Protective Gear
Batteries contain sulfuric acid that can burn skin and damage clothing. Always wear nitrile or rubber gloves and safety goggles before touching the cover or terminals. If you notice any swelling, cracks, or leaks, stop immediately and call a professional.
Work in a well-ventilated area, especially if you’ve just driven the car. Batteries release small amounts of hydrogen gas, which is highly flammable.
Disconnect the Negative Terminal
Even if you’re only removing the cover, disconnecting the black negative cable adds a layer of safety. Loosen the terminal nut with a wrench, slide the cable off, and tuck it away from the post.
This step is especially important if your cover removal requires moving or tilting the battery. Always disconnect the negative side first to avoid accidental short circuits.
Step-by-Step Removal Process
Now that you’re prepared, follow these universal steps to open most car battery covers without trouble.
Step 1: Locate Release Points
Inspect the cover’s perimeter carefully. Run your fingers along the edges to feel for tabs, screws, or hidden latches. Most snap-on covers have between four and six clip points located near the corners.
If you spot screws, remove them one at a time and place them in a small container. Losing a screw in the engine bay can lead to electrical shorts later.
Step 2: Release Clips Gently
Start at one corner and use a plastic pry tool to press down on the adjacent edge while lifting the corner upward. You should hear a soft click as each clip releases. Work your way around the cover slowly, releasing one clip at a time.
Never yank or twist the cover. If one side won’t budge, another clip is likely still engaged. Patience prevents broken tabs.
Step 3: Lift the Cover Straight Up
Once every clip or screw is released, lift the cover vertically. Tilting can cause it to catch on the terminals or sensor cables underneath. If the cover doesn’t lift freely, check for:
- Hidden clips beneath labels or foam padding
- Wiring harnesses clipped to the cover’s underside
- Positive terminal insulation boots that need removal first
Place the cover on a clean towel or shop rag to avoid scratches.
Troubleshooting Stuck Covers
Sometimes even the right technique isn’t enough. Here’s how to handle common obstacles during removal.
Cover Won’t Budge After Screw Removal
Double-check for additional fasteners. A secondary latch near the battery’s front edge may need to be pressed or slid before the cover will lift. Some covers also tuck beneath the air filter housing, which may require partial removal for access.
If you still feel resistance, inspect for foam strips or rubber gaskets that may have adhered over time.
Broken Plastic Clip
If a clip snaps during removal, don’t worry. The cover will usually stay secure with the remaining clips intact. For temporary fixes, use small zip ties to hold the cover down.
Replacement clips are inexpensive and available at most auto parts stores. Bring the broken piece with you to match the exact style.
Cover Feels Glued or Sealed
Battery fumes and grime can cause covers to stick over time. Dampen a clean cloth with warm water and wipe along the seam to loosen residue. Avoid using solvents like acetone or brake cleaner, which can weaken plastic and cause cracks.
Reinstalling the Battery Cover
After finishing your battery work, reinstalling the cover correctly is just as important as removing it.
Align Before Pressing Down
Line up the cover so all clip holes match the base tabs. Start at one end and press down gently, listening for each clip to click into place. For screw-on covers, hand-tighten all screws first before using a tool to avoid cross-threading.
Ensure No Wires Are Pinched
Check that no cables or sensor wires are trapped beneath the cover edges. A gap along one side usually means a clip isn’t fully seated. If your vehicle has a battery monitoring sensor, make sure it’s reconnected before closing everything up.
Maintenance Tips After Opening

Once the battery is exposed, use the opportunity to perform quick maintenance that extends its life.
Clean Terminal Corrosion
Mix one tablespoon of baking soda with a cup of water and apply it to the terminals using an old toothbrush. The fizzing reaction neutralizes acid buildup. Rinse with clean water and dry completely before reconnecting cables.
Inspect Battery Condition
Look for visible cracks, bulging sides, or white crust around the vents. Any of these signs mean the battery needs replacement. Also check that cables are tight and free of fraying.
Prevent Future Access Issues
Apply a thin layer of dielectric grease to plastic clips every six months to keep them flexible. Store small screws in a labeled magnetic tray to avoid losing them in the engine bay.
When to Seek Professional Help
While most battery covers are DIY-friendly, some situations call for expert assistance.
Complex Enclosures in Luxury Vehicles
Brands like BMW, Audi, and Mercedes often integrate the battery cover with the vehicle’s electronic systems. Removing it incorrectly can trigger error codes or disable battery management features. Always check the service manual before attempting removal.
Signs of Battery Damage
If the battery case is swollen, cracked, or leaking acid, do not attempt DIY repair. Sulfuric acid is highly corrosive and requires professional handling. Call roadside assistance or visit a certified mechanic for safe replacement.
Electrical Issues After Reassembly
If your car won’t start, displays warning lights, or experiences power glitches after reinstalling the cover, double-check that all clips are secure and cables are tight. A loose connection can mimic more serious electrical problems.
Frequently Asked Questions About Opening a Car Battery Cover
Do all car battery covers use the same removal method?
No. Removal methods vary depending on whether the cover uses clips, screws, or latches. Always inspect your specific cover before applying force.
Can I use a flathead screwdriver to pry open the cover?
It’s best to avoid metal tools. A plastic pry tool or trim remover releases clips without scratching or cracking the plastic cover.
Should I disconnect the battery before opening the cover?
Disconnecting the negative terminal is recommended, especially if you plan to move or tilt the battery. It prevents accidental short circuits during the process.
What if a clip breaks while removing the cover?
A broken clip won’t usually prevent the cover from functioning. Use zip ties as a temporary fix and replace the clip when convenient.
Is it safe to open the battery cover right after driving?
It’s best to wait at least 15 minutes after driving. This allows hydrogen gas to dissipate and the battery to cool, reducing the risk of sparks or burns.
Do I need to remove the battery to open the cover?
In most cases, no. The cover is designed to come off without disturbing the battery. Only remove the battery if you’re replacing it or performing deeper maintenance.
Key Takeaways for Opening a Car Battery Cover
Opening a car battery cover is a simple task once you know the right steps. Start by identifying whether your cover uses clips, screws, or latches, and gather the proper tools before you begin. Always turn off the engine, wear protective gear, and disconnect the negative terminal to stay safe.
Work slowly, release clips gently, and lift the cover straight up to avoid damage. After completing your battery work, reinstall the cover carefully and check that no wires are pinched.
Your next step: Take five minutes today to locate your battery cover and identify its type. Knowing this in advance will save you time and frustration the next time you need to jump-start, clean, or replace your battery.


