
That frustrating morning when your car won’t start often traces back to a silent culprit: white, crusty buildup on your battery terminals. This corrosion—a reaction between battery acid vapors and metal components—disrupts electrical flow and can leave you stranded. The good news? You can eliminate this problem safely and effectively using how to clean car battery corrosion with baking soda, a method that costs pennies and takes just 20 minutes. This guide reveals the exact process mechanics use with household ingredients, saving you unnecessary mechanic fees.
Ignoring corrosion forces your alternator to work harder, drains battery power even when parked, and eventually causes permanent damage. But armed with baking soda and water, you’ll neutralize dangerous acids, restore clean connections, and extend your battery’s life. You’ll learn not just the cleaning steps, but critical prevention techniques to keep corrosion from returning.
Spot Dangerous Battery Corrosion Early
Recognize White, Blue, or Green Crusty Buildup
Corrosion appears as flaky, powdery deposits on battery posts and terminal clamps, ranging from chalky white to blue-green. This isn’t random dirt—it’s hydrogen gas reacting with metal during normal charging cycles. Fresh corrosion feels dry and crumbly, while neglected layers harden into thick, conductive barriers that block electrical flow. Never ignore even minor buildup, as hidden corrosion between the terminal clamp and post causes most starting failures.
Locate Hidden Corrosion Hotspots
Check beyond visible terminals: corrosion spreads to cable ends, battery hold-down brackets, and the metal tray beneath the battery. Side-post batteries develop buildup around bolt holes, while top-post models show damage where cables meet the lead posts. Shine a flashlight along cable paths—you’ll often find “invisible” corrosion where wires connect to the engine block or chassis ground points.
Identify Pre-Corrosion Warning Signs
Dim headlights during idling, slow engine cranking, or intermittent electrical glitches signal developing connection issues. These occur when microscopic corrosion begins resisting current flow. If your battery tests strong but starting problems persist, cleaning terminals is the first troubleshooting step—don’t replace the battery prematurely.
Gear Up for Safe Corrosion Removal
Mandatory Safety Equipment Checklist
- Nitrile gloves (never bare hands—acid causes chemical burns)
- Safety glasses (hydrogen gas can eject corrosive particles)
- Long sleeves and pants (protect against acid splashes)
- Well-ventilated workspace (outdoor areas prevent gas accumulation)
Critical Pre-Cleaning Battery Inspection
Immediately stop if you see these danger signs:
– Swollen or cracked battery case
– Wet spots around the base (indicates acid leakage)
– Bulging sides or melting plastic
Damaged batteries require professional replacement—never attempt cleaning. For intact batteries, ensure the engine is cool and disconnect accessories to prevent electrical shorts.
Correct Power-Down Sequence
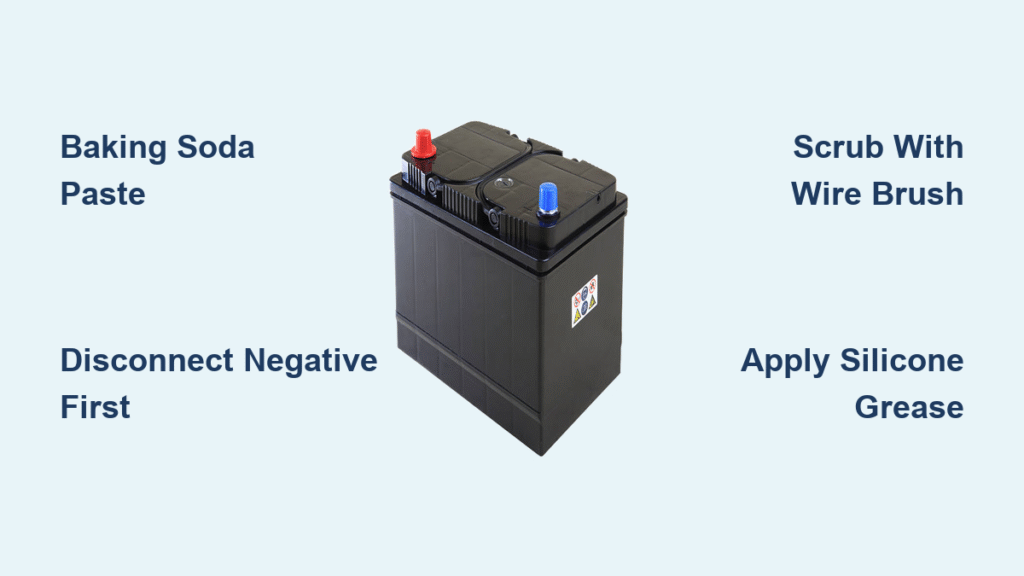
Always disconnect the negative (black) terminal first using a wrench. Cover the exposed post with a rag to prevent accidental contact. Only then remove the positive (red) terminal. This sequence eliminates the risk of short-circuiting if your tool touches the car frame. Keep terminals separated throughout cleaning.
Create the Perfect Baking Soda Cleaning Solution
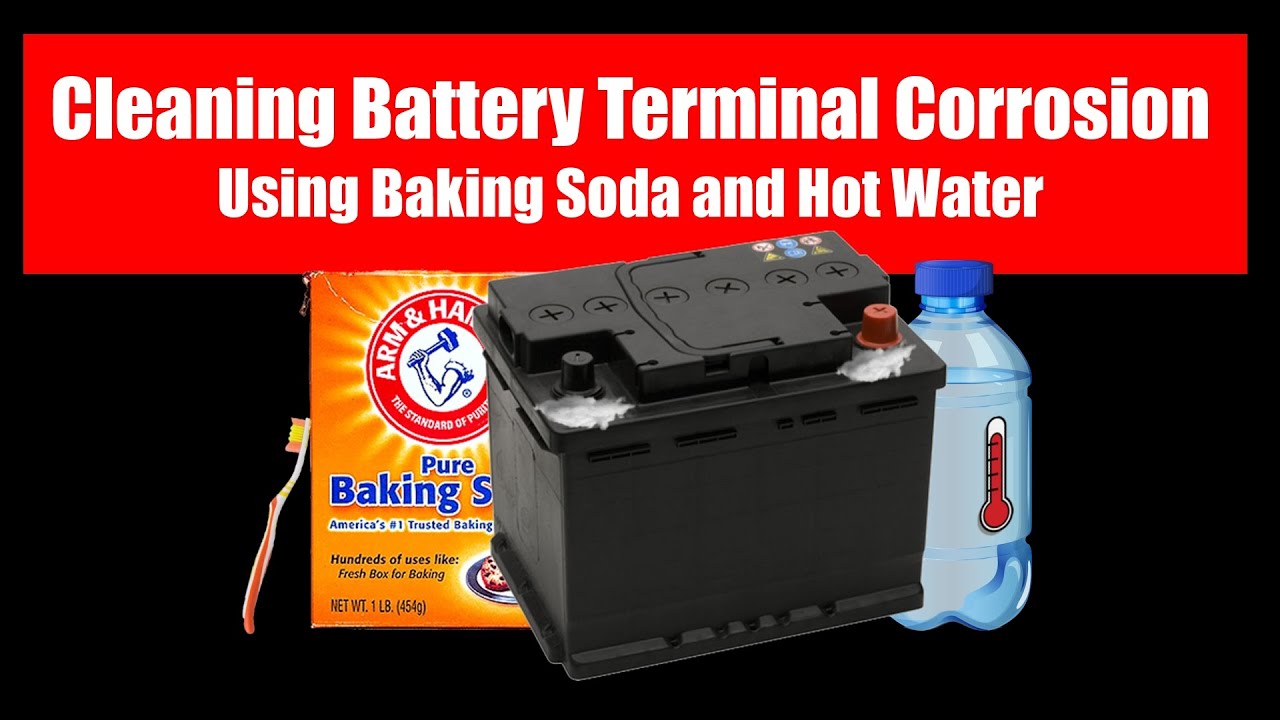
Heavy-Duty Paste for Thick Corrosion
Mix 4 tablespoons baking soda with ¼ cup warm water until toothpaste-thick. This concentrated formula clings to vertical surfaces, neutralizing stubborn deposits. Warm water accelerates the reaction—watch for vigorous bubbling as it dissolves acid crystals. Pro tip: Add a teaspoon of white vinegar to boost cleaning power for decade-old buildup.
Light-Duty Spray for Routine Maintenance
Dissolve 1 tablespoon baking soda in 1 cup warm water for a liquid solution. Spray onto minor corrosion with a mist bottle, then scrub. Ideal for biannual maintenance when buildup hasn’t hardened. Never use this weak solution on severe corrosion—it won’t neutralize enough acid.
Emergency Field Repair Mix
No measuring tools? Rub dry baking soda directly onto corrosion, then dribble water from a bottle cap. Mix into a paste using a plastic spoon or gloved finger. While less precise, this method works for roadside emergencies when stranded with a dead battery.
Execute the 4-Phase Cleaning Process
Phase 1: Secure Your Workspace
Park on level ground with the hood propped open. Remove rings/watches that could cause sparks. Place old towels under the battery to catch runoff—never let baking soda solution enter battery vents or it contaminates the acid.
Phase 2: Neutralize Acid Safely
Pour paste over corroded areas, starting from the top terminal downward. Essential: The instant bubbling means neutralization is working—keep adding paste until bubbling stops completely. Avoid splashing; use a plastic brush to push residue away from your body. For side-post batteries, apply paste inside bolt holes before scrubbing.
Phase 3: Scour Hidden Corrosion
Scrub battery posts and terminal clamps with a wire brush, focusing on the critical contact surfaces where metal meets metal. Rotate the brush to clean all angles—corrosion hides in grooves invisible to the eye. Reapply paste to stubborn spots until surfaces shine like new copper. Warning: Never use steel wool—it leaves conductive fibers that cause shorts.
Phase 4: Rinse and Dry Thoroughly
Flush with clean water using a spray bottle, directing runoff away from the engine bay. Wipe dry with paper towels, then air-dry for 5 minutes. Moisture left behind triggers rapid re-corrosion—test dryness by touching with a gloved finger before reconnecting.
Reconnect Terminals to Prevent Future Failure

Correct Terminal Reattachment Order
Connect the positive (red) terminal first, tightening firmly until snug (about 5-8 ft-lbs). Then attach the negative terminal. This sequence prevents sparks if your wrench slips against the chassis. Critical: Wiggle each cable after tightening—if movement exceeds 1/8 inch, retighten to avoid vibration-induced corrosion.
Apply Corrosion-Blocking Protection
Before reconnection, slide chemically treated felt washers over battery posts. These absorb acid vapors for 6+ months. Then smear silicone-based grease (not petroleum jelly) over all metal surfaces. The grease creates an invisible barrier against moisture and acid—reapply during every inspection.
Avoid Costly Cleaning Mistakes
Deadly Errors Mechanics See Weekly
- Cleaning while connected: Leaves hidden corrosion between post and clamp
- Using Coca-Cola: Creates sticky residue that attracts more corrosion
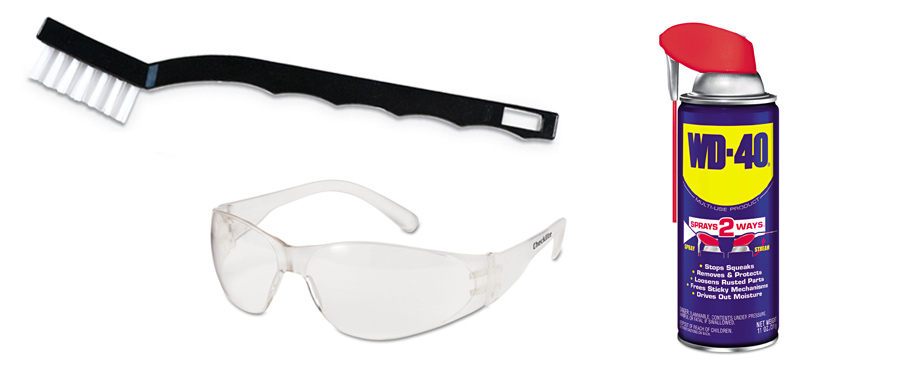
- Spraying WD-40: Turns into conductive grime within weeks
- Skipping negative-first disconnection: Causes dangerous sparks
Debunked Corrosion Myths
Corrosion doesn’t mean your battery is failing—it’s normal in functioning systems. A 5-year-old battery with clean terminals after baking soda treatment often outperforms a new corroded one. Never replace a battery solely due to corrosion; cleaning solves 90% of related starting issues.
Maintain Corrosion-Free Terminals Long-Term
Simple Prevention Schedule
Inspect terminals every 6 months (monthly in coastal/humid areas). Clean at the first sign of white powder using the baking soda method. Reapply silicone grease after each cleaning. Pro move: Keep a small container of pre-mixed paste in your glovebox for emergency cleanings.
When to Call a Professional
Seek help if corrosion returns within weeks of cleaning (indicates overcharging alternator) or if the battery case is cracked. For vehicles with complex electronics, use a memory saver during cleaning to avoid resetting computer systems.
Regularly how to clean car battery corrosion with baking soda takes just 20 minutes but prevents costly breakdowns and extends battery life by years. By neutralizing acids safely and applying silicone grease barriers, you transform a $200 mechanic visit into a $0.50 DIY fix. Make this essential maintenance part of your seasonal routine—your reliable starts and wallet will thank you.


